Advertisement
Quick Links
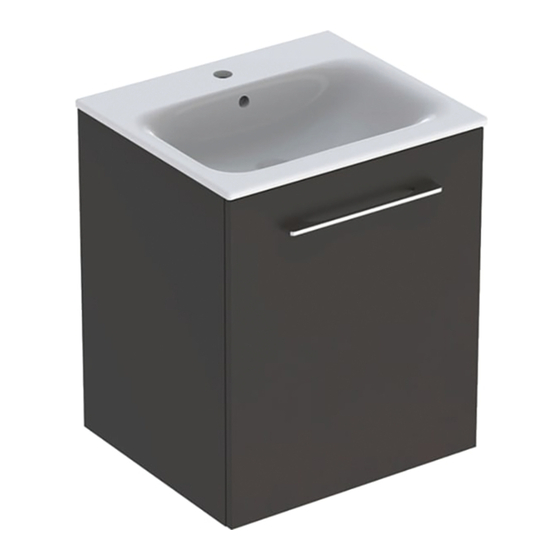
CM800W/ CM600W/ CM500W
COMPASS WALL MOUNTED UNIT
INSTALLATION & AFTERCARE INSTRUCTIONS
Before you start:
It is recommended that the unit and basin are secured to a suitably reinforced wall to ensure stability. This should be done using the wall hanging plates supplied.
The wall fixings supplied are intended to be used on a solid brick walls. Check suitability before con�nuing.
Wear suitable eye protec�on when drilling. Take care when using power tools near water - the use of a residual current device (RCD) is recommended. Beware of
hidden pipes or cables. Take care when drilling �led surfaces as the drill might slip. Use a piece of masking tape to prevent the drill from wandering.
IMPORTANT: TRANSIT RAIL
The furniture is supplied with a transit rail fi�ed to protect the unit as it is delivered. The rail should be removed and disposed of prior to fi�ng the unit, done by
unscrewing the brackets holding it in place. The rail needs to be removed to allow the basin to be installed correctly.
WALL MOUNTING INSTRUCTIONS
STEP 1
Mark the loca�on of each of the wall moun�ng plates ensuring that
they are posi�oned inside the sidewalls of the vanity unit. We would
recommend the height is set such that the overall height including the
basin is 860mm. For each moun�ng plate drill three holes in the
marked posi�ons using a 8mm drill bit to a depth of 55mm.
DRAWER FASCIA ADJUSTMENT
STEP 3
The drawer may require adjustment to ensure alignment. This is
achieved with the adjustable runners. They are located at the front on
the underside of the drawer. By rota�ng the wheel indicated in Step 3
ver�cal adjustment of the drawer can be made.
height
t. 01225 787 870 e. info@tavistock-bathrooms.co.uk w: www.tavistock-bathrooms.co.uk
STEP 2
A
Locate the hangers onto the wall moun�ng plates. Wall hangers not
only �ghten the unit against the wall (Screw A) but also offer up/down
adjustment to fine-tune the fixing posi�on (Screw B). Finally replace
the covering cap provided over the wall hangers to hide the screws.
STEP 4
B
The drawers have a quick release func�on. The drawer is removed by
squeezing the levers C on both of the runners and pulling the drawer
forward.
NOTE: On 800mm unit there will be an addi�onal fixing on under side
of drawer base connected to the fascia. Undo this fixing before
a�emp�ng to remove fascia panel.
If the drawerbox is removed take care to protect the remaining
runners from any building debris.
To replace the drawer extend the drawer runners and place the
drawerbox on them. Close the drawer, and check that both sides
'click' into posi�on.
Tavistock, Brassmill Lane Trading Estate, Bath, BA1 3JF
B
C
A
Advertisement

Related Manuals for Tavistock CM800W


Summary of Contents for Tavistock CM800W
- Page 1 To replace the drawer extend the drawer runners and place the drawerbox on them. Close the drawer, and check that both sides ‘click’ into posi�on. Tavistock, Brassmill Lane Trading Estate, Bath, BA1 3JF t. 01225 787 870 e. info@tavistock-bathrooms.co.uk w: www.tavistock-bathrooms.co.uk...
- Page 2 Clean with a so� damp cloth only. For removal of lime scale deposits use a suitable proprietary cleaner. If necessary test on an POLISH inconspicuous area first. Tavistock, Brassmill Lane Trading Estate, Bath, BA1 3JF t. 01225 787 870 e. info@tavistock-bathrooms.co.uk w: www.tavistock-bathrooms.co.uk...