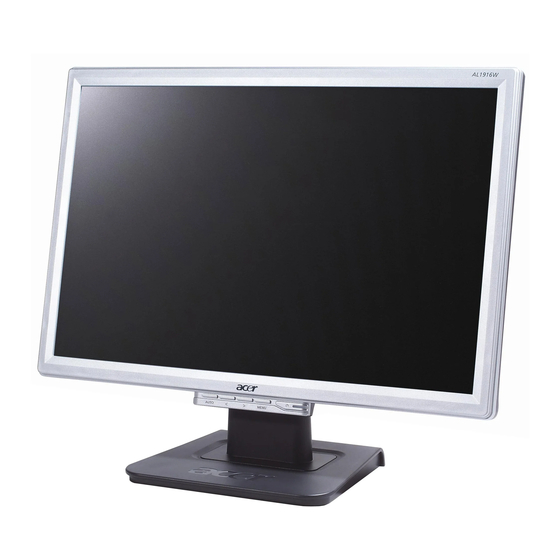
Acer AL1916 User Manual
Diagonal 484mm (19 inch) lcd display
Hide thumbs
Also See for AL1916:
- Service manual (67 pages) ,
- User manual (16 pages) ,
- Specifications (2 pages)
Table of Contents
Advertisement
Table of Contents
..................................................................... 1
..................................................................... 1
..................................................................... 1
..................................................................... 1
..................................................................... 1
..................................................................... 2
..................................................................... 2
..................................................................... 2
..................................................................... 3
..................................................................... 4
..................................................................... 6
..................................................................... 6
..................................................................... 7
..................................................................... 7
..................................................................... 7
..................................................................... 8
..................................................................... 9
Advertisement
Table of Contents

Related Manuals for Acer AL1916


Summary of Contents for Acer AL1916
-
Page 1: Table Of Contents
Safety Rules Electrical Safety Installation Safety Cleaning Safety SPECIAL NOTES ON LCD MONITORS Components and Accessories Usage Installation Guide Adjustment of Display Operation Adjustment of Screen Attachment Plug and Play Power Saver Troubleshooting Technical Specifications Display Mode Table of Contents ……………………………………………………………... -
Page 2: Safety Rules
Safety Rules Note: To ensure your safety and prolong the life of the product, read the following safety rules carefully when you use the product for the first time. Electrical Safety DO NOT touch the inside of the display. Only authorized and qualified technicians are allowed to open the LCD display case. -
Page 3: Components And Accessories
Components and Accessories LCD Display Power Cable Usage Installation Note: Read the [Safety Rules] section carefully before starting the installation Guide Attention Before installing your LCD display, consider the following with reference to the space where the display is to be installed: To minimize the reflection of the display, protect your eyes and ensure premium quality, don’t install your LCD display near windows or with backlight. -
Page 4: Adjustment Of Display
Connection to PC Make sure that the power supply of your PC is turned off and the power plug is removed. Connect and fasten both ends of the signal cable to your PC host and LCD display respectively. Connect the attached power cable to your LCD display. Plug the power cable to the receptacle. -
Page 5: Operation
Operation for Analog Your LCD display has been adjusted to its optimal status before shipment. (See Page 9). Your can also adjust the image in accordance with the following illustrations and steps. Steps: Click MENU to display the OSD window as shown in the following figure. Click <... - Page 6 Operation for Digital Your LCD display has been adjusted to its optimal status before shipment. (See Page 9). Your can also adjust the image in accordance with the following illustrations and steps. Steps: Click MENU to display the OSD window as shown in the following figure. Click <...
-
Page 7: Adjustment Of Screen
Adjustment of Screen Function Primary Secondary Directory Directory Definition Symbol Symbol Secondary Description Directory Items Contrast Adjust the contrast between the foreground and background of an image on the screen Brightness Adjust the background brightness of the screen Phase Adjust the focus of the image (for analog input adjustment only) Clock Pulse Adjust the clock pulse of the image (for analog input... -
Page 8: Attachment
Attachment Plug and Play Power Saver Troubleshooting Power LED does not light Icon off Color Default Instability or Ripple Image Offset or wrong Size The product provides the latest VESA plug and play function to prevent complicated and time-consuming installation procedures. The plug and play function allows your computer system to identify the LCD display easily and set up the functions of the LCD display automatically. -
Page 9: Technical Specifications
Technical Specifications Panel Dimension Max. Resolution Max. Pixel Pixel Span LCD Panel Brightness (Back Light Source) Contrast LC Response Time Visual Angle Effective Display Signal Mode Input Signal SYNC Frequency Max. Pixel Clock Image Input Terminal Audio Power Transformer Operation Mode Power Power Saving Sleep Mode Consumption... -
Page 10: Display Mode
Display Mode Display Mode VESA VGA 640x480 SVGA 800x600 XGA 1024x768 SXGA 1152x864 SXGA 1280x1024 WXGA 1280x768 WXGA 1440x900 VGA TEXT 720 x 400 Macintosh 640x480 832 x 624 1024 x 768 If the signal of your PC system is the same as one of the following reference signal modes, the screen will be adjusted automatically.
Need help?
Do you have a question about the AL1916 and is the answer not in the manual?
Questions and answers