Advertisement
Table of Contents
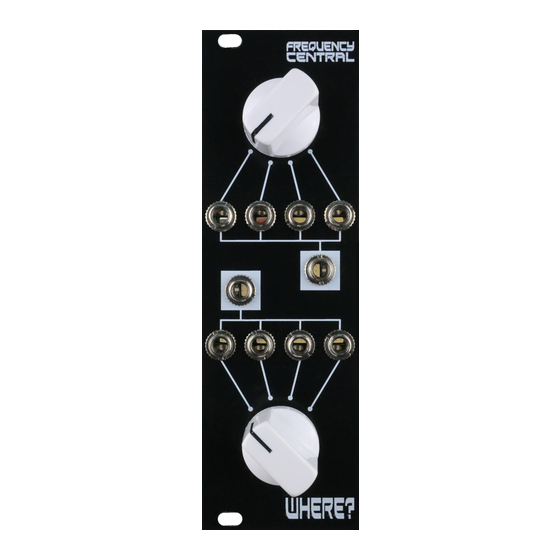
Frequency central
Where? is a two channel device with feel-good clunky rotary switches that take 4 inputs and
routes them to 1 output , or takes 1 input and routes that to 4 different outputs, enabling
both manual and performance led switching and signal routing on the fly. This saves you
from having to pull cables mid patch, reducing fumbling and keeping you in the flow of the
beat!
You will notice that all of the components listed below are also hyperlinks to where I buy
each specific part from. You can also use the hyperlinks to find out more about what each
component looks like. If you want to know even more,
Rotary switch x 2
3.5mm socket x 10
Male 40 pin header
Cut to size
Build documentation for:
Where?
Bill of Materials
Google
is your friend.
Advertisement
Table of Contents

Summary of Contents for Frequency Central Where
- Page 1 Bill of Materials You will notice that all of the components listed below are also hyperlinks to where I buy each specific part from. You can also use the hyperlinks to find out more about what each component looks like. If you want to know even more, Google is your friend.
- Page 2 1. Fit the rotary switches to their PCBs. You will see that the lugs of the switches are numbered, match up lug 1 with lug 1 of the PCB. Solder. 2. The 1P12T rotary switches needs to be adjusted to be a 1P4T rotary switch. Remove the mounting nut and the washer, below them you will find another washer with a small flange at 90°, the inner part of the switch has a number of slots, drop the flange into the slot marked 4, then waggle the switch to make sure you’re getting 4...
- Page 4 Troubleshooting Not all DIY builds work first time. The vast majority of build issues are down to soldering inconsistencies. This is far more likely than a bad IC, for example. The first step of successful troubleshooting should always be to reflow all soldering to eliminate any dry joints (bad connections) or solder bridges (short circuits).
Need help?
Do you have a question about the Where and is the answer not in the manual?
Questions and answers