Table of Contents
Advertisement
Quick Links
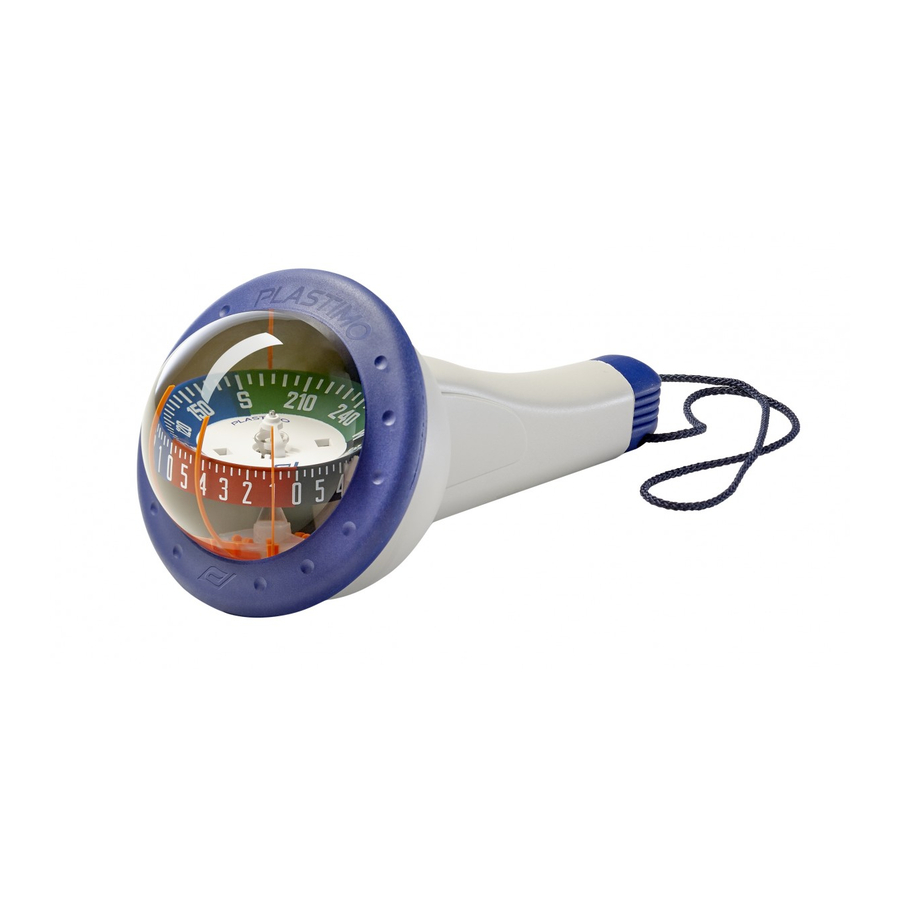
PLASTIMO COMPASS INSTRUCTIONS
Thank you for purchasing a Plastimo compass. This instrument is the
result of our more than 40 year of experience in compass development.
The choice of components we use and the care that we take in our
manufacturing process is reflected in the high quality of each Plastimo
compass we produce.
1.
Installation
Check that the place where you would like to mount your compass is at a
sufficient distance from magnetic objects that may interfere with your
compass's
local
extinguishers, loudspeakers, electric wires and equipment, metallic parts
of steering systems, cameras, tools, etc.
Make sure that:
The compass main lubber line is parallel to your boat's centre line. This is
especially important for bulkhead compasses mounted on an inclined
surface.
For flush or bracket mount compasses, the mounting surface is perfectly
stable and horizontal.
For flush mount compasses, place the supplied mounting template where
you would like to position the compass. Drill out the mounting holes and
the hole for the lighting wire if applicable. Cut out the hole for the main
body of the compass using a hole saw or portable jigsaw.
Use non-magnetic screws only (screws which do not adhere to a magnet
like 316L stainless steel, brass or aluminium screws..) to mount your
compass.
2.
eviation
D
The course discrepancy (in degrees) between the compass heading North
and the true magnetic North is called deviation. It can be negative or
positive.
In order to minimise this error, your compass should be installed as far as
possible from objects interfering with its local magnetic field.
Once the deviation errors are calculated and adjusted for, your compass
will be a perfectly reliable navigation instrument.
magnetic
field,
such
as
other
compasses,
fire
Advertisement
Table of Contents

Summary of Contents for Plastimo IRIS 100
- Page 1 PLASTIMO COMPASS INSTRUCTIONS Thank you for purchasing a Plastimo compass. This instrument is the result of our more than 40 year of experience in compass development. The choice of components we use and the care that we take in our manufacturing process is reflected in the high quality of each Plastimo compass we produce.
- Page 2 Your deviation should be recorded graphically on a deviation curve, and kept handy for future reference. To ensure ongoing accuracy, your compass deviation should be checked and updated once a year. How to plot a deviation curve Check that the compensation screws are in a neutral position (according to the compass model, the screw slot will either be horizontal, or aligned with a dot.
- Page 3 How to compensate a compass: You will need a second compass to be used as the reference for your steering compass; a hand bearing compass is often the most convenient, provided it is interference-free. The north-south labelled screw on the compass corrects the north-south heading;...
- Page 4 Troubleshooting If your compass presents the slightest defect, including the appearance of a persistent bubble, do not try to open the magnetic cell (3), but contact your Plastimo dealer or directly our factory service centre: Hamilton Business Park Botley Road...
Need help?
Do you have a question about the IRIS 100 and is the answer not in the manual?
Questions and answers