Table of Contents
Advertisement
Quick Links
Advertisement
Table of Contents

Summary of Contents for Blue Star Imperia
- Page 1 Product Training- Imperia R & I-WPD...
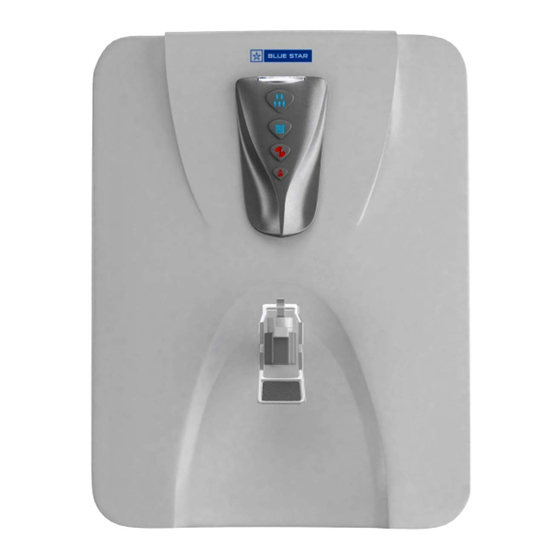
- Page 2 Imperia • Imperia model comes with 3 different Variants & 2 SKU's 1. Imperia RO+UV+UF with Mineralizer 2. Imperia RO+UV 3. Imperia RO Black & Silver White & Silver...
- Page 3 Product Specification & Features Features : • RO + UF + UV + Mineralizer Technology • 8-Stage purification (including Mineraliser) • Compact size • ATB (Aqua Taste Booster) • Mineralizer Filter • Filter Change & UV Fail Alert Indicators : 1.
-
Page 4: Specification
Specification Model Name Imperia Model Number IM5BSAM01 / IM5WSAM01 IM4BSAM01 / IM4WSAM01 IM3BSAM01 / IM3WSAM01 Purification Technology RO+UV+UF RO+UV Net Weight 9.5 Kg 9.25 Kg 9 Kg Power consumption 36 W 36 W 30 W Product dimensions(mm) 361(W) X 234(D) X 475(H) Sl. - Page 5 Treatment Train Flow Diagram...
- Page 6 Treatment Train Specification Sr No Particulars Specifications Suitable Pressure : 40~60 Psi Size : 10" L & Diameter of Filter Pore: 10 Micron External SF Media Material : PP Melt Blown Life : Approx. 3000 Liters Suitable Pressure : 40~60 Psi Size : 10"...
-
Page 7: Electrical Wiring Diagram
Electrical Wiring Diagram... -
Page 8: Installation
Installation • Pre Installation Requisites: 1. Identify the proper and adequate place to install the purifier. 2. Check the input water pressure & Power Supply. • There are Two main Parts in the installation of the Device. Part I. Assemble the filters and housings onto the main system Part II. - Page 9 PART II. Installing the System 1. Connect the source water valve and the water inlet with a tube. 2. Connect another tube to the drain hole of the unit and then run the other end of the drain tube into the drainage. 3.
- Page 10 Maintenance Of Filters & Replacement • Steps for Servicing the Water Purifier. 1. Flushing of the Filter cartridge. • Back Flushing need to be done on External SF, Pre Carbon Filter ,Sediment Filter,Post Carbon Filter & Mineralizer Cartridge. • Steps to Flush the Filter cartridge: ➢...
-
Page 11: Tank Cleaning
Tank Cleaning Steps to clean the Water tank : 1.Turn OFF water supply & Power supply to the purifier. Drain the tank. Remove the back cover. 2.Remove the faucet .Unscrew Four screw at the back size of the main body to it take out from the main cover. 3.Unscrew two screws at the back side of main body to remove the tank cover. -
Page 12: Replacement Of The Filter Cartridge
Replacement of the Filter Cartridge • Steps To replace the Filter cartridge Turn OFF water supply and Power supply to Purifier. Drain the water from the tank. ➢ External SF : Remove the tubings. Hold the housing and turn it anticlockwise with hand/wrench key to open the housing. Remove the used cartridge and replace it with new. - Page 13 Replacement of the Component 1.Booster Pump 1. Turn OFF water supply & Power supply to the purifier. Drain the tank. 2.Remove the back cover. Remove the RO membrane from the C Clamp 3. Unscrew two screw at the bottom to take out the component mounting tray.
- Page 14 2.Solenoid Valve 1. Turn OFF water supply & Power supply to the purifier. Drain the tank. 2.Remove the back cover. Remove the RO membrane from the C Clamp 3. Unscrew two screw at the bottom to take out the component mounting tray.
- Page 15 3.Filter Change Indicator/UV Choke 1. Turn OFF water supply & Power supply to the purifier. Drain the tank. 2.Remove the back cover. Remove the RO membrane from the C Clamp 3. Unscrew two screw at the bottom to take out the component mounting tray.
- Page 16 4. LPS 1. Turn OFF water supply & Power supply to the purifier. Drain the tank. 2.Remove the back cover. Identify the LPS and remove the tubings & electrical connections. 5. Take a new LPS & Put tubing connection & electrical connection. 8.
- Page 17 5. Tank Float Sensor 1.Turn OFF water supply & Power supply to the purifier. Drain the tank. Remove the back cover. 2.Remove the faucet .Unscrew Four screw at the back size of the main body to it take out from the main cover. 3.
-
Page 18: Troubleshooting
Troubleshooting 1. Water leakage • In case of a water leak inside the purifier, turn off the water supply and unscrew the side panel cover of the purifier. • Remove the side panel cover for a deeper analysis of the root cause of the leak. Possible Reasons Defect Cause... - Page 19 2. Device not responding In case of the purifier not responding when the power is switched on, switch off the power supply and unscrew the back cover of the purifier. Remove the back cover for a deeper analysis. Possible Reasons Defect Cause Rectification...
- Page 20 3. Water Tank is filling very slow. Low permeate flow rate. In case low permeate flow rate, switch off the power and water supply and unscrew the back cover of the purifier. Remove the back cover for a deeper analysis. Possible Reasons Defect Cause...
- Page 21 Possible Reasons Problem Cause Rectification 1.Check the power cable is damaged or not. 1.Change the power adapter. Electrical shock from 2.Check the electrical wire connector is 2.Connect the connector tightly. the device. loose or damaged. 3.Clean the wire and connector. 3.Ensure that electrical wire or connector is not wet.
- Page 22 Possible Reasons Problem Cause Rectification 1. Water flow circuit is not properly connected. 1.Connect the water flow circuit as per manual. 2.R.O. Membrane is not in housing. Water tank is filling 2.Put the R.O. Membrane in the housing. very fast. High water 3.
- Page 23 Possible Reasons Problem Cause Rectification 1.Check the rejection flow rate if is it as 1. Defective FRT per rating or not. If found defective Rejection Rate is replace it. very high 2. FRT rating is very high. 2.Change FRT with standard rating. 1.
- Page 24 Thanks!
Need help?
Do you have a question about the Imperia and is the answer not in the manual?
Questions and answers
How to clean the water tank?
To clean the water tank of Blue Star Imperia:
1. Turn OFF the water and power supply to the purifier.
2. Drain the tank.
3. Remove the back cover.
4. Remove the faucet.
5. Unscrew four screws at the back of the main body to remove it from the main cover.
6. Unscrew two screws at the back of the main body to remove the tank cover.
7. Clean the tank using purified water.
This answer is automatically generated