Table of Contents
Advertisement
Advertisement
Table of Contents

Summary of Contents for MedRx Ultra Vac
- Page 2 As with all of our products, MedRx is pleased to provide the top notch service and support that you have come to expect. Our associates constantly strive to see that every...
-
Page 3: Table Of Contents
Pressure Wand ..........9 Care and Maintenance ........9 Troubleshooting Guide ........12 Limited Warranty ..........13 Specifications ..........14 www.medrx-usa.com 1200 Starkey Rd., #105, Largo FL 33771 Toll Free: (888) 392-1234 • (727) 584-9600 Fax: (727) 584-9602 • Email: medrx@medrx-usa.com UltraVac Manual • UV-I-MULVAC-4 Effective 1-30-12... -
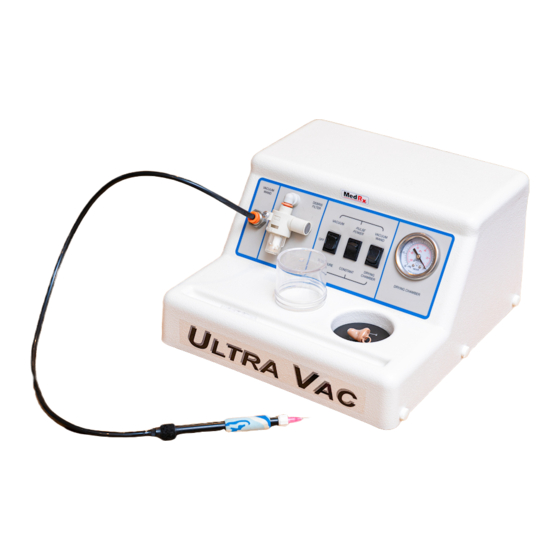
Page 4: Controls And Components
See back cover for details The cord attachment and fuse are located on the rear panel of the unit. The front panel of the Ultra Vac is divided into two sections. Vacuum/Pressure Wand and Drying Chamber. The operation of each section is explained in detail in the appropriate section of this manual. -
Page 5: Recommended Procedure
(or damaged), have the patient acknowledge this before proceeding. Remove Visible Wax - Using the cleaning tool kit provided with the Ultra Vac, clean any large, visible accumulation of cerumen from the instrument. Drying Chamber - Place it in the Drying chamber to displace and evacuate moisture vapor from within the aid. -
Page 6: Drying Chamber
DRYING CHAMBER To use the Drying Chamber, place the hearing aid (including earmold if BTE) on the pad and cover it with the vacuum cup. You can place two ITE’s or one BTE with mold in the chamber at a time. -
Page 7: Pressure Wand
Should condensation develop in the particulate filter of Vacuum Wand tube, run the system for 10 minutes to remove. Cleaning - To keep your Ultra Vac looking brand new, wipe the cabinet and control panel with a soft cloth. Stubborn stains may UltraVac Manual •... - Page 8 be removed by using a cloth moistened with water and mild detergent. Do not allow debris or fluid to enter the Drying Chamber air inlet port. Cleaning the Wand - Unscrew the white luer and the black barb adapter from the wand body. Use cotton tipped applicators to remove wax and debris from inside the wand body.
- Page 9 Wand, Hose and Filter Cleaning 1. Every week, remove the Hose and Wand assembly from the Ultra Vac and unscrew the Luer fitting and black hose barb from the wand. A 5/16” end-wrench is needed for the hose barb. Clean the wand interior with long cotton tip applicators and alcohol.
-
Page 10: Troubleshooting Guide
TROUBLESHOOTING GUIDE SYMPTOM REMEDY Won’t come on. -Check fuse located on rear panel. -Call for service. -Check that the Drying Chamber switch is in the Vacuum Wand Vacuum Wand not setting. working. -Check to make sure hose is connected properly in panel. -Check to make sure filter is properly attached and not blocked. -
Page 11: Limited Warranty
MedRx, Inc is not responsible for problems resulting from installation of unapproved software or hardware. In the event of unapproved software or hardware installed on the system causing a conflict, MedRx will service the product for a fee to be determined at the time of service. -
Page 12: Specifications
SPECIFICATIONS Power Requirements 100 VAC, 50-60 Hz 110-120 VAC, 50-60 Hz 220-240 VAC, 50-60 Hz Power Consumption <100 watts Fuse 1.25 amp SB 5x20mm 2.50 amp SB 5x20mm Operating Temperature 0° to 50° C (32° to 120° F) Weight Approx. 8.5 lbs. Dimensions (approx.) 10.5”...
Need help?
Do you have a question about the Ultra Vac and is the answer not in the manual?
Questions and answers