
Summary of Contents for J.HANLON Gardner 93089
- Page 1 ASSEMBLY INSTRUCTIONS Gardner Petite Rack To view assembly video please visit the followitng link: HTTP://WWW.STEELMANTOOLS.COM/RACKS.HTML?ALIAS=RACKS.HTML...
-
Page 2: Parts List
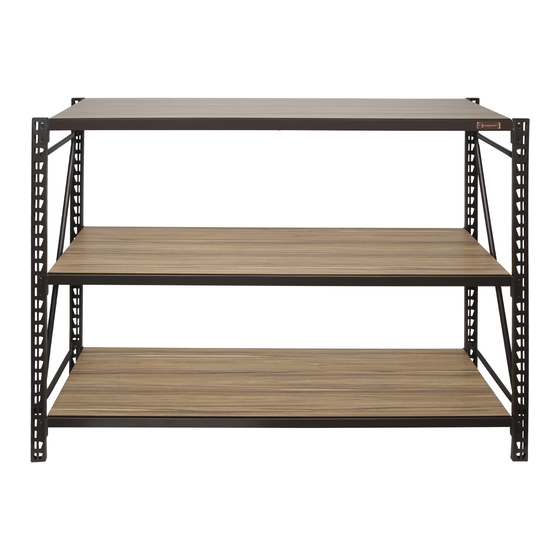
PARTS LIST Part Description 4 Shelf 3 Shelf Vertical Beam Please read these instructions thoroughly Cross Beam before beginning assembly. Check to see if all Wood Deck of the listed components are present before Caps and Feet assembling. (Parts not show to scale) Shelf Strap Wall Mounting Bracket Assembly Locking Pins... - Page 3 NOTE - Check all of the components provided for defects. If any defects are found, do not proceed with assembly. Use of defective components or improper assembly may result in damage or injury. Before placing a load on the shelves, make sure all of the tabs are locked into place securely.
- Page 4 ASSEMBLY INSTRUCTIONS (Cont.) Fig. 2 1. After assembling the uprights 2. Remove all of the components from the box and lay them out in an orderly fashion on the floor where you intend to assemble. 3. Take one of the cross beams (Part B, Fig.2) and bring it over to one of the upright frames (Part A, Fig. 2).
- Page 5 Fig. 4 7. To continue assembly, repeat steps 2 through 6 on the second and third sets of cross beams (Part B, Fig. 4). Make sure each set of cross beams is at the same level (as on the opposite side). NOTE - The cross beams are adjustable and can be set at your desired height.
- Page 6 Fig. 6 10. The shelf strap (Part E, Fig. 6) is to be attached to the pre-drilled holes provided on the bottom of each side of the cross beams. Use the included hardware (Part L, Fig. 6) to fasten the shelf strap to the cross beams (Part B).
- Page 7 Fig. 8 12. Insert the locking pins (Part G, Fig. 8) into the hole on the cross beam flange. WARNING: Adult assembly required due to the presence of small parts, sharp points, and sharp edges. IN EARTHQUAKE PRONE AREAS, SECURE RACK TO WALL OR OTHER SOLID PART OF THE STRUCTURE.
- Page 8 NOTE: It is recommended that any rack be secured to a wall especially in earthquake prone environments WALL MOUNTING BRACKET (N): To install the mounting plate assembly see Figure 9. 1. Remove the bracket assembly (F) from the box and place to the side until the rack assembly is complete.
- Page 9 Assembling racks upward: 1. When stacking racks on top of each other the assembly process is the same, however when assembling a next tier of uprights the use of the stacking bracket, (M) is needed. 2. Assemble the upright as shown in steps 1 thru 10 on page 3. 3.
-
Page 10: Limited Warranty
LIMITED WARRANTY ™ J.HANLON Storage Racks are backed by a One Year Warranty through JS Products. This warranty covers manufacturer defects and workmanship. The warranty excludes misuse or abuse and normal wear and tear. Work safely with tools by wearing safety goggles.
Need help?
Do you have a question about the Gardner 93089 and is the answer not in the manual?
Questions and answers