Advertisement
Quick Start
Copyright © 2004 Creative Technology Ltd. All rights reserved. The Creative logo and FreePoint are trademarks or
registered trademarks of Creative Technology Ltd. in the United States and/or other countries. Microsoft, Windows
and the Windows logo are registered trademarks of Microsoft Corporation. All other products are trademarks or
registered trademarks of their respective owners and are hereby recognized as such. All specifications are subject to
change without prior notice. Actual contents may differ slightly from those pictured.
FR
ES
BP
TR
PN 0300000000307 Rev.A
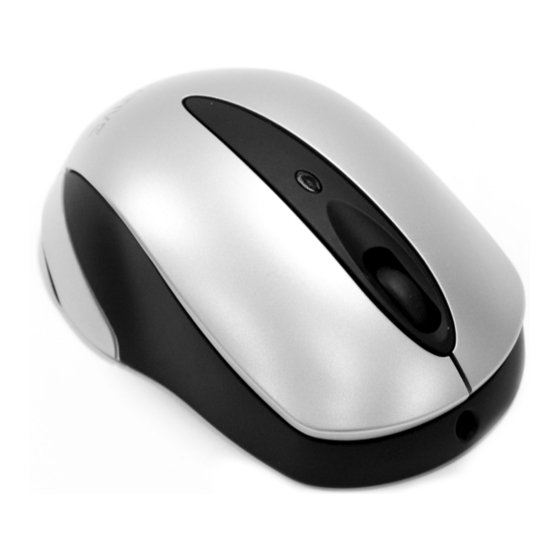
Overview
f. Optical sensor
a. Low-battery
b. Scroll wheel
i. USB connector
indicator
g. USB slot
e. Right-click button
d. Charging port
h. Battery compartment
c. Left-click button
1. Inserting Batteries
Your mouse is supplied with two rechargeable AAA batteries.
DO NOT mix batteries of different brands and capacities.
2. Charging Batteries (Optional)
1. Connect the USB charging cable to the USB port on your computer and the
Charging port on your mouse as shown.
2. Fully charge the batteries for about four hours (initial charge: eight hours).
3. Disconnect the mouse from the charging cable.
When the Low-battery indicator blinks in red, repeat steps 1 and 2 to charge the batteries.
Keep your mouse connected to the USB port
on your computer, and proceed to Step 3
Connecting the RF Receiver to:
• Use your mouse and charge the batteries at
the same time.
• Use your mouse without batteries.
If you use non-rechargeable alkaline batteries, skip this step and proceed to
Step 3 Connecting the RF Receiver. DO NOT attempt to charge non-rechargeable
alkaline batteries. The batteries may leak and damage your mouse.
FreePoint
TM
Travel Mini Mouse
3. Connecting the RF Receiver
1. Press the EJECT button at the back of
2. Remove the RF Receiver.
your mouse.
The RF Receiver is released and the
red Optical sensor lights up to
indicate that the mouse is turned on.
3. Connect the RF Receiver to an available USB port on your computer.
You can start using your mouse.
For Windows XP/2000/Me:
After you have connected the USB device, Windows will detect the USB device and
install the required drivers automatically.
For Windows 98 SE:
Users may be prompted by an Add New Hardware Wizard dialog box when
Windows detects the USB device. Make sure the original mouse is connected and
follow the instructions on the screen. You may need to insert the Windows
Installation CD into the CD-ROM drive. Some computers may be supplied without
the Windows CD, but have the necessary files stored in c:\windows\options\cabs
(replace c:\ with the drive letter your Windows has been installed on).
More Information
Register your product!
Enjoy a host of benefits by registering your product during installation, or at
www.creative.com/register. Benefits include:
• Service and product support from Creative
• Exclusive updates on promotions and events
Please note that your warranty rights are not dependent on product registration.
4. Storing Your Travel Mouse
1. Insert the RF Receiver into the USB
2. Rotate and press the RF Receiver as
shown.
slot.
The EJECT button clicks and the RF
Receiver is held in place for
convenient storage.
Your mouse turns off when the RF Receiver is fully inserted. Conserve battery
power by turning off your mouse when it is not in use.
Frequently Asked Questions
My mouse seems to be experiencing interference. Is there anything I can do?
You can reset your mouse. Press the RESET button on your mouse as shown.
Creative Knowledge Base
Resolve and troubleshoot technical queries
at Creative's 24-hour self-help Knowledge Base.
Go to www.creative.com and select your region.
Advertisement
Table of Contents

Related Manuals for Creative FreePoint Travel Mini


Summary of Contents for Creative FreePoint Travel Mini
- Page 1 You can reset your mouse. Press the RESET button on your mouse as shown. 1. Connect the USB charging cable to the USB port on your computer and the Copyright © 2004 Creative Technology Ltd. All rights reserved. The Creative logo and FreePoint are trademarks or Charging port on your mouse as shown.
- Page 2 THIS DEVICE COMPLIES WITH PART 15 OF THE FCC RULES. OPERATION IS SUBJECT TO THE FOLLOWING TWO CONDITIONS: (1) THIS DEVICE MAY NOT CAUSE HARMFUL INTERFERENCE, AND (2) THIS DEVICE MUST ACCEPT ANY INTERFERENCE RECEIVED, INCLUDING INTERFERENCE THAT MAY CAUSE UNDESIRED OPERATION. NOTE: THE MANUFACTURER IS NOT RESPONSIBLE FOR ANY RADIO OR TV INTERFERENCE CAUSED BY UNAUTHORIZED MODIFICATIONS TO THIS EQUIPMENT.
Need help?
Do you have a question about the FreePoint Travel Mini and is the answer not in the manual?
Questions and answers