Advertisement
www. v ava.com
ASIA PACIFIC
E-mail: support.jp@vava.com(JP)
JP Importer: 株式会社SUNVALLEY JAPAN
Address: 〒104-0032 東京都中央区八丁堀3丁目18-6 PMO京橋東9F
EUROPE
E-mail:
support.uk@vava.com(UK)
support.de@vava.com(DE)
support.fr@vava.com(FR)
support.es@vava.com(ES)
support.it@vava.com(IT)
EU Importer: ZBT International Trading GmbH
Address: Halstenbeker Weg 98C, 25462 Rellingen, Deutschland
NORTH AMERICA
E-mail: support@vava.com
Tel: 1-888-456-8468 (Monday-Friday: 9:00 – 17:00 PST)
US Distributor: SUNVALLEYTEK INTERNATIONAL INC.
Address: 46724 Lakeview Blvd, Fremont, CA 94538
MANUFACTURER
Manufacturer: Shenzhen NearbyExpress Technology Development Co.,Ltd.
Address: 333 Bulong Road, Shenzhen, China, 518129
Learn more about the EU Declaration of Conformity:
https://www. v ava.com/downloads-VA-HS003-CE-Cert.html
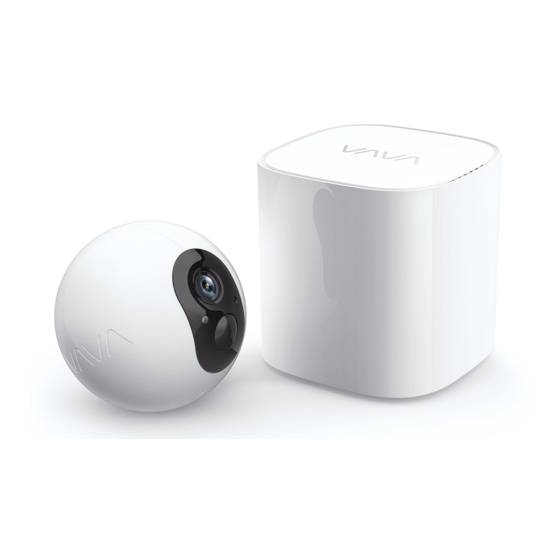
Model: VA-HS003
VAVA Cam Pro
20190919
Quick Start Guide
VA-HS003_V1.2
MADE IN CHINA
Advertisement


Need help?
Do you have a question about the Cam Pro and is the answer not in the manual?
Questions and answers
كلمة السر الافتراضية للوايرلس
The default wireless password for the Vava Pro (A139 Pro) is 12345678.
This answer is automatically generated