Breville Precision Brewer BDC455 Instruction Book
Hide thumbs
Also See for Precision Brewer BDC455:
- User manual ,
- Instruction book (49 pages) ,
- Instruction book (23 pages)
Advertisement
Advertisement
Table of Contents

Related Manuals for Breville Precision Brewer BDC455


Summary of Contents for Breville Precision Brewer BDC455
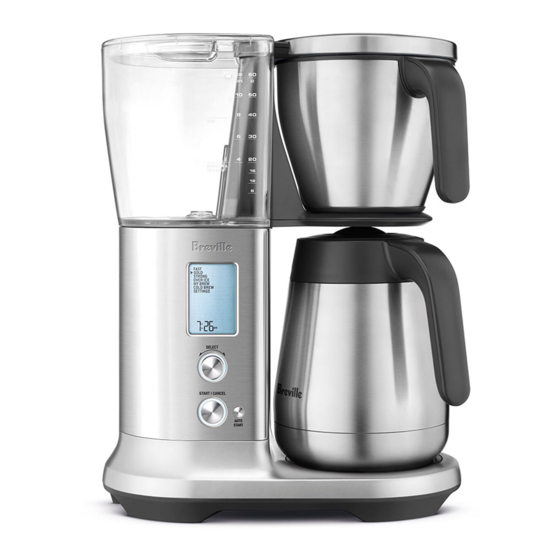
- Page 1 Breville Precision Brewer Thermal ™ Instruction Book - BDC455...
-
Page 2: Table Of Contents
SAFETY FIRST power plug of this appliance. • Do not place the product near At Breville we are very safety the edge of a bench or table conscious. We design and during operation. Ensure the... - Page 3 Cleaning and user authorised Breville Service maintenance shall not be Centre for examination, made by children unless replacement or repair.
- Page 4 If you have STORAGE any questions regarding the memory storage chip please Please note that in order to contact us at privacy@ better serve our customers, breville.com internal memory storage has been imbedded into SPECIFIC your appliance. INSTRUCTIONS This memory storage...
- Page 5 • Ensure the supplied mesh is designed for use with basket filter or a paper filter this appliance only. It must (8-12 cup, flat base basket style never be used on a range with ~ 8.25cm base) is placed top or in a microwave. in the coffee basket before •...
- Page 6 Allow to cool before putting on or taking off parts, and before cleaning the appliance. • The use of attachments not sold or recommended by Breville may cause fire, electric shock or injuries. FOR HOUSEHOLD USE ONLY SAVE THESE INSTRUCTIONS...
-
Page 7: Components
Components A. Tank lid G. Brew basket B. Water tank H. Showerhead C. LCD display I. Showerhead ring D. SELECT dial J. Drip stop lever E. START|CANCEL button K. Carafe lid F. AUTO START button L. Carafe... - Page 8 A. Cone filter basket insert E. Flat bottom basket filter paper pack (10 pieces) B. Mesh basket filter F. Water hardness test strip (see page 9 for directions) C. Brew basket G. Pour over adapter kit D. Breville coffee measuring scoop...
-
Page 9: Features
Features Assembly Your Breville Precision Brewer has been BEFORE FIRST USE designed to make coffee of the highest quality, Unpack all parts and accessories before just the way you like it, no matter what style of removing and safely discarding all packaging coffee you enjoy. -
Page 10: Operation
WATER HARDNESS SETTING & FLUSHING Operation 1. Ensure that the empty coffee basket and empty carafe (with assembled lid) are inserted into the machine. BREWING A CARAFE 2. Fill the water tank with fresh cold water to Ensure the brew basket is clean and the drip the MAX mark on the water tank. - Page 11 CAUTION recommend 99g of coffee, approximately The carafe MUST be in place before you brew 12 level Breville measuring scoops. with water level higher than ‘SINGLE CUP’ Roughly 1 scoop for every 150ml. line. Otherwise the coffee basket will overflow.
- Page 12 Never fill the water tank once the coffee higher than normal. Breville recommends machine has started a brewing cycle. a brew ratio 2-3 times higher than average, approximately 3 Breville scoops to every BREW MODES 150ml of water. • FAST: This mode is to deliver the fastest •...
- Page 13 8. Grind the correct amount of whole bean coffee for the amount you are brewing. 1 level Breville scoop of ground coffee is suitable for 150ml of water. 9. Select desired brewing mode, Fast, Gold, MyBrew or Strong.
-
Page 14: Programming
Programming AUTO START Allows you to automatically start brewing at preset time. 1. Set filter basket type for the amount of coffee you're brewing. 2. Select your brewing mode. 8. Pressing START|CANCEL will cancel Auto 3. Fill the water tank with enough fresh cold Start. -
Page 15: Tips
COFFEE/WATER RATIO We recommend 1 level Breville scoop of coffee grounds per 150ml cup of water. Adjust the amount according to your individual taste. The maximum capacity for pre-ground coffee is 12 level Breville scoops. Exceeding this amount may cause the coffee basket to overflow. - Page 16 BLOOMING • To avoid a diluted taste, you can also use regular strength coffee and serve it over • When coffee is roasted, CO is trapped inside coffee ice cubes. Prepare coffee ice cubes the bean. Coffee grounds release this CO by pouring cool coffee into ice-cube trays when hot water hits them, and this is called and freezing.
- Page 17 POUR OVER Provided pour over adapter is to let your Precision Brewer accommodate your favourite pour over dripper. Caution: Showerhead may be hot. Remove basket Fit 'Pour Over' Refit showerhead Mount adapter Unscrew Remove and carafe showerhead ring showerhead showerhead ring DRIPPER Dose with ground Place dripper on...
-
Page 18: Care & Cleaning
DESCALING Care & Cleaning After regular use, hard water can cause mineral build up in internal components, reducing the brewing flow, brewing temperature, power of the machine, and taste of the coffee. Always turn the coffee machine off and remove We recommend to descale regularly. -
Page 19: Troubleshooting
Troubleshooting PROBLEM POSSIBLE CAUSE WHAT TO DO • • Coffee too strong Amount of coffee and water is not Check correct amount of coffee or or weak correct (1 spoon : 150ml cup). water is used. • • Coffee leaking The basket drip-stop seal doesn’t Check that there is no obstruction in from basket... - Page 20 • while brewing or Brewing temperature profile is not • runs for extended properly set. Call Breville Consumer Support if periods with only problem persists. steam output • • ‘DESCALE’ on LCD Brewing performance is affected by Descale the unit.
- Page 21 • Cool down and run FAST cycle with 1L. • Descale the unit. • Call Breville Consumer Support if problem persists. • • Unit brewing slow There is a blockage in the system. Empty the tank, remove any blockage,...
- Page 22 Notes...
- Page 23 Notes...
- Page 24 Breville, the Breville logo, Master Every Moment and Breville Precision Brewer, are registered trademarks of Breville Pty. Ltd. A.B.N. 98 000 092 928. Copyright Breville Pty. Ltd. 2019. Due to continued product improvement, the products illustrated/photographed in this brochure may vary slightly from the actual product.
Need help?
Do you have a question about the Precision Brewer BDC455 and is the answer not in the manual?
Questions and answers