Advertisement
Quick Links
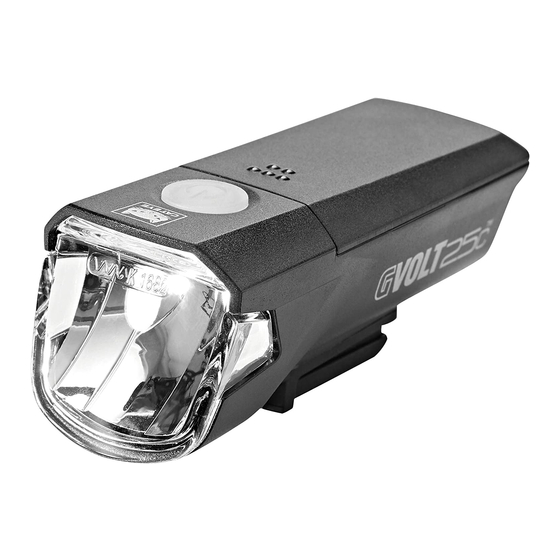
BATTERY HEADLIGHT
HL-EL370G
Manual
K 1682
Before using the light, read this manual
thoroughly and keep it for future reference.
Design Pat. Pending
Copyright© 2019 CATEYE Co., Ltd.
1
HLEL370G-191010
Light unit
FlexTight™ bracket
( H-34N )
WARNING!!!
• Be sure to direct the light beam downward so
approaching car or pedestrian are not dazzled.
• Before your trip, please make sure the light is
firmly mounted to the bracket and it lights up.
• Always pay attention to the remaining battery power
by checking the battery indicator periodically while
using the light.
CAUTION!
• Keep the light away from children.
• Mounting the light unit too close to a wireless
computer may adversely affect the reading of the
computer.
• This product is water-resistant under normal daily
use and can be used in the rain. However, do not
intentionally submerge it in water.
• If the light unit or parts become dirty with mud,
etc., clean with a soft cloth which is moistened with
mild soap. Never apply paint thinner, benzine or
alcohol; damage will result.
SPARE/OPTIONAL PARTS
5338827N
5341831N
FlexTight™ bracket
Helmet mount
( H-34N )
SPECIFICATIONS
Light source
High-intensity LED x 1
Battery
Alkaline AAA batteries 1.5 V x 3
Operating time
High : Approx. 3 hours
Low : Approx. 10 hours
* Average runtime at 68˚F (20˚C).
Temperature range 14˚F – 104˚F (-10˚C – 40˚C)
Dimensions/weight 1-11/32" x 1-1/2" x 3-23/64"
(34 x 38 x 85.5 mm) / 2.33 oz (66 g)
* The specifications and design are subject to change without
notice.
1
ENG
HOW TO REPLACE BATTERY
1
Cover
2
1. Slide the cover backward while pressing
on the dot section (Fig.1
2. Insert the batteries on top of the belt
according to the orientation marked on
the unit (
).
3
3. Reattach the cover by following the
procedure in reverse.
2
HOW TO MOUNT TO A BICYCLE
Bracket
Strap
4
*1
CAUTION!
• Be sure to tighten the dial by hand.
If tightened too hard with a tool, the screw thread may be stripped.
• Check the dial and screw (*2) on the bracket periodically, to monitor for any loosening.
• If cutting the strap, be careful of injury from where the strap is cut. (*3)
3
SWITCH OPERATION
Switch
(Battery indicator)
Remaining battery capacity:
When the switch (battery indicator) is illuminated in red, there is little
remaining battery power. Replace the battery as soon as possible.
3
Dot section
CAUTION!
,
).
• Do not use rechargeable batteries.
1
2
• Do not combine old and new batteries or batteries of
different types.
• Ensure correct polarity when installing the batteries.
• Remove the batteries if the light will not be used for a long
time. Failure to do so may result in malfunction due to
battery fluid leakage.
Rubber pad
1
2
4
*2
Screw
1. Mount the bracket to the handlebar. (Fig.2
2. Insert the light unit into the bracket until it clicks, and
adjust the beam angle. (
3. To remove the light unit, pull it forward while pressing
NO!
down on the release button (
* To readjust the beam angle, loosen the dial and/or the
screw enough to move the bracket, and firmly tighten them
OK
after adjustment. (*2)
OFF
High
*4:
When turning the light on, it lights up in the mode that was used
last time. (Mode memory function)
Removing the battery
Alkaline AAA
batteries
× 3
Belt
Mounting height : 400 – 1200 mm
3
*3
Dial
Release button
5
) (*1)
4
,
).
5
6
*4
ON
Switch : Press and hold
Click
Indicator
(Constant red light)
Pull
Belt
3
6
–
)
1
3
Low
Advertisement

Related Manuals for Cateye GVOLT25C


Summary of Contents for Cateye GVOLT25C
- Page 1 • Do not use rechargeable batteries. Design Pat. Pending • Do not combine old and new batteries or batteries of 2. Insert the batteries on top of the belt Copyright© 2019 CATEYE Co., Ltd. HLEL370G-191010 according to the orientation marked on different types.
- Page 2 CO.,LTD. CatEye products are warranted to be free of defects from materials and workmanship for a period of 2 years from original purchase. If the product fails to work during normal use, CatEye will repair or replace the defect at no 2-8-25, Kuwazu, Higashi Sumiyoshi-ku,Osaka 546-0041 Japan charge.