Advertisement
ACE PLUS CORP.
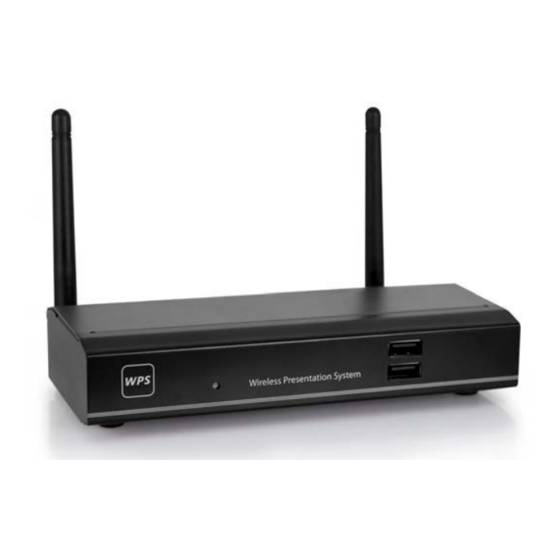
WPD-230
Wireless Presentation System
Quick Installation Guide
(Model Name: WPS-Interactive)
Headquarters :
Page 1 of 7
9F.-2, No.190, Sec. 2, Zhongxing Rd., Xindian Dist., New Taipei City 231, Taiwan
JUL 15 / 2012
Tel : +886-2-2912-4201
Fax : +886-2-2912-3164
Version 1.0
E-Mail: marketing@ace-plus.com
Technical Support: vincent@ace-plus.com
http://www.ace-plus.com
http://www.ace-plus.tw
Advertisement
Table of Contents

Summary of Contents for Ace Plus WPS-Interactive
- Page 1 ACE PLUS CORP. WPD-230 Wireless Presentation System Quick Installation Guide (Model Name: WPS-Interactive) Headquarters : Page 1 of 7 9F.-2, No.190, Sec. 2, Zhongxing Rd., Xindian Dist., New Taipei City 231, Taiwan JUL 15 / 2012 Tel : +886-2-2912-4201 Fax : +886-2-2912-3164 Version 1.0...
- Page 2 ACE PLUS CORP. 1. Package Contents WPS Box WPS USB Token Power Adapter (DC +5V, 2.5A) Antenna *2 Quick Installation Guide Warranty Card 2. USB Token Contents Client Folder Software and MobiShow software for Smartphone Applications Folder VAC (For Windows XP Audio Projection)
- Page 3 ACE PLUS CORP. Rear Panel Antenna RJ-45 Audio Antenna DC Jack VGA Connector HDMI Connector 4. Installation 1) Connect projector VGA/HDMI cable to WPS box VGA/HDMI connector and turn on projector power. 2) Turn on WPS box. When Projector shows the default menu on the screen as below, it indicates the WPS box is ready now.
- Page 4 ACE PLUS CORP. Windows 1) Make sure your PC WLAN is enabled already, and connect your PC with WPS box. 2) Open your browser and it will redirect to WPS main page automatically, or you can enter the IP address to access the WPS web home page.
- Page 5 ACE PLUS CORP. 3) Download the client software. Please select the “Windows 7/Vista / XP” and execute the installation program. After install the program, WPS shortcut will come out on the PC desktop. 4) Make sure your personal firewall allows WPS software to pass through.
- Page 6 ACE PLUS CORP. 5) Enter the LOGIN CODE and You can see the login code on the projector screen 6) Click the button to start projection, or choose one of the numbers (1 to 4) to project to the split screen.
- Page 7 ACE PLUS CORP. Enable your WiFi and connect to WPS device. Execute WPS client software for Mac. (You can find it in WPS USB Token or download it from the WPS web page) Launch WPS software and enter the login code.
Need help?
Do you have a question about the WPS-Interactive and is the answer not in the manual?
Questions and answers