
Related Manuals for DAVIS 6830

Summary of Contents for DAVIS 6830
- Page 1 USER MANUAL Temperature Humidity Sensor Product number 6830 Davis Instruments, 3465 Diablo Avenue, Hayward, CA 94545-2778 U.S.A. • 510-732-9229 • www.davisinstruments.com...
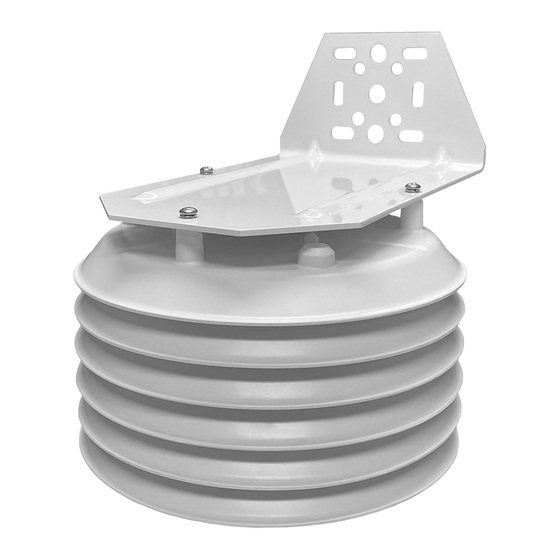
- Page 3 Temperature/Humidity Sensor Product No. 6830 Components The Temperature/Humidity Sensor consists of temperature and humidity sensors located in a radiation shield, with a 25’(7.6 m) sensor cable. Mounting Bracket Radiation Shield Assembly 25’ (7.6 m) Cable Cable Ties 2-1/8" U-Bolts 1/4" x 1-1/2"...
- Page 4 Prepare the Temperature/Humidity Sensor Rotate the Mounting Bracket. To facilitate packing and shipping the Temperature/Humidity Sensor, the mounting bracket is installed upside down at the factory. For best air flow through the shield as well as ease of installation, we Remove suggest you flip it over.
- Page 5 Mounting on a Pole Use a pole having an outside 2-1/8" U-Bolts diameter between 1" and 1-1/4" 1/4" Flat Washer (25 – 31 mm). Lock Washer 1/4" Hex Nut 1. Hold the mounting bracket against the pole. Put two U-bolts around the pole and insert the ends through the holes in the back of the mounting bracket.
- Page 6 Connect the Sensor Plug the sensor cable into either the Temp/Hum jack in a Sensor Transmitter, or install in an EnviroMonitor Node, using the EnviroMonitor app. It can also be used to replace the outside Temperature and Humidity on a Vantage Pro2 by plugging it into the Temp/Hum jack in the sensor transmitter shelter.
- Page 7 Weight ......3.5 lbs. (1.6 kg) Sensor Output (as used by Davis Instruments weather station consoles) Temperature (Air) Resolution and Units.
- Page 8 Monday – Friday, 7:00 a.m. – 5:30 p.m. Pacific Time. Temperature/Humidity Sensor, 6830 7395.344 Rev. B 5/15/20 ©Davis Instruments, 2020. All rights reserved. Information in this document is subject to change without notice. Davis Instruments Quality Management is ISO 9001 certified. 3465 Diablo Avenue, Hayward, CA 94545-2778 U.S.A.
Need help?
Do you have a question about the 6830 and is the answer not in the manual?
Questions and answers