Table of Contents
Advertisement
Quick Links
MM00178 INSTRUCTION MANUAL
ASSEMBLY | Installation | Operation | Maintenance | SAFETY
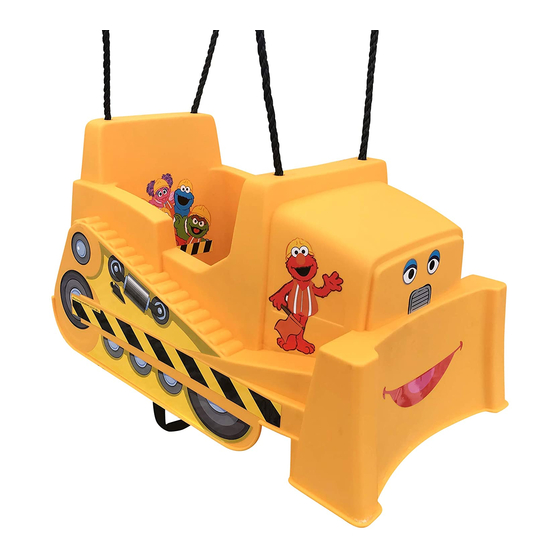
Sesame Street Dozer Toddler Swing
ASSEMBLY
Before you start, observe the following statements and warnings to reduce the likelihood of serious
or fatal injury.
•
This swing come fully assembled — upon receipt check all parts including bucket, ropes,
straps, buckles and spring clips for any fractures, breaks, sharp edges, rust, or other signs
of damage or deterioration and for any missing parts before moving on to the installation
section of the manual.
DO NOT use swing if any damage or deterioration is detected or missing parts. Contact
•
point of purchase retailer or M&M Sales Enterprises, Inc. Never substitute parts.
Please keep instructions for future reference.
•
INSTALLATION
SWING SET OR OTHER HORIZONTAL BEAM ASSEMBLY:
To attach swing to an existing swing set do so by removing a swing or playground
element from the existing set and attach the two spring clips to the swing support hook
hardware installed on equipment. (See Figure: 1)
TREE LIMB OR CROSS BAR ASSEMBLY:
First test the tree limb or cross bar to ensure that it is secure, it will support at least
50 lbs., is over level ground, has a minimum height of 7 feet and is no less than 6 feet on
all sides from vertical elements. Swing should have a clearance of at least 1.5 times the
total length of all the rope measured from the tree limb/horizontal beam to the spring
clips attachment point. (See Figure: 2)
GENERAL INSTRUCTIONS:
•
Do not install home playground equipment over concrete, asphalt, packed
earth, grass, carpet or any other hard surface — A fall onto a hard surface can
result in serious injury or death to the equipment user.
•
To prevent serious injury, equipment must not be used until properly installed.
ADJUST SWING HEIGHT
•
Adjust swing hanging length so platform is parallel with ground. Bottom of
swing should be no more than 24 inches and no less than 18 inches from the
ground.
•
Ensure that the swing hangs horizontal after adjustment of the ropes.
•
Never add extra length to chain or rope. The chains or ropes provided are the
maximum length designed for the swinging element(s).
SECURE YOUR CHILD
1.
Place your child in the swing, then place the safety belt over your child's lap
and snap the connectors together. (See Figure: 3)
2.
Tighten belt by pushing the anchor end of the belt up through the buckle,
creating a loop. Pull the free end of the belt to secure it in place. Repeat until the
belt fits snuggly around your child's waist. Do not over tighten. (See Figure: 4)
3.
To loosen the belt push the free end of the belt up through the buckle,
creating a loop, then pull the anchor end of the belt.
SELECTIVE PROTECTIVE SURFACING
One of the most important things you can do to reduce the likelihood of serious head
injuries is to install shock-absorbing protective surfacing under and around your play
equipment. The protective surfacing should be applied to a depth that is suitable for
the equipment height in accordance with ASTM F1292. There are different types of
surfacing to choose from; whichever product you select, follow these guidelines
(See figure 5 and 6):
NOTE—Do not install home playground equipment over concrete, asphalt, or any other
hard surface. A fall onto a hard surface can result in serious injury to the equipment user.
Grass and dirt are not considered protective surfacing because wear and environmental
factors can reduce their shock absorbing effectiveness. Carpeting and thin mats are
generally not adequate protective surfacing. Ground level equipment such as a sandbox,
activity wall, playhouse or other equipment that has no elevated play surface-does not
need any protective surfacing.
LOOSE-FILL MATERIALS
•
Maintain a minimum depth of 9 in. of loose-fill materials such as wood mulch/
chips, engineered wood fiber (EWF), or shredded/recycled rubber mulch for
equipment up to 96 in. high; and 9 in. of sand or pea gravel for equipment up
to 60 in. high. NOTE: An initial fill level of 12 in. will compress to about a 9 in.
depth of surfacing over time. The surfacing will also compact, displace, and
settle, and should be periodically refilled to maintain at least a 9 in. depth.
Use a minimum of 6 in. of protective surfacing for play equipment less than
•
48 in. in height. If maintained properly, this should be adequate. (At depths
less than 6 in., the protective material is too easily displaced or compacted.)
•
Use containment, such as digging out around the perimeter and/or lining the
perimeter with landscape edging. Don't forget to account for water drainage.
•
Check and maintain the depth of the loose-fill surfacing material. To maintain
the right amount of loose-fill materials, mark the correct level on play
equipment support posts. That way you can easily see when to replenish and/
or redistribute the surfacing.
Do not install loose fill surfacing over hard surfaces such as concrete or asphalt.
•
NOTE: Continued on Back Side
Ages
9-36
Months
Figure: 1
Figure: 2
At least 6 ft
from the trunk
or 1.5x the
length the
swing rope.
18"(min)-24"(max) ground clearance.
Figure: 3
Figure: 4
K
Figure: 5
50
LBS.
THIS SWING
COMES fully
assembled
and ready
to hang.
Advertisement
Table of Contents

Related Manuals for M&M MM00178


Summary of Contents for M&M MM00178
- Page 1 MM00178 INSTRUCTION MANUAL ASSEMBLY | Installation | Operation | Maintenance | SAFETY Ages 9-36 Months Sesame Street Dozer Toddler Swing LBS. ASSEMBLY Before you start, observe the following statements and warnings to reduce the likelihood of serious or fatal injury.
- Page 2 MM00178 Sesame Street Dozer Toddler Swing Instruction Manual. The installation instructions above are reflective of the U.S. Consumer Product Safety Commission’s Outdoor Playground Safety Handbook. For a complete description of installation instructions and warnings for outdoor playground equipment you can visit our website www.mandmsalesinc.com to link to the current CPSC...
Need help?
Do you have a question about the MM00178 and is the answer not in the manual?
Questions and answers