Table of Contents
Advertisement
Quick Links
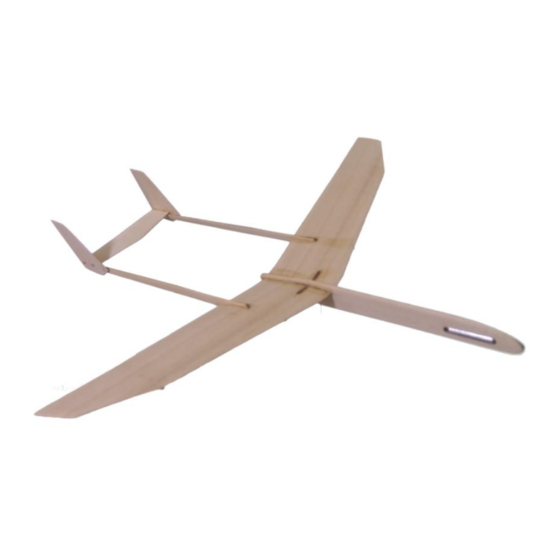
Glider Dual Fuse Fox
The Dual Fuse Fox is a fast looking modern dual fuselage design with swept back wings and sharp lines. The
main wing section is curved over ribs to give it a slight airfoil shape, and this is also reinforced by the shaped
wing root slots and tail boom supports. Balancing the glider is as simple as placing the ballast weight in the nose
cavity and you then have a very stable glider with slow to moderate flying speeds. The Dual Fuse Fox not only
looks great but has exceptional glide performance as well.
Your kit contains the following items
* Pre- cut parts
* Sandpaper sheet
* Diagram sheet
* Ballast weight
* Glue
Additional Items You May Need
* Cling Wrap
* Flat board (working surface)
* Hobby Knife
* Wood glue
* Masking tape
Build Procedure
Firstly it's a good idea to tape down a sheet of cling wrap over
your work surface. This will stop the parts from becoming glued
to the surface. It's easier to peel off cling wrap from any wooden
parts.
Note: although the kit is supplied with CA glue, we recommend
using other glues which are suitable for balsa wood if available.
Advertisement
Table of Contents

Related Manuals for MicronWings Glider Dual Fuse Fox

Summary of Contents for MicronWings Glider Dual Fuse Fox
- Page 1 Glider Dual Fuse Fox The Dual Fuse Fox is a fast looking modern dual fuselage design with swept back wings and sharp lines. The main wing section is curved over ribs to give it a slight airfoil shape, and this is also reinforced by the shaped wing root slots and tail boom supports.
- Page 2 If you intend to sand down the edges of the parts, you may want to do this before you start building to make it easier. Glue in the wing support. Note that the wing support will completely block the wing slot in the main fuselage. This is how it is supposed to be.
- Page 3 Glue in the wing ribs on the outer wing. There are marks in the wood on both the leading and trailing edge of the wing to show where to line them up. Apply tape to pull the wing down onto the rib at the front and back and tape it in place till it dries.
- Page 4 Once the plane is balanced properly, glue the ballast in place. See a test glide on YouTube (Link) Copyright © MicronWings 2015: All rights reserved. This manual is for personal use only. No unauthorized copying or digital distributing permitted without permission from MicronWings.
Need help?
Do you have a question about the Glider Dual Fuse Fox and is the answer not in the manual?
Questions and answers