TiVo Mini Replacing Manual
For cogeco
Hide thumbs
Also See for Mini:
- Reviewer's manual (74 pages) ,
- Operator's manual (66 pages) ,
- Start here (4 pages)
Advertisement
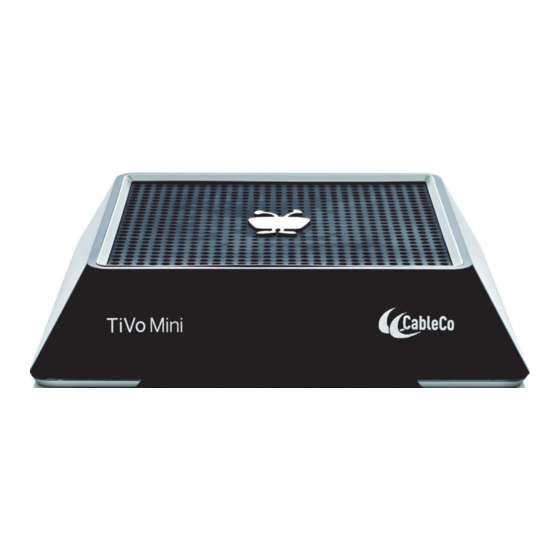
Replacing your Cogeco
TiVo Mini Receiver
Removing your old equipment
1
A. Disconnect your existing TiVo Mini receiver. Begin by unplugging the coax from the back of the receiver.
B. Unplug the power supply from the electrical outlet and the back of the receiver.
C. Unplug the cables connecting the receiver to the television.
Connecting your TiVo Mini
2
A
B
C
CABLE INPUT
Activating your TiVo Mini
3
After connecting your TiVo Mini to your TV, please use your existing TiVo remote to follow these simple instructions
to activate your receiver.
1. On the welcome screen, use the UP and DOWN arrows
on the TiVo remote, then SELECT to choose your country.
4. Choose Network hookup: select MoCA connection.
For more support information visit cogeco.ca/Tivosupport
Record the TiVo service number (TSN) and MAC address of your new
TiVo Mini (found underneath the receiver). You may require these numbers
HDTV
in the event where troubleshooting with technical support is needed.
TiVo service no.
MAC address.
DVI
HDMI
ANTENNA/
RF IN
A. Connect the coaxial cable from your wall to the MoCA input of your
TiVo Mini.
D
B. Connect the HDMI output of the TiVo Mini to the HDMI input on your HDTV
using the HDMI cable provided.
C. Connect the power cord of the TiVo Mini to an active wall power outlet.
D. Note the name of the HDMI input on your TV that is connected to the
TiVo Mini (ex. HDMI-1).
POWER
E. Press the INPUT or SOURCE button on your TV's remote control and select
CORD
the video input that connects your TV to your TiVo Mini. When you see TiVo
Welcome screen, you are ready to start the activation process.
2. Select your preferred language.
5. Select Continue.
3. Use the SELECT button to choose
"Begin Guided Setup for Canada".
6. IP Address - select "Get automatically from a DHCP
.
server (typical)".
Advertisement
Table of Contents

Subscribe to Our Youtube Channel
Related Manuals for TiVo Mini


Summary of Contents for TiVo Mini
- Page 1 Welcome screen, you are ready to start the activation process. Activating your TiVo Mini After connecting your TiVo Mini to your TV, please use your existing TiVo remote to follow these simple instructions to activate your receiver. 1. On the welcome screen, use the UP and DOWN arrows 3.
- Page 2 After you have successfully activated your new TiVo Mini, please use the enclosed Canada Post waybill and packaging provided to return the old TiVo Mini you no longer require. Please include the old HDMI cable and power cord if new ones have been provided to you.
Need help?
Do you have a question about the Mini and is the answer not in the manual?
Questions and answers