Table of Contents
Advertisement
Quick Links
Maestro "A" Internal Battery Charging
Procedure
November 25, 2019
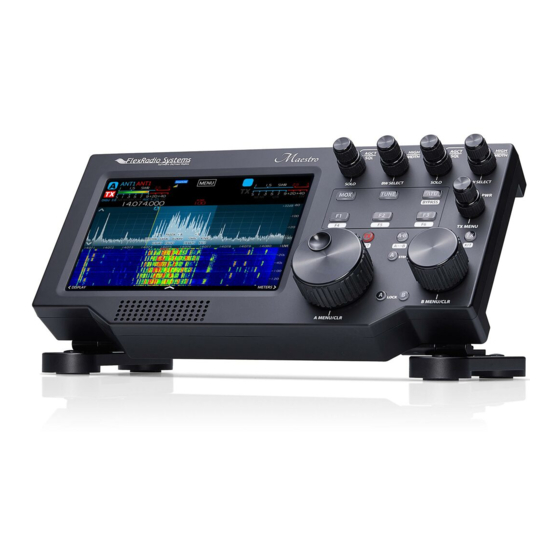
The following guide will provide the necessary step-by-step procedure for charging the internal battery for
a Maestro version "A" control console.
Table of Contents
............................................................................................................................................... 2
Required Tools and Cables ...................................................................................................................... 2
Page 1
............................................................................................................... 2
.................................................................................................... 2
........................................................................................................................... 3
.......................................................................................................... 5
.................................................................................................................... 6
........................................................................................................ 7
HARGING
© 2019 FlexRadio
Advertisement
Table of Contents

Related Manuals for FlexRadio Systems Maestro A


Summary of Contents for FlexRadio Systems Maestro A
- Page 1 Maestro “A” Internal Battery Charging Procedure November 25, 2019 The following guide will provide the necessary step-by-step procedure for charging the internal battery for a Maestro version “A” control console. Table of Contents ....................... 2 BTAINING ECHNICA L UPPORT ....................2 NFORMATION ABOUT THI S ROCEDURE ...............................
- Page 2 Obtaining Technical Support If you encounter any issues charging your Maestro, please contact FlexRadio technical support by opening a HelpDesk ticket online at http://helpdesk.flexradio.com Hours of Operation: Our Technical Support engineers are available Monday – Friday from 8:00 am-5: 30 pm Central Time.
- Page 3 Opening the Maestro Case Switch off your Maestro. Remove the battery compartment cover and remove the battery bank if one is installed. Store the battery compartment cover in a safe location for reassembly later. Using a #2 Phillips screwdriver, remove the screws that attach the tilt feet or fixed stand to the Maestro. Store the screws and the tilt feet/stand in a safe location for reassembly later.
- Page 4 Open the Maestro chassis no more than 90 degrees. Opening the chassis just enough to access the Display micro USB cable is highly recommended. When opening the case wider, be mindful of the tiny speaker and the audio cable at the bottom of the Maestro. See the image below. Page 4 ©...
- Page 5 Connecting the Charging Cable Pull back the tape securing the Display micro USB cable (red arrow on the image above) and carefully remove the cable from the PCB board. Connect the Display micro USB (male) cable to the USB micro (female) / USB A charging cable to as shown below (red arrow on the image below).
- Page 6 Closing the Maestro Case Remove charger cable from Display micro USB cable and reconnect it to the Maestro board. Check the proper positioning of the battery bank power cable (2 from the bottom) and audio cable (with ferrite bead), making sure they are securely fixed in place by the adhesive tape. Make sure that the USB A connector end of the battery bank power cable is properly fed into the battery bank compartment as shown below.
- Page 7 Once the cables are oriented correctly, carefully close both halves of the Maestro chassis together ensuring that none of the cables have been pinched. This action must be done smoothly and without excessive pressure. If it does not fit together easily with a snug fit, open again and check the position of the audio cable with the ferrite core.
Need help?
Do you have a question about the Maestro A and is the answer not in the manual?
Questions and answers