
Related Manuals for ZOSI A3

Summary of Contents for ZOSI A3
- Page 1 Smart IP Camera with Battery Quick User Guide For more information of your new system, please refer to www.zositech.com...
-
Page 2: Packing List
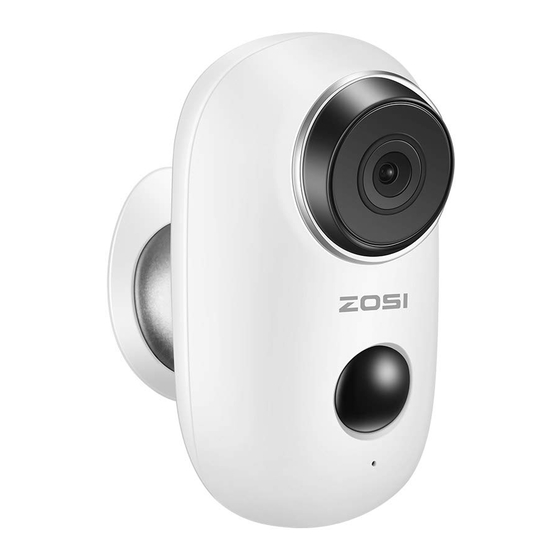
1. Packing list 1xUSB Cable 1 x Screws Sets Quick User Guide 1 x Quick 1 x Double-sided 1 x camera 1x wall mount User Guide adhesive 2. Product Details Working Status Indicator Iron Ball Wall Mount Lens TF Card Slot IR Leds DC5V USB Port Reset key... - Page 3 Quick press 1 second to wake up the Power Key camera from standby mode Press and hold for 5 seconds, it will reset Reset Key and restart 3. Install Cloudedge APP 3 1 Search Cloudedge in App store or google play store, or scan below QR Code to download and install on smart phone NOTE: Please ALLOW below 2 permissions when first running...
- Page 4 3.2 Register Account New users need to register by e-mail, click "Register", follow the steps to complete the registration of the account, and log in. 4. Add Camera to APP 4.1 Insert micro SD card Please insert a micro SD card to record videos when motion detected and playback.
- Page 5 0.3~1m Camera Router Smartphone NOTE: Please note camera only works under 2.4G Wi-Fi, not supports 5G Wi-Fi. 4.3.2 Run CloudEdge App, Click and select BATTERY CAMERA . 4.3.3 Select The device has flashed red slowly or you hear a tone , tap NEXT. 4.3.4 Select 2.4Gh WiFi SS D and input password, tap NEXT.
-
Page 6: Device Menu
5. Device Menu Add a camera Camera time Live view button Alarm information icon red dot indicates alarm occurs, click to view alarm screenshot or video Camera name Camera type icon My device list Message options Friend options Personal homepage... - Page 7 Camera settings options, such as alarm SD card, etc. Battery capacity SD, HD options Full screen option Bit rate Network signal strength Preview options Screenshot button Record button Intercom option, long press it and then can talk Human body detection option, green is activated, default is on, and it is Reminder options...
- Page 8 6. Adjust the PIR Detecting Distance P R Body Detection is default on and the default sensitivity is at Mid and the detecting distance is 6 meters (20ft), and it is adjustable in My Device - Device Settings - Body Detection".
-
Page 9: Camera Installation
8 1 ou can put it on any flat place table, chair, floor, etc 8 2 nstall with all Mount 8.2.1 A3 Wall Mount Installation Fix the iron ball bracket to the wall with screws or double- sided adhesive, and then magnetize the camera to the iron ball. - Page 10 9 mportant otes for Reducing False Alarms 9 1 o reduce false alarms, please note that Do not install the camera facing any objects with bright lights, including sunshine, bright lamp lights, etc. Do not place the camera too close to a place where there frequently moving vehicles.
- Page 11 It's not suggested to make the PIR sensor vertically face the moving object. The path of the moving object Entrance Ideal Viewing Distance: 2-10 meters(7-33ft)
- Page 12 Appendix LED Status Description and troubleshooting sheet LED Status Description No. LED Status Camera Status Slow blinking Awaiting WiFi Connection Fast blinking WiFi Connecting 3 Solid on Red Network is abnormal 4 Solid on Blue WiFi Connected Trouble Shooting Sheet No.
- Page 13 All rights reserved. No part of this publication may be reproduced by any means without written permission from ZOSI. The information in this publication is believed to be accurate in all respects. ZOSI cannot assume responsibility for any consequences resulting from the use thereof. The information contained herein is subject to change without notice.
Need help?
Do you have a question about the A3 and is the answer not in the manual?
Questions and answers