Advertisement
Table of Contents
PBXact System 300 Recovery
The following steps will guide you through the re-installation process of your System 300 Sangoma appliance
Preparation
Preparation
1.
Verify that the appliance is powered off.
2.
Connect the appliance to the internet using a LAN cable (The system requires internet to setup timezone and network details)
1.
Plug a network cable (cat 5) into
If you have a FreePBX appliance,
2.
Plug the other end of the network cable into a network that will provide internet access to the appliance
3.
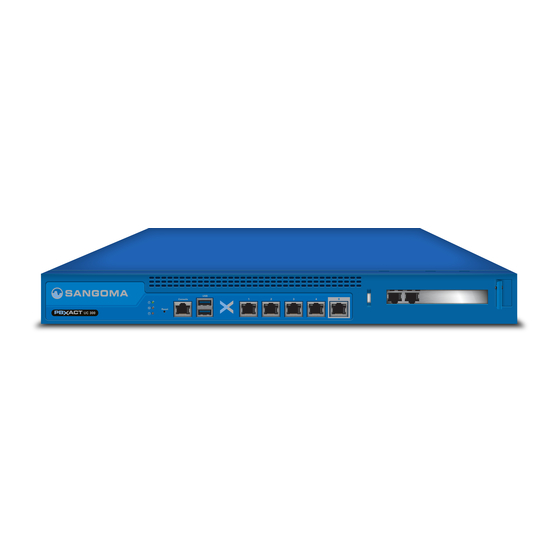
Plug a USB-to-Serial Console Cable into the Console Port located on the front of the appliance, as seen below:
The System 300 does not come shipped with a USB-to-Serial Console cable. However, it is the standard console cable that is
used with any networking equipment.
See the below image for an example usb-to-seial console cable:
port 0
on the appliance as seen below:
Port 0
is labeled with a Green color instead of Grey as indicated above
Advertisement
Table of Contents

Summary of Contents for Sangoma PBXact System 300
- Page 1 PBXact System 300 Recovery The following steps will guide you through the re-installation process of your System 300 Sangoma appliance Preparation USB Recovery Process Final Steps Preparation Verify that the appliance is powered off. Connect the appliance to the internet using a LAN cable (The system requires internet to setup timezone and network details)
- Page 2 serial-to-usb console cable Plug the RJ45 end into the the Console port on the appliance Plug the end into a laptop or desktop computer If your computer does not have the software drivers installed for the usb-to-serial cable please visit the following page: ->...
- Page 3 A USB recovery key was included with the packaging of your System 300. This is required for the following steps. If you cannot locate the USB recovery key, you can quickly create one yourself using your own USB key and by following the instructions on this wiki Plug the USB Recovery Key into any of the USB ports located on the front of the appliance.
- Page 4 Press F10 on your keyboard to save and confirm your changes, which will reboot the PBX. As the appliance reboots it will boot from the USB recovery key and prompt you for PBX installation. If the above screen does not appear then there was an issue encountered and you must repeat the steps again Select the Full Install of the Current Stable version with...
- Page 5 Once Eth4 is selected press the key on your keyboard to move to the button, then select <enter> to move to the next step. The following Network configuration screen will then present itself For standard DHCP settings (recommended), press the key on your keyboard to move forward to the button and then press the <enter>...
- Page 6 "<deployment id>" in "fwconsole sa a <deployment id>" with your deployment ID. If you do not know your deployment ID please refer to your invoice or log into the sangoma portal to find out Type the following command to verify that your system is completely happy ->...
- Page 7 Press F10 on your keyboard to save and confirm your changes, which will reboot the PBX. Done Activate your Deployment to license PBXact Once the install process is complete, locate your Deployment ID number from the Sangoma Portal or from your Invoice, and issue the...
- Page 8 The activation process will install additional RPMs, and make the necessary changes to the GUI behind the scenes. The end result is a complete new PBXact system. This process takes about 3-4 minutes. When completed you can run the following End of Line testing and all checks should come back Passed. If you have any failed checks wait 5 minutes and run again.

Need help?
Do you have a question about the PBXact System 300 and is the answer not in the manual?
Questions and answers