SPOT X User Manual
Hide thumbs
Also See for SPOT X:
- User manual (64 pages) ,
- Quick start manual (14 pages) ,
- User manual (61 pages)
Table of Contents
Advertisement
Advertisement
Table of Contents

Related Manuals for SPOT SPOT X


Summary of Contents for SPOT SPOT X
- Page 1 USER GUIDE...
-
Page 2: Table Of Contents
Configuring your SPOT X ................................1 Electronic Serial Number (ESN), Authorization Code and Mobile Device Number (MDN) ............2 Activating Your SPOT X and Selecting a Service Plan ........................ 2 SPOT X Firmware Update Required ............................2 SPOT X AT A GLANCE Device Overview .................................. - Page 3 CHECK IN Sending a Check In Message ..............................13 How to View Your Sent Check In Messages ..........................13 Cancel Messages ..................................13 SPOT S.O.V. (SAVE OUR VEHICLE) Initiating SPOT S.O.V................................14 S.O.S. Initiating S.O.S..................................15 Canceling S.O.S..................................16 TRACKING Select Tracking Interval ................................
- Page 4 MY ACCOUNT – THIRD PARTY GPS FORWARDING TAB Enter a Third Party Identification Code ........................... 32 MY ACCOUNT – DUPPLICATE SETTINGS TAB Copy Device Setting to Another SPOT X ........................... 33 MY ACCOUNT – S.O.S. TAB Enter the Primary and Secondary Emergency Contacts ......................34 MY ACCOUNT –...
- Page 5 Creating a Predefined Message .............................. 41 Deleting a Predefined Message .............................. 41 Editing a Predefined Message ..............................42 Synching Predefined Messages to the SPOT X ........................42 MY ACCOUNT – CHECK IN TAB Configuring the Check In Message ............................43 Editing an Email Address or Mobile Number ..........................
- Page 6 Create a Get Spotted Page ..............................51 MY ACCOUNT – SETTINGS AND BILLING Settings & Billing Overview ..............................52 SPOT X Message Usage ................................53 SYNCHING AND UPDATING FIRMWARE WITH MY ACCOUNT Synching SPOT X ..................................54 SPOT X Firmware Update ................................ 54 Troubleshooting ..................................
-
Page 7: What's In The Box
AC Power Adapter. The battery with the lightning bolt icon will be visible while charging. Once the battery icon indicates a full charge, disconnect the USB Cable from the SPOT X. Make sure the USB cover is firmly sealed to ensure the device’s waterproof capability. -
Page 8: Electronic Serial Number (Esn), Authorization Code And Mobile Device Number (Mdn)
SPOT X Info. The ESN can also be found on the bottom of your SPOT X retail box or on the back of your device. You will need both the ESN and Authorization code when setting up your SPOT MY ACCOUNT. -
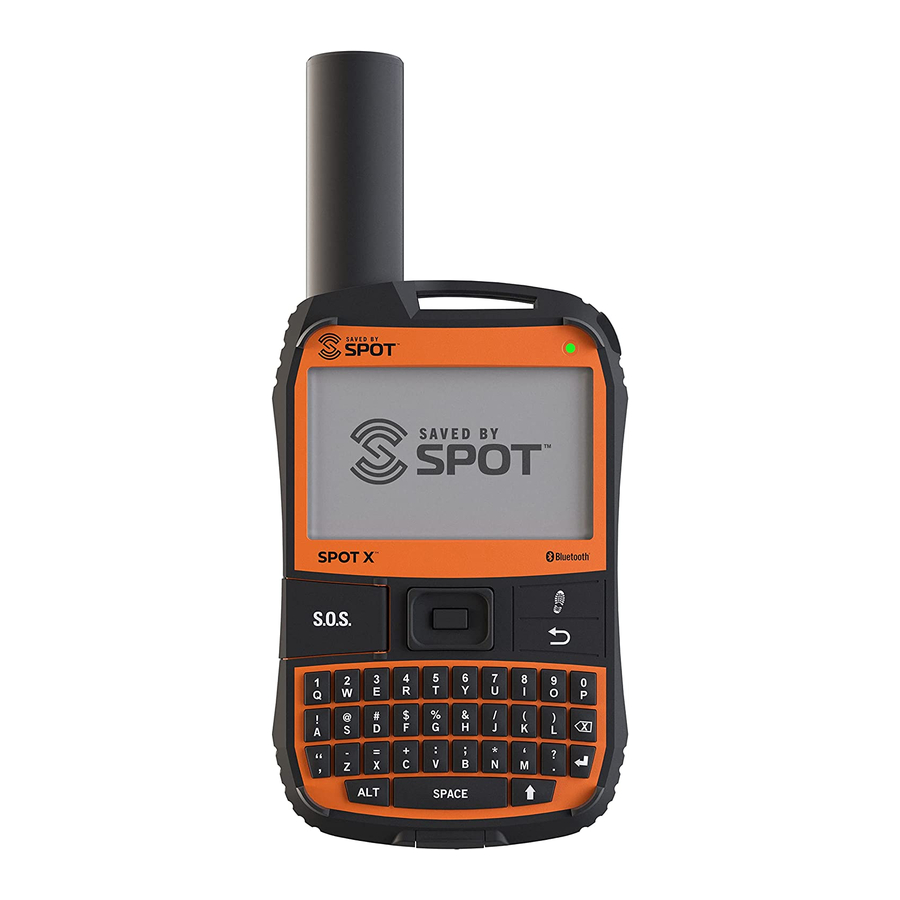
Page 9: Spot X At A Glance
SPOT X AT A GLANCE DEVICE OVERVIEW Power/Backlight Button Power LED Display Screen S.O.S. Button Directional Pad Select Button Track Button Back Button QWERTY Keyboard USB Power/Data Port Status Bar Time MAIN MENU ACTIONS Main Menu Opens Messages Screen Creates New Messages... -
Page 10: Device Overview Functions
The SPOT X Display screen allows for interaction with the Main Menu, DISPLAY SCREEN sub-menus, and other onscreen features. Used to connect a Micro USB Cable to the SPOT X USB Port to charge the USB POWER/DATA PORT SPOT X device and to sync with SPOT MY ACCOUNT. -
Page 11: Status Bar Icons
STATUS BAR ICONS MENU DISPLAY ICONS BATTERY MESSAGES Battery Strength Create New Message Low Battery Send Message Battery Charging Reply to Message Predefined Messages GPS SIGNAL CONTACTS GPS Signal Available Contact List GPS Signal Unavailable Create New Contact DEVICE Sync Required Include Elevation with Message MESSAGES Include GPS Coordinates with Message... -
Page 12: Spot X Directional Pad
1. Install the SPOT X App from the app store. 2. Enable Bluetooth on your mobile device (Spot X’s Bluetooth is always discoverable). 3. Place the SPOT X and the mobile device within 10 feet (3 meters) of each other. 4. Open the SPOT X App. -
Page 13: Getting Started
SPOT X OPERATING TEMPERATURES Prolonged use or storage of your SPOT X in direct sunlight or in a vehicle may cause the device to overheat and/or damage its battery. SPOT X can withstand operating in temperatures of -4F to +140F (-20C to +60C). -
Page 14: Contacts
Status Bar. This indicates that the SPOT X will need to sync with SPOT MY ACCOUNT if you would like the contact to be uploaded to your contact list in SPOT MY ACCOUNT. -
Page 15: Deleting A Contact
3. Additionally, if the SPOT X device had been previously synced with SPOT My Account and the contact was present in both locations, once a new sync is performed the deleted contact will be also removed from the... -
Page 16: 2-Way Messaging
Send and receive 140 character text messages and emails with family and friends from virtually anywhere in the world. SPOT even provides you with your own mobile device number so others can reach you anytime. CREATE & SEND A MESSAGE 1. -
Page 17: Predefined Messages
Once you’ve linked your accounts, you will be able to send 140 character updates to those accounts from your SPOT X at any time. Syncing SPOT X with your SPOT account is required for social media to appear as a contact on your device. -
Page 18: Viewing Individual Messages
VIEWING INDIVIDUAL MESSAGES To view the entire message, highlight and select the message you want to see. DELETING INDIVIDUAL MESSAGE THREADS To delete the individual message thread, go to the thread and select and follow the onscreen instructions. REPLYING TO A MESSAGE To reply to the message, go to the thread and select... -
Page 19: Check In
Check In with friends and family by quickly sending a pre-programmed message and/or email along with your GPS coordinates. The Check In message will include a link to Google Maps™ showing the SPOT X’s location. Make sure you set up this feature before you go off the grid. -
Page 20: Spot S.o.v. (Save Our Vehicle)
U.S., Puerto Rico, Washington, D.C. and Canada. Visit FindMeSPOT.com/SPOTSOV to learn more. INITIATING SPOT S.O.V. If Nation Safe Drivers service was added to the plan, this contact will automatically be listed under the SPOT X contact list. -
Page 21: S.o.s
GPS position to GEOS IERCC every 5 minutes until S.O.S. is cancelled or the SPOT X is powered off. 4. SPOT X will then allow you to communicate 2-Way, via message, with GEOS IERCC by selecting the Text GEOS button... -
Page 22: Canceling S.o.s
GEOS IERCC until S.O.S. is cancelled. 6. While S.O.S. is active, the SPOT X should remain outside in clear view of the sky with no obstructions in order to maintain network connectivity. -
Page 23: Tracking
SPOT X detects no movement, or you power off the SPOT X device. 3. While Tracking is active, SPOT X should remain outside in clear view of the sky with no obstructions in order to... -
Page 24: Canceling Tracking
Button SUSPENDED TRACKING MODE SPOT X only sends tracks when Tracking mode is active and the device is moving. When the device is stationary for more than 5 minutes, SPOT X will enter Suspended Tracking mode and you will see in the Status Bar. -
Page 25: Message Fetching
MESSAGE FETCHING Every time SPOT X sends a track and/or a message, SPOT X will also retrieve and download any incoming messages. When you’re not Tracking or sending a message, the Message Fetching function will check for messages for you. -
Page 26: Navigation
NAVIGATION SPOT X has a built-in compass that comes with several navigational features and trip information to help you navigate. To access the Compass from the Main Menu screen, select followed by Compass. CALIBRATING THE COMPASS Your SPOT X uses a Digital Compass to give accurate Heading and Bearing information. The SPOT X automatically checks compass calibration and will tell you to calibrate when necessary. -
Page 27: Trip Information Data Fields
TRIP INFORMATION DATA FIELDS The SPOT X Compass screen is able to display four Trip Info Data Fields at a time. Each data field can be easily configured and changed by selecting from seven different choices: • Location (Lat/Lon) • Destination (Lat/Lon) •... -
Page 28: Waypoints
Waypoint and chose the specific waypoint you’d like to travel towards. NOTE: For best results, while navigating, hold the SPOT X with the antenna at about a 135 degree angle. 2. The selected Waypoint screen will be displayed. Select the Navigate To button. -
Page 29: System Settings
VIEWING DATA USAGE The Data Usage screen allows you to monitor your SPOT X data usage and your SPOT X Service Plan details. On the Main Menu screen, select then scroll to and select Data Usage. -
Page 30: Language Settings
• Deutsch TIME AND DATE SETTINGS The Time/Date Settings screen allows you to configure how the time and date are displayed on your SPOT X device. Select Time Format and choose between 12 hour or 24 hour format. Select Set Time/Date to manually set the time and date displayed on your SPOT X device. -
Page 31: Distance Unit Settings
• Nautical DISPLAY SETTINGS The Display Settings screen allows you to configure the SPOT X to turn on or turn off the Poor Sky View Warning, Antenna Position Warning as well as Invert Display. • The Poor Sky View Warning: The warning will be displayed when there are incoming messages that are not fully received after 5 minutes. -
Page 32: Spot My Account
SPOT MY ACCOUNT Your My Account website is a quick and easy way to configure SPOT X. From My Account you can access the following: • Getting Started • My Devices Enable/Disable Movement Alerts Duplicate SPOT X Settings Edit S.O.S. Emergency Contacts Create and Manage Contacts Configure Help/SPOT Assist... -
Page 33: My Account - My Devices
Text Messages Used – Displays the total number of text messages sent/received, and the number of text messages allowed for the current SPOT X Service plan (red numbers indicate overages) Date of Last Sync – Displays the date the last time the SPOT X was synced with My Account... -
Page 34: Tracking
Navigation settings between SPOT X devices on the same account S.O.S. Tab – Used to change Primary and Secondary Emergency Contact information My Contacts Tab – Used to create contacts and contact groups – SPOT X can have up to 70 contacts residing on the device SPOT S.O.V. -
Page 35: My Account - Device Name Tab Personalize The Device Name
DEVICE NAME TAB Give a unique name to the SPOT X. For accounts with multiple SPOT X’s or other SPOT devices, giving a unique name to the device will make it easier to identify and select the SPOT X. Simply enter a new name in the Name field and select Save.
Need help?
Do you have a question about the SPOT X and is the answer not in the manual?
Questions and answers