
Subscribe to Our Youtube Channel
Related Manuals for Gtech CMT001

Summary of Contents for Gtech CMT001
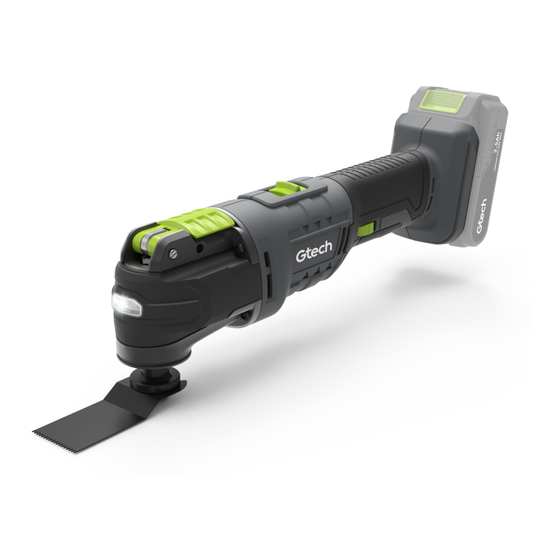
- Page 1 Cordless Multi Tool CMT001 Model number: OPERATING MANUAL 4616_Multi_Tool_manual_aw.indd 1 4616_Multi_Tool_manual_aw.indd 1 28/10/2020 16:34 28/10/2020 16:34...
-
Page 2: Important Safeguards
IMPORTANT SAFEGUARDS: IMPORTANT: To avoid serious personal injury, do not attempt to use this product until you read the manual thoroughly and understand it complete- ly. Save this manual and review frequently for safe operation and instruct- ing others who may use this tool. Keep this manual for the safety warnings, precautions, operations, inspections and maintenance information. -
Page 3: Electrical Safety
Electrical safety: binding, making it easier to use. • Do not use the tool for anything other • The charger’s power plug must match than its intended use. the outlet. Never modify the plug or try • Do not use the tool if the trigger does to plug the tool into an outlet that does not actuate properly. -
Page 4: Tool Service
liquid flush with water and seek medical help. Battery liquid can cause irritation or burns. • Do not store batteries in areas that can reach or exceed 105°F. (Such as outside sheds or metal buildings in the summer). • Only charge the battery with a charger recommended by the manufacturer. -
Page 5: About Your Product
Thank you for choosing Gtech “Welcome to the Gtech family. I started Gtech to create sensible, easy to use products that do a great job, and hope you get many years of troublefree performance from your new product.” Nick Grey –... -
Page 6: Installing And Removing The Battery
Installing and removing the battery To install, simply insert the battery pack. Make sure the latch on the battery snaps in place and battery pack is secured to the tool. To remove, depress the latch..and pull out the battery pack. 4616_Multi_Tool_manual_aw.indd 6 4616_Multi_Tool_manual_aw.indd 6 28/10/2020 16:35... -
Page 7: Power Switch
Power switch Speed setting The on/off switch is a sliding button. The To vary the oscillation speed depending on product will remain on when it has been the requirements of the job using the speed pushed into the on position. selector. -
Page 8: Attaching Tools
Attaching tools Flip up the tool clamp lever at the head of the While the tool clamp is in the released product, and push the lever forwards. position you can undo the locking nut with your fingers Place the desired tool into the tool holder Ensure the pins on the tool holder align paying attention to the direction in which the correctly with the holes in the tool. - Page 9 Close the latch and lock it into place. This will Never attach the blade with the cutting edge tighten the grip on the tool beyond finger pointing backwards. tight. 4616_Multi_Tool_manual_aw.indd 9 4616_Multi_Tool_manual_aw.indd 9 28/10/2020 16:35 28/10/2020 16:35...
- Page 10 Tools 32mm Plunge blade Suitable for cutting materials including wood, plastics and nonferrous metals. 80mm diameter disc blade Suitable for cutting materials including wood, wood with nails, drywall and PVC. Detailing sanding block The sanding block attaches in the same way as the blades and the hook and loop base allows multiple grades of sanding pad to be attached.
-
Page 11: Charging The Battery
Charging the battery To charge the battery, line up the slot of the The battery indicator light should turn from battery with the slot of the charger and slide green to red when the battery is charging. into place. Charger is sold separately. When the indicator light has turned green the battery should be fully charged. -
Page 12: Maintenance
Maintenance Avoid using solvents when cleaning plastic parts. Most plastics are susceptible to damage from various types of commercial solvents and maybe damaged by their use. Use clean cloth to remove dirt, dust, oil, grease, etc. WARNING: Remove the battery from the tool for any inspection, maintenance, and cleaning. Troubleshooting The product isn’t working The battery may have cut out due to... -
Page 13: Product Support
If these initial tips do not solve your problem we please visit our support area where you can find troubleshooting help including online manuals, FAQs and howtovideos, as well as genuine spares and replacement parts compatible with your product. Visit: www.gtech.co.uk/support Online Live chat support support@gtech.co.uk... -
Page 14: Warranty Registration
If your product is within its warranty and has a fault that cannot be resolved from the troubleshooting section or online support, please do the following: • Contact our Gtech Customer Care Helpline on UK: 08000 308 794, who will go through any troubleshooting with you to identify the fault. - Page 15 symbol indicates that this product is Call your local council, civic amenity site, or recy- covered by legislation for waste electrical and cling centre for information on the disposal and electronic products (2012/19/EU) recycling of electrical products. Alternatively visit www.recycle-more.co.uk for advice on recycling When the product has reached the end of its life, it and and to find your nearest recycling facilities.
- Page 16 Notes 4616_Multi_Tool_manual_aw.indd 16 4616_Multi_Tool_manual_aw.indd 16 28/10/2020 16:35 28/10/2020 16:35...
- Page 17 Notes 4616_Multi_Tool_manual_aw.indd 17 4616_Multi_Tool_manual_aw.indd 17 28/10/2020 16:35 28/10/2020 16:35...
- Page 18 Grey Technology Limited Brindley Road, Warndon, Worcester WR4 9FB email: support@gtech.co.uk telephone: 08000 308 794 www.gtech.co.uk 4616_Multi_Tool_manual_aw.indd 18 4616_Multi_Tool_manual_aw.indd 18 28/10/2020 16:35 28/10/2020 16:35...
Need help?
Do you have a question about the CMT001 and is the answer not in the manual?
Questions and answers