Advertisement
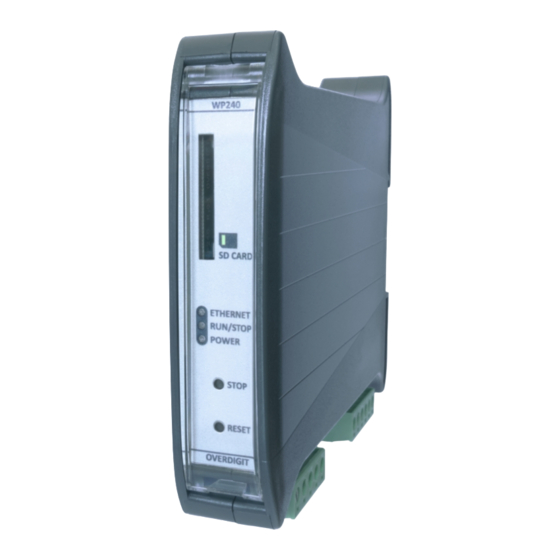
WP240
OVERDIGIT
1 - CONNECTIONS
1. Connect Ethernet port to the router/switch on the LAN
or directly to a PC (in this case, use a crossover network
cable).
2. Connect any used ports (CAN and RS485) via twisted
pair cables and shielded.
3. Set the DIP-Switch for ports configuration inserting the
terminating resistor only at the ends of the connection
line:
OFF
1
CAN max speed 400kb/s
2
CAN disconnected resistor
3
RS485 disconnected resistor
4
4. Connect the cable for 24Vdc power supply (0.5A min)
to the appropriate terminals.
5. When the device is mounted on a metal panel, connect
the Protective Earth terminal directly to it, by using a
short cable and with larger cross-section as possible.
6. Turn on the power. Check the POWER green led on the
front panel.
CAUTION
Before powering up the device carefully check all the
connections.
Do not apply the power voltage at the terminals of
RS485 port.
2 - SOFTWARE INSTALLATION
1. Download the complete software package:
IEC-line_package_V23.9.xx.x.zip
2. Extract from zip file the two setup programs.
3. Install CoDeSys tool by running CoDeSys_v239xx.exe
setup program.
Install only the following components:
• CoDeSys V2.3
• CoDeSys base component
• CoDeSys Gateway Server
• CoDeSys OPC Server
4. Install the IEC-line package that includes all CoDeSys
support files for the specific PLC, example programs
DIP Switch
ON
CAN max speed 1Mb/s
CAN connected resistor
RS485 connected resistor
Quick Start Guide
and documentation. Thus the IEC-line_V239xxx.exe
setup program must be executed.
5. Type in the Web browser the following address:
192.168.1.101/admin/admin.html
Username:
web_user0
web_password0
Password:
6. Browse the various sections for any configuration
changes. In particular in the Network page a new
device address can be configured. After a modification
the device must be rebooted.
Ref. Software-Installation-and-Configuration_EN.pdf
Ref. WP240_manual_EN.pdf
Advertisement
Table of Contents

Summary of Contents for OVERDIGIT WP240
- Page 1 WP240 Quick Start Guide OVERDIGIT 1 - CONNECTIONS 1. Connect Ethernet port to the router/switch on the LAN or directly to a PC (in this case, use a crossover network cable). 2. Connect any used ports (CAN and RS485) via twisted pair cables and shielded.
- Page 2 2. Run CoDeSys and open the program (preset for the File > Save as WP240) provided as an example: MyProgram.pro File > New from template 5. Attivate the Login using the Online menu or the ...\IEC-line\WP240\Examples\WP240_Template.pro...
Need help?
Do you have a question about the WP240 and is the answer not in the manual?
Questions and answers