Sign In
Upload
Download
Table of Contents
Contents
Add to my manuals
Delete from my manuals
Share
URL of this page:
HTML Link:
Bookmark this page
Add
Manual will be automatically added to "My Manuals"
Print this page
×
Bookmark added
×
Added to my manuals
Manuals
Brands
Fluke Manuals
Controller
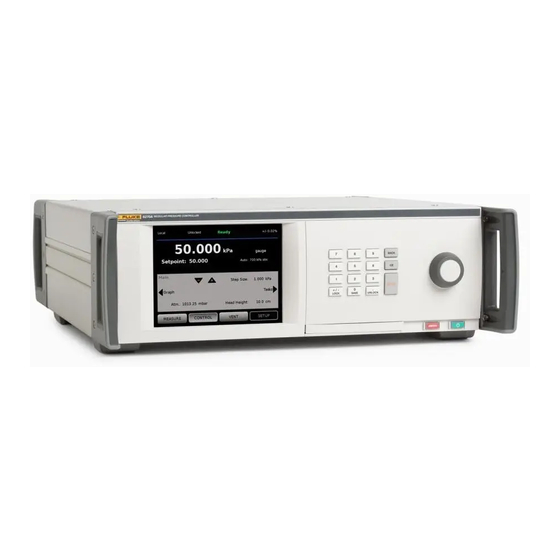
8270A
Operator's manual
Fluke 8270A Operator's Manual
High-pressure modular controller
Hide thumbs
1
2
Table Of Contents
3
4
5
6
7
8
9
10
11
12
13
14
15
16
17
18
19
20
21
22
23
24
25
26
27
28
29
30
31
32
33
34
35
36
37
38
39
40
41
42
43
44
45
46
47
48
49
50
51
52
53
54
55
56
57
58
59
60
61
62
63
64
65
66
67
68
page
of
68
Go
/
68
Contents
Table of Contents
Troubleshooting
Bookmarks
Table of Contents
Table of Contents
Introduction
Contact Fluke Calibration
Safety Information
Symbols
The Product Manual Set
Specifications
Unpack the Product
Product Placement
Connect to Mains Power
Mains Voltage
Access the Module Bay
PMM Installation
PCM Installation
Barometer Module
Rear-Panel Manifold Pressure Connections
SUPPLY Port
EXHAUST Port (Vacuum Pump if Required)
TEST Port
REF Port
VENT Port
Controller Settings (Setup Menu)
Setup Menu
Instrument Setup Menu
Instrument Settings Menu
Remote Port Menu
Front-Panel Features
Rear-Panel Features
Turn on the Product
Main Menu
Operation
Operating Modes
Set Target Pressure (Setpoint)
Step Pressure up or down
Jog Pressure
Vent and Abort
Pressure Measurement
Pressure Control Settings
Control Modes
Dynamic Control Modes
Static Control Mode
Slew Rate (Rate of Pressure Change)
Safety Limits
Upper Limit
Lower Limit
Auto Vent
Pressure Measurement Settings
Unit and Custom Units
Measurement Modes
Measurement Resolution
Module Selection
Pressure Filter
Autozero
Gauge Mode
Absolute Mode
Atmosphere
Head Height
PM500 Absolute Zeroing
Required Equipment
PM500 Full Scale 700 Kpa Absolute Zeroing
PM500 Full Scale >700 Kpa Absolute Zeroing
Tasks
Leak Test
Switch Test
Exercise
Program
External Driver Communication
Configure the Driver
Driver Electrical Connections
External Abort and Isolation Valves
System Mode
Maintenance
Fuse Replacement
Clean the Exterior
Reset Controller Settings
Diagnostics
System
Measure
Control
Remote Interface
Troubleshooting
Error Codes
User-Replaceable Parts and Accessories
Advertisement
Quick Links
Download this manual
8270A/8370A
High-Pressure Modular Controller
Operators Manual
July 2018
© 2018 Fluke Corporation. All rights reserved. Specifications are subject to change without notice.
All product names are trademarks of their respective companies.
Table of
Contents
Previous
Page
Next
Page
1
2
3
4
5
Advertisement
Table of Contents
Need help?
Do you have a question about the 8270A and is the answer not in the manual?
Ask a question
Questions and answers
Related Manuals for Fluke 8270A
Controller Fluke 8370A Operator's Manual
High-pressure modular controller (68 pages)
Controller Fluke 1732 User Manual
(76 pages)
Controller Fluke 2200 User Manual
Temperature controller (52 pages)
Controller Fluke RUSKA 7350 User Manual
High pressure gas controller/calibrator (78 pages)
Controller Fluke 1722A User Manual
Instrument controller (25 pages)
Controller Fluke CalPower RUSKA 3990 Series User Manual
Manual pressure control packs (18 pages)
Controller FLUKE 1-4 IN LOW Instruction Sheet
Recommendations for 1/4 in. low- and mid-flow metering valve kits for molstic-s (2 pages)
This manual is also suitable for:
8370a
8370a-2
8370a-5
8370a-2-pcm
8370a-5-pcm
8270a-2-bsp
...
Show all
8270a-2-bsp-pcm
8270a-5-bsp-pcm
8270a-2-npt
8270a-2-npt-pcm
8270a-5-npt-pcm
8270a-2-sae
8270a-2-sae-pcm
8270a-5-sae-pcm
8270a-5-bsp
8270a-5-np
Table of Contents
Print
Rename the bookmark
Delete bookmark?
Delete from my manuals?
Login
Sign In
OR
Sign in with Facebook
Sign in with Google
Upload manual
Upload from disk
Upload from URL


Need help?
Do you have a question about the 8270A and is the answer not in the manual?
Questions and answers