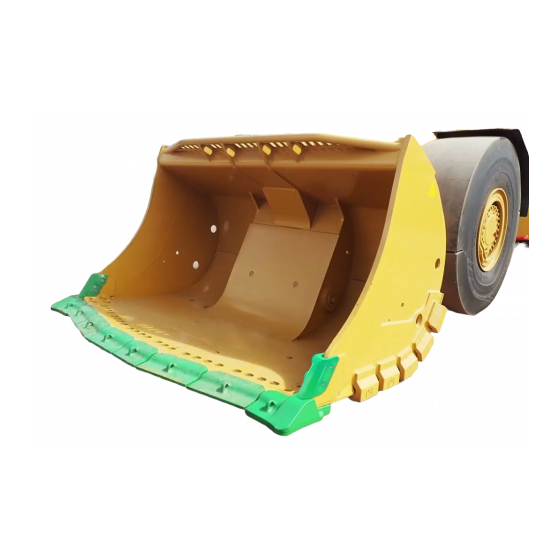
Summary of Contents for Weir Esco ULTRAEDGE
- Page 1 MAINTENANCE GUIDE ULTRAEDGE™ LHD LIP SHROUD SYSTEM INSTALLATION, MAINTENANCE AND REMOVAL INSTRUCTIONS...
- Page 2 Safety General Safety Information The safety practices described in this manual are meant as guidelines for safe operation under most conditions and are meant to supplement any safety rules and/or laws that have been established at your worksite. WARNING: Read this entire brochure prior to conducting the procedures described in this manual.
-
Page 3: Table Of Contents
Table of Contents 1. Installation 1.1. Preparing the Machine and Bucket for Work ..........Page 4 1.2. -
Page 4: Installation
1. Installation 1.1 Component Preparation 1. The machine and bucket must be blocked against hazardous motion. 2. The machine and bucket must be positioned and oriented to provide safe access to perform the work described below. Before performing any work, a risk assessment in accordance with worksite requirements must be performed to identify potential hazards, and establish safe procedures for completing the necessary tasks. -
Page 5: Positioning Nut
1.3 Pre-position Nut to About 45° 1. If the optimal rotation of the nuts is known from a previous shroud installation then rotate the nuts to that orientation; If not, leave the nuts rotated about 45°. See Figure 1.3.1. Figure 1.3.1 – Nuts Angled at 45° 1.4 Position Shroud on Lip 1. -
Page 6: Aligning Threads With Lip Holes
1.5 Align Threads with Lip Holes 1. Adjust nut rotation to align threads with lip hole by rotating the nut with a Hex Bit inserted from the top of the lip. 2. Shroud position may have to be adjusted sideways to achieve proper alignment. See Figure 1.5.1. Figure 1.5.1 –... -
Page 7: Tightening Bolts
1.7 Tighten Bolt 1. Tighten bolts to 1,000 ft/lb. See Figure 1.7.1. Figure 1.7.1 – Bolt Tightening 2. Check to ensure that the shroud is in solid contact with the front of the lip. See Figure 1.7.2. Contact Figure 1.7.2 – Shroud and lip contact 3. -
Page 8: Supplemental Steps
1.8 Supplemental Steps If using an impact wrench to perform the installation or if you encounter conditions where the bolts are not easily threaded you can follow these additional steps. 1. With the bolt only hand tight, insert 19 mm Hex Bit into the nut from the bottom of the shroud. -
Page 9: Maintenance
2. Maintenance 2.1 Prepare the Machine and Bucket for Work 1. The machine and bucket must be blocked against hazardous motion. 2. The machine and bucket must be positioned and oriented to provide safe access to perform the work described below. -
Page 10: Removal
3. Removal 3.1 Prepare the Machine and Bucket for Work 1. The machine and bucket must be blocked against hazardous motion. 2. The machine and bucket must be positioned and oriented to provide safe access to perform the work described below. - Page 12 www.esco.weir P6057MIN-ENG-L0418 ©2018 ESCO Group LLC. All Rights Reserved.

Need help?
Do you have a question about the Esco ULTRAEDGE and is the answer not in the manual?
Questions and answers