Advertisement
Quick Links
Advertisement

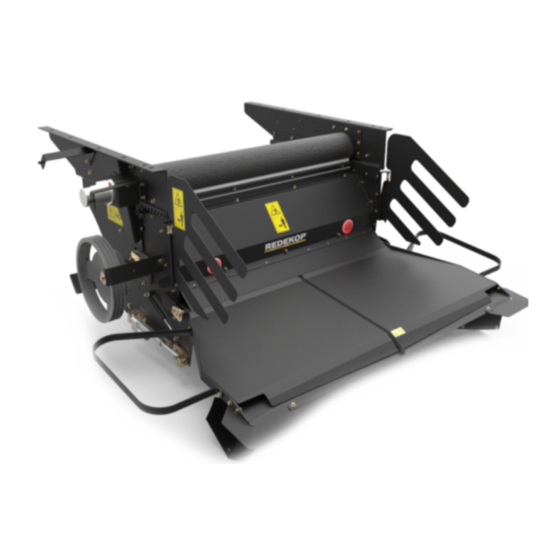
Summary of Contents for REDEKOP Actuated Tailboard
- Page 1 Actuated Tailboard Installation Manual CS0357-01_V0_Sept 2017...
- Page 2 This instruction manual explains the proper procedure for preparing the combine and removing the Factory Spreader Components in order to install the Redekop MAV Chopper 0.2 Recognize Safety Information 0.2.1 This is a safety-alert symbol. When you see this symbol on your machine or in this manual, be alert to the potential for personal injury.
- Page 3 0.5 Safe Operating Practices 0.5.1 DO NOT stand near combine when machine is running. ALWAYS refer to your Combine Operator’s Manual, and review Safety section before operating machine. The Combine Operator’s Manual details safe operating practices that must be followed to protect you and others from accidental death and/or injury.
- Page 4 0.8 Block Wheels 0.8.1 Park the combine on level ground. Always engage the park brake and block the combine wheels prior to working to prevent the combine from moving. 0.9 Practice Safe Maintenance 0.9.1 Understand service procedure before doing work. Keep area clean and dry.
- Page 5 0.11 Avoid High-Pressure Fluids 0.11.1 Inspect hydraulic hoses periodically – at least once per year – for leakage, kinking, cuts, cracks, abrasion, blisters, corrosion, exposed wire braid or any other signs of wear or damage. Replace worn or damaged hose assemblies immediately. Escaping fl...
- Page 6 0.14 Personal Protective Equipment (PPE) 0.14.1 A Qualifi ed Person designated by the employer, who is knowledgeable about and familiar with all relevant specifi cations and assembly instructions and is capable of identifying existing or potential hazards in surroundings or working conditions which may be hazardous or dangerous to employees shall determine appropriate Personal Protective Equipment required for this assembly.
- Page 7 1 If your tailboard is manually controled: Caution - Pinch Hazard 1.1.1 Remove gas spring (A) from the tailboard and chopper housing - both sides 1.1.2 Block the tailboard up securely 1.1.3 Remove adjustable latch assembly (B) from the tailboard - both sides 1.2 Remove tailboard adjustment lug (C) from the chopper housing...
- Page 8 2 Actuator Component Installation 2.1 Install left actuator tailboard mount bracket (C) and hook (D) onto tailboard, with: - M8 x 25 round head bolts and fl ange nuts (C1) x2 - ensure mount bracket has notch on bottom - both sides Notch 2.2 Install actuator chopper mount bracket (E) onto left side of chopper with:...
- Page 9 2.3 With the tailboad down, on the inside of the hook (D) install limiter pin (F) into left chopper wall with: - M8 x 40 round head bolt (D1) - head of bolt to be on inside of chopper - fl at washer (D2) - limiter tube (G) - lock nut (D3) - both sides...
- Page 10 2.5 Connect wiring harness RP892 (J) to both actuators and run underneath chopper 2.6 Install wiring harness 47590048 (K)
-
Page 11: Software Update
3 Software Update 3.1 Update software: Use the 240-Series EST to set the new confi gurations on 230-Series and 240-Series machines. (after the S/N break below) The new cab machines start at S/N YDG218540 Software update required is: UCM1 - V33.33.0.0 or newer, UCM2 - V33.34.0.0 or newer (for S/N above and newer) Display Software (Part # 48109497 Combine Axial Flow) V30.8.0.0 Machines <YDG218540 do not get software update and would require the spreader/chopper speed sensor placed on the 7-tooth target... - Page 12 Check all fasteners to ensure they have been properly tightened Torque Table Nominal Size Class 8.8 Class 10.9 Nm / (ft -lbs) Nm / (ft -lbs) M8 - fl anged 27 / (20) 39 / (29) - non fl anged 25 / (18) 35 / (26) M10 - fl anged...
Need help?
Do you have a question about the Actuated Tailboard and is the answer not in the manual?
Questions and answers