
Related Manuals for Explore Scientific BT Series

Summary of Contents for Explore Scientific BT Series
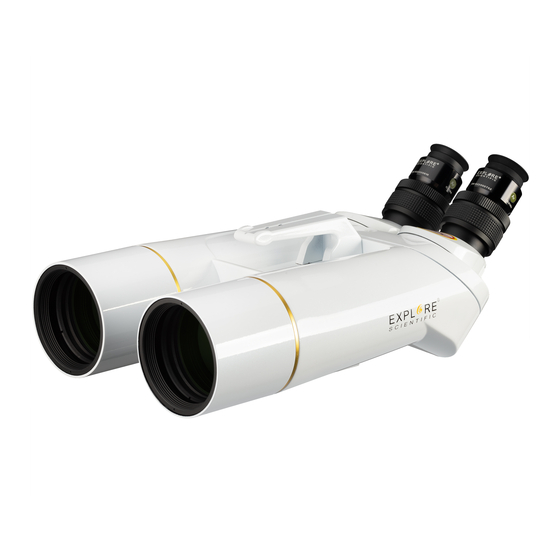
- Page 1 BT Series Giant Binoculars BT-70SF - BT-82SF - BT-100SF - BT-120SF Art. No. 0114200 / 0114210 / 0114220 / 0114230 U-Mount with tripod Art. No. 0114300 INSTRUCTION MANUAL...
- Page 2 DANGER! Never look directly at or near the sun with this device without solar filter! Direct sunlight will cause serious damage of your eyes or even blindness within a few seconds. GEFAHR! Blicken Sie niemals mit diesem Geräte ohne Sonnenfilter direkt in oder in die Nähe der Sonne! Direkte Sonneneinstrahlung führt bereits nach wenigen Sekunden zu schweren Augenschäden oder sogar zu einer Erblindung.
-
Page 3: Set Content
Set content Giant binoculars U-Mount Tripod with mounting plate with spacing plate and central screw 2x 62° LER eyepiece 20mm Ar... -
Page 4: Parts Overview
Parts overview Tripod 1. Tripod head 6. Knurled screw 2. Tripod leg (upper part) 7. Central screw 3. Fixing screws for tripod leg 8. Spacing plate 4. Tripod leg (lower part) 9. - Page 5 Parts overview Giant binoculars 21. Objective Lens 26. Transport handle 27. Eyepiece, exchangeable 22. Dew/sun protection cap, extendable 28. Eyepiece holder 23. Tube 29. Eyepiece clamping ring ¼" Connection thread 30.
- Page 6 Assembly 1. Spread the tripod legs, extend and clamp 2. Assemble spacing plate and central them. screw. 3. Insert the central screw with the spacing 4. Insert the U-Mount into tripod head. plate in the tripod head and fix it. 5.
- Page 7 Assembly 7. Friction adjustment of the coupling 8. 2 x ¼" connection thread on the for the azimuth axis. bottom side of the binoculars 9. Mounting the adapter plate on the 10. Insert the binoculars in the dovetail bottom side of the binoculars. guide of the U-Mount.
- Page 8 Observation 13. Align the binoculars to the object of 14. Remove the dust caps from the observation. Possibly pull out the objective lenses. protection caps. 15. Remove the dust caps from 16. Insert and clamp the eyepieces. eyepiece holder. 17. Focusing by means of helical single 18.
- Page 9 Observation Astronomical observations Land observations Tips on observation Moon* Star cluster M45 Pleiades* Orion nebula M42* Landscape* Birds* Ships* * Sample images for illustration purposes. The actual image size and image quality depends on the selected eyepieces. Astronomical motifs are usually not visible in colour due to the long observation distance.
-
Page 10: Optionally Available Accessories
Optionally available accessories When using optional accessories, read separate instruction manual! Only use accessories authorized by the manufacturer! EXPLORE SCIENTIFIC Eyepiece series EXPLORE SCIENTIFIC Nebula filters EXPLORE SCIENTIFIC TELRAD EXPLORE SCIENTIFIC Filter Set 2 Projection viewfinder with base... -
Page 11: Cleaning And Maintenance
Cleaning & Maintenance Giant binoculars • Clean the lenses (eyepieces and/or objective lenses) only with a soft and lint-free cloth (e.g. microfibre cloth). To avoid scratching the lenses, use only gentle pressure with the cleaning cloth. • To remove more stubborn dirt, moisten the cleaning cloth with an eyeglass-cleaning solution and wipe the lenses gently. - Page 12 Bresser GmbH Gutenbergstr. 2 · DE-46414 Rhede Germany www.bresser.de · service@bresser.de Errors and technical changes excepted. Manual_0114200-0114210-0114220-0114230-0114300_BT-Series-Binoculars_en_EXPSC_122020b...
Need help?
Do you have a question about the BT Series and is the answer not in the manual?
Questions and answers