Table of Contents
Advertisement
Quick Links
Advertisement
Table of Contents

Summary of Contents for Quantex ScanDoc Compact
- Page 1 QUANTEX ScanDoc COMPACT Instruction Manual...
-
Page 2: Table Of Contents
Contents Introduction Safety precautions and warnings Installation Minimum system hardware requirements Program installation Connection On-line activation ScanDoc program description Program settings Main menu Identification Diagnostic Trouble Codes Hot keys Manufacturer QUANTEX GmbH 2014... -
Page 3: Introduction
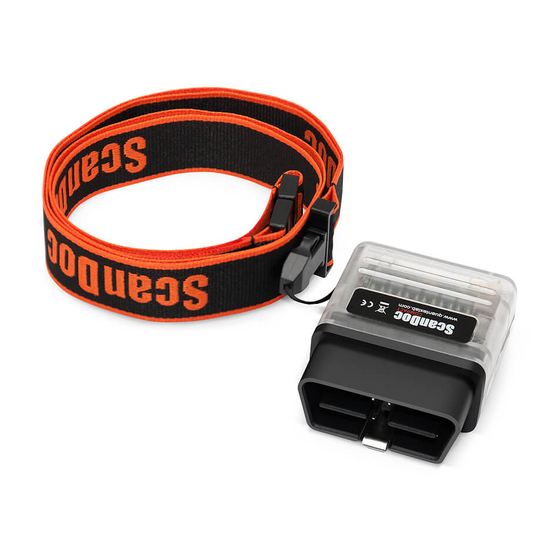
Introduction A multi car diagnostic scanner ScanDoc Compact is used for the information readout from the car engine control modules (ECM) via the diagnostic outlet OBD-II. Functionality • Reading and error codes decoding. • Errors reset. • Display of current data both in digital and graphical formats. -
Page 4: Safety Precautions And Warnings
Battery energy storage (BES) Don’t put a device on the BES of a vehicle. It can short the BES ter- minals out, that may result in a personal injury as well as device and the battery fault. QUANTEX GmbH 2014... -
Page 5: Installation
Wireless LAN controller 802.11 g/n. Step 2 - Program installation To install the program, use USB Flash Drive containing the software and start the file Setup.exe. The software is also available at the manufacturer’s site at: www.quantexlab. com. QUANTEX GmbH 2014... -
Page 6: Connection
Quantex Guest Connect 2 2. Connect to the PC via the wireless network Wi-FI. Select QUANTEX in the Wi- FI connections list available on the PC. This is the easiest way to connect. Note: This option within the Wi-Fi device unit is default... - Page 7 Wi-Fi with Inter- net Access Point is used. In this case you may need to change an IP-address of the diagnostic scanner ScanDoc Compact. For more information on types of connection and additional settings, please visit our web site: www.quantexlab.com...
-
Page 8: On-Line Activation
Get key (or the button Activation via the Internet) in the tab Options. You will see this message: 2. Select the adapter type (ScanDoc Compact) and its serial number in the win- dow. If the program and the remote server are connected successfully, there will be a message saying the key is received successfully. - Page 9 Emergency activity. Don’t switch the power off till the activity is finished. Device power supply ScanDoc Compact gets the power supply from the car diagnostic outlet OBD-II. Possible Reasons for Power Supply Absence: • The adapter is put in to the car diagnostic socket incorrectly.
-
Page 10: Scandoc Program Description
Database version: Make sure you use the latest database version. New program version can be al- ways downloaded from the corresponding section at our site: www.quantexlab.com Serial number: QUANTEX GmbH 2014... - Page 11 If there is a plant LAN, where IP-addresses have been already assigned, it’s necessary to do it. Buttons for an IP-address change are shown by selecting the fol- lowing keys: Ctrl+Alt+Y. Beware! An expert is the only person to change the IP-address in the device. QUANTEX GmbH 2014...
- Page 12 The above sections are always accessible in the ScanDoc program interface whether the scanner is connected to the car or not. The rest program sections are displayed when the scanner is switched on and the connection to the car is made. QUANTEX GmbH 2014...
-
Page 13: Main Menu
After the connection to Electronic Control Unit (ECU) is made, the program will display the ECU identity. These data are necessary to determine the software and hardware versions, control units calibration versions. The identity data contain ad- ditional information, necessary to test this control unit correctly. QUANTEX GmbH 2014... -
Page 14: Diagnostic Trouble Codes
Further operation is then not possible or limited as a rule. In some cases a user can continue operating being fully responsible for the risks. Diagnostic Trouble Codes (DTC) The tab “Codes” displays the error codes (DTC), which have been saved to the Electronic Control Unit. QUANTEX GmbH 2014... - Page 15 U - Communication. 0 - Codes are assigned by the OBD-II standard. 1 - Codes are assigned by the manufacturer. System or car component code. Error code. Error code. Some manufacturer’s standards involve the error digital value. QUANTEX GmbH 2014...
- Page 16 To get the information, use left mouse button and select the error’s name. Freeze frame will be displayed for selected error. Some ECU-s can show several Freeze frames for one error code. Data before, during and after DTC (Diagnostic trouble code) appeared are usually saved. QUANTEX GmbH 2014...
- Page 17 If there is an error additional description in the database, an icon with the question mark will appear before the number of this error. Use left mouse button to select this icon and you will see a window with the additional information. QUANTEX GmbH 2014...
- Page 18 View mode of one, two or all the options on the dis- Ctrl+V play. To install the active group, press Tab. Add the protocol. Adds current options values to the Ctrl+R protocol. Exhaust gas tester. Activates the exhaust gas tester Ctrl+G program. Tests. Tests list opening. Ctrl+T QUANTEX GmbH 2014...
- Page 19 Click the right mouse button on the graphs to open any options. Each option is dis- played both in graphical and digital forms. Click the left mouse button on the option header and change the form of its view. QUANTEX GmbH 2014...
- Page 20 It helps to zoom in (with the left mouse button) or zoom out (with the right mouse button) the graphs size. Changes reset. It restores all the graphs settings defaulted. It adds the graphs to the protocol. Add to the protocol. It adds the graph to the protocol. QUANTEX GmbH 2014...
- Page 21 Those options included into the group and are currently being available in the electronic control unit (ECU) will only be displayed by data sets viewing. If the number of options, available in the group are more than 7, then subgroups will be created automatically by viewing this group. QUANTEX GmbH 2014...
- Page 22 Each request is processed about 0,1 sec. Thus it will take about 1 second to display 10 options. The more options are displayed, the more time it will take to display them. QUANTEX GmbH 2014...
- Page 23 To make it easier, some options current values are displayed sometimes. Each actuator is tested in its own way. The test type depends on an actuator type: 1. Switch on / Switch off. 2. Open / Close. QUANTEX GmbH 2014...
- Page 24 5. Controlling. If we relocate the focus to the control device and select the button spacebar, the window with a digital input will be shown. It facilitates the laptop operation when it’s difficult to use the mouse. QUANTEX GmbH 2014...
- Page 25 Not all the group options can be displayed. If a group or an object have green edges it means there are options not shown on the display. Click an object or a group with the left mouse button to see the options. QUANTEX GmbH 2014...
- Page 26 Clicking right mouse button on a free field of the program window, a test menu can be opened. Clicking right mouse button on the options groups, one can see a list of tests, belonging to this very group. QUANTEX GmbH 2014...
- Page 27 It’s used when the speed of output isn’t important but the entire picture is to be reflected. In this case all the options can be displayed, by selecting the button with a Turtle. It can take several seconds to update the display. QUANTEX GmbH 2014...
- Page 28 Configuration is often called coding. ScanDoc scanner ena- bles the user to read the coding out and change it. Beware! It’s strongly recommended that the configuration should be read out to the file and saved to the PC before changing it. QUANTEX GmbH 2014...
- Page 29 It’s done by oil change. Reset procedure differs from one manufacturer to an- other. It can be just one reset button or programming of run interval before the next warning appears. For more detailed description refer to vehicle maintenance docu- mentation. QUANTEX GmbH 2014...
-
Page 30: Hot Keys
Ctrl+E scanner shows incorrect data or a user would like to point out some uncertainty in the program. Ctrl+А Automatic zoom setting by Y. Ctrl+T Actuators tests run. Ctrl+V Selection of options view mode. Help Topics run. QUANTEX GmbH 2014... -
Page 31: Manufacturer
Manufacturer: Quantex GmbH Germany 32257 Buende Borriesstrasse 174 Tel.: +49 5223 1806254 Fax: +49 5223 1831483 E-mail: info@quantexlab.com Web: www.quantexlab.com QUANTEX GmbH 2014...