Advertisement
Parts list
– before proceeding, check that you have received all of the
following:
(1) Cool-stack II main chassis
(1) Thermal probe
(1) Power supply
(1) Front panel
Installation of the Cool-stack II rack-mount ventilator
The Cool-stack II is a very powerful 2U high ventilator, well-suited for removing
heated air from large rack installations. Some of the features of the Cool-stack II
are:
Two-speed operation, with automatic selection of speeds via a thermal probe
and control assembly; also controllable by external contact closure.
Sufficient depth (18") to pull heated air from the back of a rack, where it is
most often generated.
Six large (120mm/4.7") high-quality fans for quiet ventilation.
Ability to exhaust heated air through the front, rear, or top, or any combination
of these for maximum installation flexibility. (With optional exhaust kits)
General description:
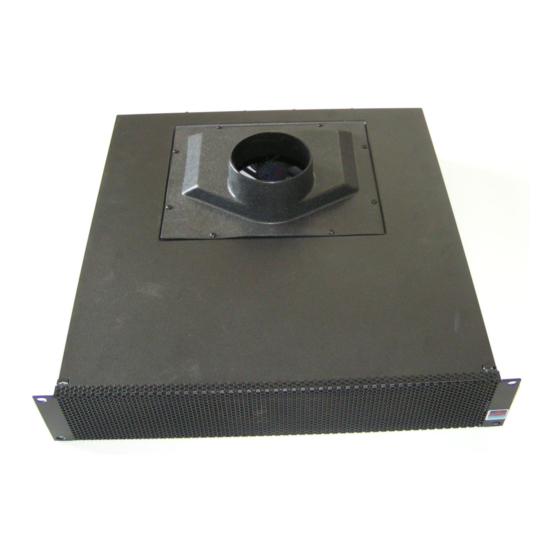
The Cool-stack II is an exhaust-mode ventilator. It will usually be located at the
top of a rack, where its six 120mm fans will pull heated air up from the equipment
below and exhaust it through its front panel. It is extremely quiet in low speed,
and makes little noise in full speed.
25570 Rye Canyon Rd.
(661) 294-7999 voice
techinfo@activethermal.com
Active Thermal Management
The trusted name in thermal protection
Valencia, California 91355
(661) 294-1115 fax
www.activethermal.com
Advertisement
Table of Contents

Summary of Contents for ATM Cool-stack II
- Page 1 Installation of the Cool-stack II rack-mount ventilator The Cool-stack II is a very powerful 2U high ventilator, well-suited for removing heated air from large rack installations. Some of the features of the Cool-stack II are: Two-speed operation, with automatic selection of speeds via a thermal probe and control assembly;...
- Page 2 Tubing sizes: The top panel exhaust port uses ATM 4" tubing (4" ID, 6" OD), with 8' (included) being the recommended maximum length. Rear panel exhaust ports use ATM 2" tubing (thin wall), with 1 4' length on each port (included) being the maximum recommended length.
- Page 3 Proceed to step 1 of the installation section. Figure 2 If exhausting through the rear panel, remove the Cool-stack II's front and top panels (4 phillips screws on the rear panel), cover the inside of the front panel as in figure 1, and remove the plastic sheets covering the 2 rear panel exhaust openings.
- Page 4 It will switch the Cool-stack II from "off" to low speed at about 90 F (31C) and full speed at about 101 F (38C). In installations with several pieces of heat-...
- Page 5 If the hot air is to be exhausted through the front panel of the Cool-stack II, installation is complete. If heated air is being exhausted through the top panel, and tubing is being used to carry the heated air away, connect it to the top tubing port now, using the 4"...
Need help?
Do you have a question about the Cool-stack II and is the answer not in the manual?
Questions and answers