Advertisement
Made in America
Lifetime Guarantee
Thank you for purchasing this instrument from Intellitronix. We value our customers!
Installation GUIDE
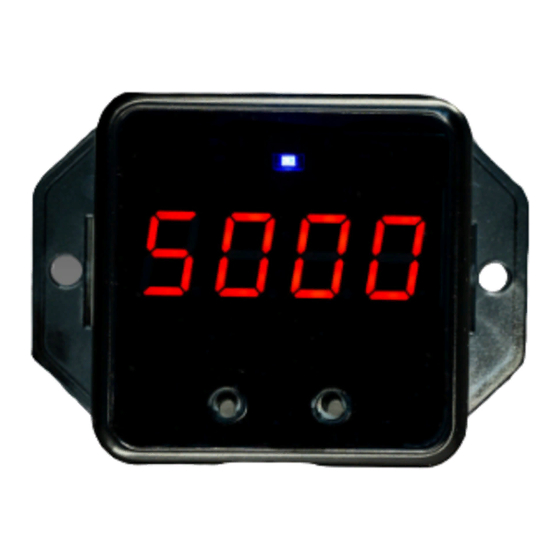
Digital RPM 3 Mode Window Switch
Part Number: N3211
Caution: Do NOT allow any of the switch wires other than the RED
(power source) wire to touch any 12V source, as this will cause the
Unit to malfunction or destroy the functionality of the switch.
* Always disconnect the battery before attempting any electrical work on your vehicle. *
WIRING INSTRUCTIONS
Note: Automotive circuit connectors are the preferred method of connecting wires. However, you
may solder if you prefer.
Note: If doing a LS engine swap, pick up the tach signal wire from the ECM/ECU and then set the tach
switch to 4-cylinders.
1-N3211
Intellitronix
www.intellitronix.com
(rev. 09/04/2020)
Advertisement
Table of Contents

Related Manuals for Intellitronix N3211

Summary of Contents for Intellitronix N3211
- Page 1 Made in America Lifetime Guarantee Thank you for purchasing this instrument from Intellitronix. We value our customers! INSTALLATION GUIDE Digital RPM 3 Mode Window Switch Part Number: N3211 Caution: Do NOT allow any of the switch wires other than the RED (power source) wire to touch any 12V source, as this will cause the Unit to malfunction or destroy the functionality of the switch.
- Page 2 If your vehicle has a magneto system, connect the tach signal wire to the negative side of the coil. Do not connect the tach terminal to the positive (+ or high voltage) side of the ignition coil. SET UP WINDOW 2-N3211 Intellitronix www.intellitronix.com...
- Page 3 If measured RPM is outside limits, switch deactivates. Window Mode 2Lb: Same as Window Mode 2L, except once measured RPM leaves window, it only re-activates once it enters the window from the low limit side. OPERATION: 3-N3211 Intellitronix www.intellitronix.com (rev. 09/04/2020)
- Page 4 NO/NC status. When you are satisfied with your settings, start your engine and your device will start to operate automatically. A blue LED will indicate when the switch is activated, or power is able to flow. 4-N3211 Intellitronix www.intellitronix.com...
- Page 5 (440) 359 7200 support@intellitronix.com CHECK OUT THE SUPPORT PAGE AT www.intellitronix.com FOR QUICK ANSWERS (Q&A) TO YOUR QUESTIONS This product carries a limited Lifetime Warranty. This warranty is limited to replacement or repair of the unit at the discretion of Intellitronix.
- Page 6 Request for Product Refund 1. All returns for a refund must have a completed Intellitronix Return/Repair Form included in the package with the returned product. 2. If the return is for a product that is not defective a 20% restocking fee will be charged. The product must be in the same pristine condition that it was sent to you.
Need help?
Do you have a question about the N3211 and is the answer not in the manual?
Questions and answers