Advertisement
Quick Links
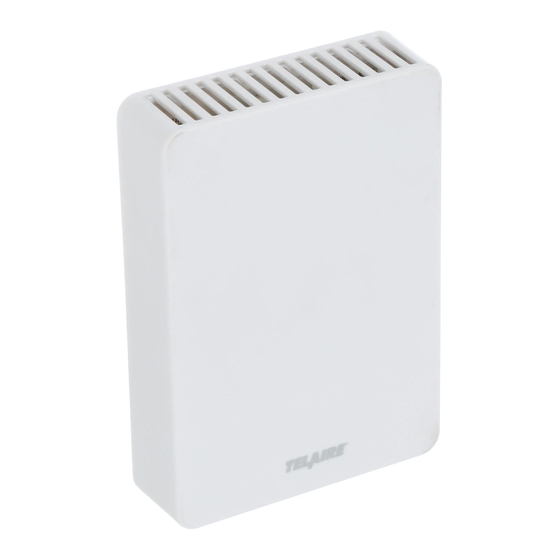
Installing the Sensor
!WARNING!
Before performing service or maintenance opera-
tions on the systems, turn OFF main power switch-
es to the unit. Electric shock can cause personal
injury. Please read and follow the wiring instructions
precisely; miswiring may cause permanent damage
to the product.
Basic Installation
1.
Separate the case into its front and rear sections.
2.
Secure the rear section of the case to the wall or
junction box using the supplied screws, and make
necessary wire connections.
3.
Select Voltage or Current output option and Voltage
range (0-10 V or 0-5 V) using the SW1 as shown on
the internal label (Figure 1) and Table 1.
Note:
SW1 controls both CO
outputs simultaneously.
Factory default setting is Voltage outputs 0-10V.
Table: 1
Voltage and Current Output Options
Switch
Switch
#1
#2
Down,
Down,
Low
Low
Up, High
Up, High
Down,
Down,
Low
Low
Up, High
Up, High
4.
Mount the Controller on the base by aligning the top
clips and then securing to the bottom clips.
Secure the Ventostat with the supplied set screw.
A one-minute stabilization warm up will take place.
Amphenol
Advanced Sensors
®
and Temperature
2
Configuration
Factory default setting
CO
0-10 V / 0 - 2000 ppm
2
Temperature 0-10 V/ 0 - 50 °C
CO
0-5V/ 0 - 2000 ppm
2
Temperature 0-5 V/ 0 - 50°C
CO
4-20 mA/ 0 - 2000 ppm
2
Temperature 4-20 mA/ 0 -
50°C
RESERVED
Telaire T5100-LED Series CO
Amphenol Advanced Sensors
967 Windfall Road
St. Marys PA 15857 USA
Figure 1: Internal Label
and Temperature Sensor
User Instructions
2
Advertisement

Summary of Contents for Amphenol TELAiRE T5100-LED Series
- Page 1 Telaire T5100-LED Series CO ® and Temperature Sensor User Instructions Installing the Sensor !WARNING! Before performing service or maintenance opera- tions on the systems, turn OFF main power switch- es to the unit. Electric shock can cause personal injury. Please read and follow the wiring instructions precisely;...
- Page 2 T8031 unit. When mounting these products inside the ductwork, seal the hole around the wires and leave the duct insulation in place to prevent condensation which may damage the sensor. Figure 3: Wiring for 4-Wire System AC Power 2 | Telaire T5100-LED Series...
- Page 3 2%. In addition, there is a potential digital to analog error of Certifications up to 1%. CE, RoHS and REACH compliant Temperature Dependence 0.2% FS per °C (±0.11% per °F) Telaire T5100-LED Series | 3...
- Page 4 6,250,133 / 6,285,290 Amphenol www.amphenol-sensors.com © 2018 Amphenol Corporation. All Rights Reserved. Specifications are subject to change without notice. Other company names and product names used in this document are the registered trademarks or Advanced Sensors trademarks of their respective owners.
Need help?
Do you have a question about the TELAiRE T5100-LED Series and is the answer not in the manual?
Questions and answers