Advertisement
Quick Links
Contact Us: FACTORY UTV LLC.
9237 Beatty Drive Sacramento, CA 95826
Phone : (916) 383-2730
E-mail : info@factoryutv.net
www.Factoryutv.net
Go online:
All Terrain High Density Door Panels / Side Armor Kit for UTV's
Installation guide
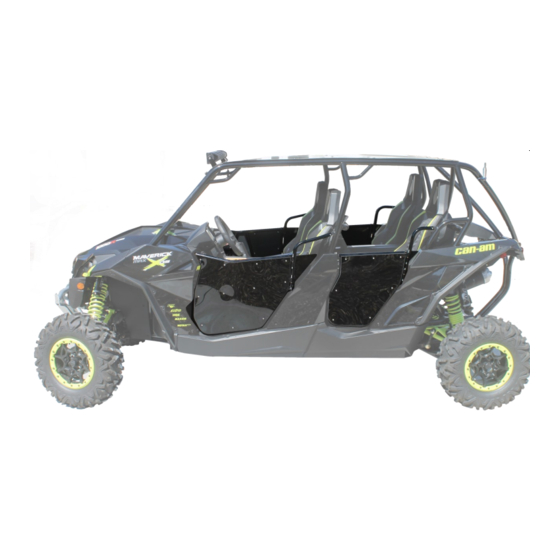
Can-Am Maverick Door package
Guide covers 2 and 4 seat models
Factory UTV Can-Am Maverick Door package instruction guide v2
Advertisement

Related Manuals for FACTORY UTV Can-Am Maverick Door package

Summary of Contents for FACTORY UTV Can-Am Maverick Door package
- Page 1 E-mail : info@factoryutv.net www.Factoryutv.net Go online: All Terrain High Density Door Panels / Side Armor Kit for UTV’s Installation guide Can-Am Maverick Door package Guide covers 2 and 4 seat models Factory UTV Can-Am Maverick Door package instruction guide v2...
- Page 2 Right Blocker Bracket Left Front Latch Mount Right Front Latch Mount Left Front Door Mount Right Front Door Mount Left Rear Hinge Mount Right Rear Hinge Mount Left Door Right Door Factory UTV Can-Am Maverick Door package instruction guide v2...
-
Page 3: Before Installation
YOU WILL HAVE TO DRILL & MODIFY YOUR VEHICLE THIS MAY VOID YOUR VEHICLE MANUFACTURE’S WARRANTY (Our door upgrades are safe, if installed correctly) Remove side belts Factory UTV Can-Am Maverick Door package instruction guide v2... - Page 4 Remove all other bolts shown as per diagram #4 (.A or .B) (* Some bolts are hidden from plain view) *If Difficulty with stock panel disassembly, please consult your owners manual *( Same procedure on both sides ) Factory UTV Can-Am Maverick Door package instruction guide v2...
- Page 5 Cut Out Below Templates (#A) & (#B) along black line for front locations, 4 seater models: trim to fit remaining rear locations Line up outer arch’s As a reference point Fold along center dotted line Factory UTV Can-Am Maverick Door package instruction guide v2...
- Page 6 This page was intentionally left blank For template cutouts Factory UTV Can-Am Maverick Door package instruction guide v2...
- Page 7 Drill (2x) 3/16th holes through the square tubing & through the plastic foot well Continue on step *(above) Ensure holes in foot well are widened & Remove bracket before next step Factory UTV Can-Am Maverick Door package instruction guide v2...
- Page 8 (See Page #3 For Details) Replace glove box & trim pieces, Ensure everything is attached securely Fourth: Mount the lower front “blocker” bracket *Note direction of bracket per side Use stock bolts & Fasten securely Factory UTV Can-Am Maverick Door package instruction guide v2...
- Page 9 (direction of the top outer tab, should face away from vehicle ) Bolt the (2x) Torx screws & washers to the front mount (finger tighten bolts loosely for adjustment) Third: Bolt vertical latch bolt Tighten loosely to allow for further adjustments Factory UTV Can-Am Maverick Door package instruction guide v2...
- Page 10 (as to not rough up foam) (as shown on page #3) *(we recommend graphite / dry lube to prevent hinge wear) *(if a sealed door is desired, weather stripping can be applied) *(weather stripping not included) Factory UTV Can-Am Maverick Door package instruction guide v2...
Need help?
Do you have a question about the Can-Am Maverick Door package and is the answer not in the manual?
Questions and answers