Table of Contents
Advertisement
Quick Links
Advertisement
Table of Contents

Summary of Contents for KNX V3000
- Page 1 NA 09.38C 03-2013 V3000 configuration functions Commissioning ...
-
Page 2: Table Of Contents
EN-2 EN-2 V3000 in Comfort Mode according to the programmed time schedule EN-2 V3000 in Economy Mode according to the programmed time schedule (e.g. Night-time operation EN-2 Schematic diagram PRELIMINARY CHECKS AND CONFIGURATION OF THE V3000 ON THE BUS EN-2... -
Page 3: General Information
GENERAL INFORMATION The timer enables a series of V3000 controllers available on a KNX line to be controlled in Comfort/Economy Mode, up to a maximum of 60 ● controllers. This timer allows 8 distinct zones to be defined, tagged C1 to C8 (the 60 V3000 controllers must be distributed throughout these 8 zones). -
Page 4: Preliminary Checks And Configuration Of The V3000 On The Bus
Before configuring the timer on the bus, it is important: to check that all of the controllers are correctly connected to the bus and that it is supplied by the KNX supply. to configure the V3000 to define which zones they belong to by setting the P01 on each V3000 with:... -
Page 5: Operating Principle
Timer backup using lithium battery (supplied). N.B. as the timer has a battery backup, when the installation is subjected to a power cut, it will resume control of the V3000 no more than 3 min after the power supply is restored. -
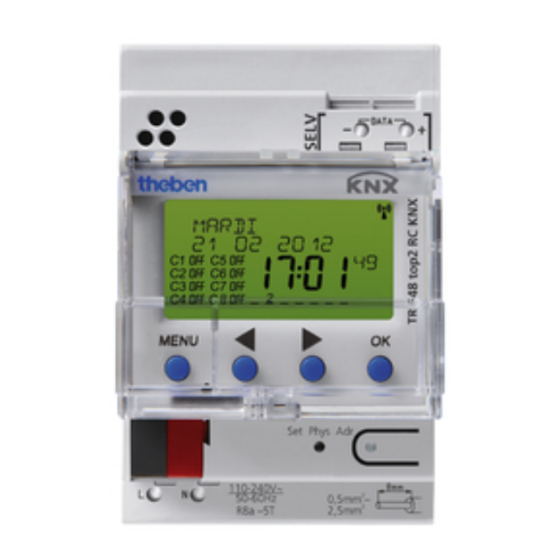
Page 6: Technical Characteristics
TECHNICAL CHARACTERISTICS Operating voltage Self-powered on the KNX bus Operating consumption typ. 1 W Standby consumption 0.8 W min. Data output SELV (Safety Extra-Low Voltage) Connection type Terminal block for KNX bus Authorised ambient temperature -5°C...+45°C II as per EN 60 730-1 in case of correct... -
Page 7: Spare Memory
SPARE MEMORY If there is a power cut, the memory reserve ensures that the current time is saved (for approx. 1.5 years). Even with no current and a drained battery, the switching times will still be memorised. MENU OVERVIEW PROGRAMME SIMULATION TIME/DATE SELECT CHANNEL... -
Page 8: First System Start-Up
FIRST SYSTEM START-UP Set the date, time and rule applicable to the summer/winter time Press any button and follow the instructions displayed on the screen SUMMER/WINTER ENGLISH WESTERN EUROPE SUMMER/WINTER DATE FORMAT EASTERN EUROPE SUMMER WINTER SET YEAR CANADA 2012 SUMMER WINTER 21 01 2012 MONTH... -
Page 9: Display/Set/Delete Switching Times
MENU PROGRAMME SELECT CHANNEL STANDARD SPECIAL SPECIAL CLEAR PROGRAMME PROGRAMME 1 PROGRAMME 2 PULSE CYCLE SWITCHING TIME SET HOURS ON 07:30 SET MINUTES TUESDAY MONDAY EVERY DAY COPY MEMORISE ADD TUESDAY SAVED . . . MEMORISE SAVED DISPLAY/SET/DELETE SWITCHING TIMES MENU Press MENU. -
Page 10: Clear All Switching Times From The Default Programme
CLEAR ALL SWITCHING TIMES FROM THE DEFAULT PROGRAMME MENU PROGRAMME Press MENU. PROGRAMME appears. Press OK to confirm. SELECT CHANNEL Confirm CHANNEL 1 by pressing OK. P0 STANDARD PROGRAMME STANDARD appears. PROGRAMME Press OK to confirm. CLEAR p0 ALL CHECK SET to select CLEAR P0 ALL. -
Page 11: Manual And Permanent Switching
MANUAL AND PERMANENT SWITCHING Manual and permanent switching may be set in the menu during operation MANUAL. Manual switching Reversal of the channel status until the next automatic or programmed switching operation. Permanent switching If permanent switching (on or off) is active, the programmed switching schedules will not apply. MANUAL The manual switching functions are executed in the MANUAL menu.