Advertisement
Installation & Trouble Shooting
Instructions for
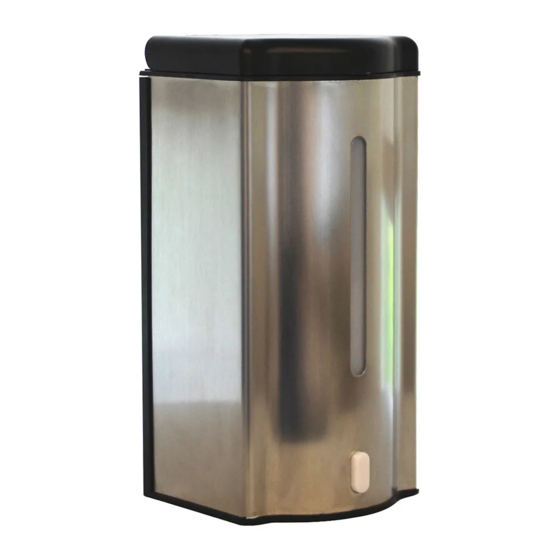
7-PS-104
ELECTRONIC SOAP DISPENSER
CHECK FOR CONCEALED DAMAGE
FILE CLAIM WITH DELIVERING FREIGHT CARRIER
WARNING:
Equipment that includes a faucet may expose you to chemicals, including lead, that are known to the
State of California to cause cancer or birth defects or other reproductive harm. For more Info.,visit www.p65warnings.ca.gov.
Advertisement
Table of Contents

Summary of Contents for Advance Tabco 7-PS-104
- Page 1 Installation & Trouble Shooting Instructions for 7-PS-104 ELECTRONIC SOAP DISPENSER Equipment that includes a faucet may expose you to chemicals, including lead, that are known to the State of California to cause cancer or birth defects or other reproductive harm. For more In CHECK FOR CONCEALED DAMAGE Faucets on this page may expose you to chemicals, including lead, that are known to the State of California to cause cancer or birth defects or other reproductive harm.
- Page 2 Contents Include: Capacity Window Mounting Plate Soap Dispenser Mounting Hardware Batteries Not Included (Requires 4 “AA” Batteries) Soap Sensor Battery Outlet Compartment Indicator/Manual Switch (4 “AA”) DISPENSER CARE: 1. When cleaning, use a damp cloth on outside of dispenser. Do not submerge soap dispenser in water.
- Page 3 TROUBLE SHOOTING: • Change batteries to be sure there is full power. • Is the dispenser to close to the counter or near obstructions? Be sure dispenser has 12” (30 cm) or more distance below it. Make sure there is nothing under or to close to the dispenser’s senor. •...
- Page 4 WALL MOUNT INSTALLATION: PLEASE NOTE: If installing under a cabinet or shelf, You MUST have 3” clearance ABOVE the soap dispenser in order to be able to install, remove or fill. (Figure 1) (Figure 2) (Figure 3) (Figure 4) (Figure 5) (Figure 6) 1.
Need help?
Do you have a question about the 7-PS-104 and is the answer not in the manual?
Questions and answers