Table of Contents
Advertisement
Quick Links
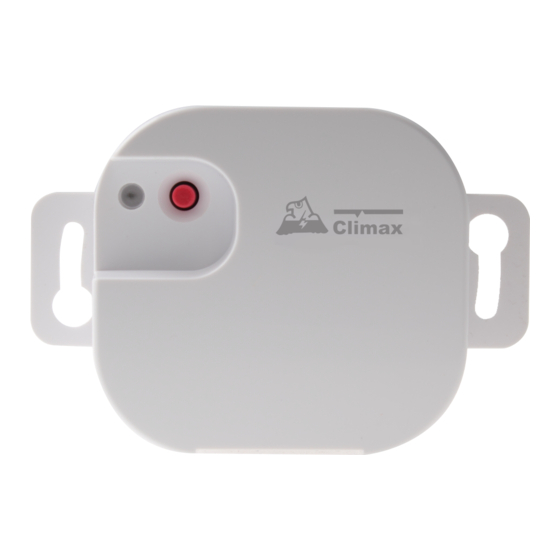
Shutter Control (SCM-2ZW)
Introduction
SCM-2ZW is a Z-Wave Shutter Control. The user can control the SCM via Z-Wave network at a remote
distance or manually by linking a switch to the SCM.
Automatically or remotely roll up, down or stop mid-way, the SCM-2ZW is directly connected to and
controls motorized window treatments, interior and exterior shades and blinds, projection screen, and
garage door or driveway gate of your home.
The Shutter Control is compatible only with Z-Wave Gateway/Control Panel. Z-Wave is a wireless
communication protocol that uses a low-power RF radio. By taking advantage of the Z-Wave mesh network,
commands can be routed to their destination via intermediary "listening" Z-Wave products.
Parts Identification
1. LED indicator
- Power ON: LED flashes twice.
- Successful Learning: LED flashes 3 times.
- Factory Reset: LED flashes twice.
2. Function Button
- Press the function button and the Shutter Control will send
..a multilevel report.
- Press the function button 3 times within 1.5 seconds to
include or exclude the Shutter Control in/from Z-Wave
network.
- Press and Hold Function button for 10 seconds to reset.
3. Insertion Hole Clipper Opener
Press the button to open the clipper of the respective insertion
hole
4. Wire Insertion Holes (With clippers)
5. Power Input Terminal L (Live Lead)
6. Power input Terminal N (Neutral Lead)
7. Local Switch S1 (Up Direction)
If SCM is connected according to Installation below, the shutter will
roll up for 4 minutes after the switch is activated.
Activating this switch when the shutter is rolling down will stop the
shutter.
8. Local Switch S2 (Down Direction)
If SCM is connected according to Installation below, the shutter will
roll down for 4 minutes after the switch is activated.
Activating this switch when the shutter is rolling up will stop the shutter.
9. Motor Output O1 (Up Direction)
Connect to the Up terminal of the Shutter Motor.
10. Motor Output O2 (Down Direction)
Connect to the Down terminal of the Shutter Motor.
S
u
p
p
o
r
t
e
d
L
o
a
S
u
p
p
o
r
t
e
d
L
o
a
1/4 HP (Horse power); 1.8Amps for motors with compensated power factor (inductive loads).
Caution
All works on the device, including installation and maintenance, must be performed by a qualified
and licensed electrician.
Before installation or any maintenance work, make sure the power supply has been disconnected.
Do not connect the device to loads exceeding supported load current.
Please connect the device to AC powered motor only.
d
C
u
r
r
e
n
t
d
C
u
r
r
e
n
t
1
Advertisement
Table of Contents

Related Manuals for Climax SCM-2ZW

Summary of Contents for Climax SCM-2ZW
- Page 1 Shutter Control (SCM-2ZW) Introduction SCM-2ZW is a Z-Wave Shutter Control. The user can control the SCM via Z-Wave network at a remote distance or manually by linking a switch to the SCM. Automatically or remotely roll up, down or stop mid-way, the SCM-2ZW is directly connected to and controls motorized window treatments, interior and exterior shades and blinds, projection screen, and garage door or driveway gate of your home.
- Page 2 This product can be included and operated in any Z-Wave network with other Z-Wave certified devices from other manufactures and/or other applications. All non-battery operated nodes within the network will act as repeaters regardless of vendor to increase reliability of the network. ...
- Page 3 Operation Manual Control If an optional Local Switch is connected, the user can press and hold the button on the up/down Local Switch (S1 up; S2 down) for 1 second to control the shutter. When activated, the shutter will roll up/down.
- Page 4 For parameter 2, users can set the close time (from up to down) time to a value that ranges from 0 to 255 seconds. For parameter 3, users can set the current position to a value that ranges from %0 to %99. ...
- Page 5 Step 3. Click the “Get” button and the firmware information will be displayed. Step 4. Select the new Z-Wave firmware file provided. Step 5. Click “Update” to start the process. For RSS type of sensor, make sure to press the .Function Button to wake up the sensor in order to perform the OTA process.
Need help?
Do you have a question about the SCM-2ZW and is the answer not in the manual?
Questions and answers