Advertisement
Quick Links
This is the installation and registration guide for CET Meter which is referred to as MB-63 or
6M+One device on our system. Throughout the rest of the document, the device will be
Installation guide
(Link for the SLDs: h ttps://drive.google.com/drive/folders/1SK--jg-cPQgHH2JOm3B7fxpZGIdwI27G )
1. WARNING
DO NOT power-up the Solar Analytics device before/simultaneously with the CET
Meter. It has to be powered up after the CET Meter.
2. The s equence
○ DO NOT power-up the Solar Analytics device before/simultaneously with the
CET Meter. It has to be powered up after the CET Meter.
○ Install the CET device accordingly
○ Establish the Modbus connection from the CET device to the MB-63 device
○ Power up the CET device for 30 seconds
○ Power up the Solar Analytics device
3. What device are we dealing with?
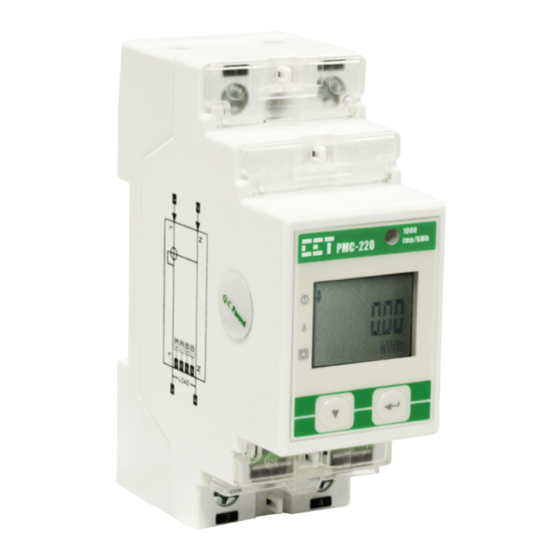
○ PMC-220
○ PMC-340-BA — straight-through connection.
○ PMC-340-BB — 3P4W method: using the White CTs.
PMC-220
addressed as CET Meter
— straight-through connection.
PMC-340-BA
PMC-340-BB
Advertisement

Summary of Contents for Ceta PMC-220
- Page 1 ○ Power up the CET device for 30 seconds ○ Power up the Solar Analytics device 3. What device are we dealing with? ○ PMC-220 — straight-through connection. ○ PMC-340-BA — straight-through connection. ○ PMC-340-BB — 3P4W method: using the White CTs. ...
- Page 2 4. PMC-220 ○ Hardware installation Straight through connection MB-63 Modbus D (+) and D (-) (NOT ) are to be connected to Terminal 7 ...
- Page 3 7. Final check — voltage test! Solar Analytics is unable to do a remote phase-swap with the CET Meter, hence, the installation has to be correct on the spot! ...