Advertisement
Quick Links
Advertisement

Related Manuals for Printrbot Smalls


Summary of Contents for Printrbot Smalls
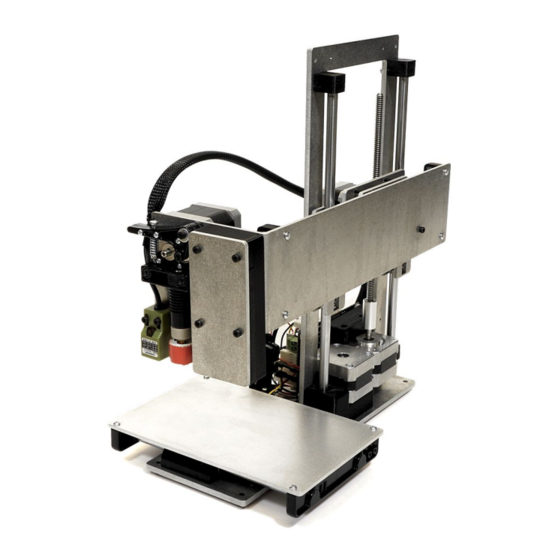
- Page 1 Printrbot Smalls model 1704 Software, Calibration, & Your First Print...
-
Page 2: Before You Begin
Before You Begin You will need the following items to complete this guide. ● REQUIRED DOWNLOADS folder available at printrbot.com/smalls ○ Cura software ○ Printrbot_testprint.stl ○ Smalls.GettingStarted.ini ○ USB driver for Windows users ● Sample of filament ● Print Bed Tape (optional) *TIP: Turn OFF any “sleep”... - Page 3 Load Your Filament ● Insert your filament into the top of the fan shroud. ● Direct the filament down into hole in the extruder arm. ● Pinch the extruder arm and continue to push the filament down into the hot end. ●...
- Page 4 Loading Your Filament ...a closer look ● Insert your filament into the top of the extruder arm, ○ ...between the drive gear and pulley ○ ...through the extruder base ○ ...and down into the hot end.
- Page 5 Plug the microUSB cable into the USB port. ● NOTE: DO NOT PLUG THE MICRO USB CONNECTOR IN IMPROPERLY. THIS WILL DAMAGE YOUR PRINTRBOT. ● Connect the other end of the USB cable to your computer. ● Connect the power cord to the laptop power supply.
- Page 6 Cura: Configuration Wizard ● After installing Cura on your computer, open the software and walk through the Configuration Wizard. ○ Select “Printrbot” ○ Select “Play” ● Continue through the Configuration Wizard by clicking “Next, Next…”...
- Page 7 Cura: Pronterface User Interface - IMPORTANT After completing the Configuration Wizard, the Cura control panel will open. Enable the Pronterface User Interface (UI). ● File ● Preferences… ● Pronterface UI Click “Ok” to save.
- Page 8 Cura Control Panel ● The first time that you open Cura, you will see the Ultimaker Robot on the print panel. ● To remove this model, right click on the robot and select “Delete object”. You can use this model as your first print if you really want to.
- Page 9 Load Configuration Profile ● Go to File/Open profile ● Select the “Smalls.GettingStarted.ini” from your Required Downloads folder. ● TIP: You can verify that the new settings are in place by checking your Layer height (mm). It should read “0.2064”.
- Page 10 Load Your Model ● Click the “Load” icon. ● Find the “printrbot_testprint.stl” in your Required Downloads folder and click “Open”. ● The Printrbot logo model will appear in your print panel.
- Page 11 ● Click the “Print with USB” icon. *Not seeing the “Print with USB” icon? Check out Print with USB our guide on Troubleshooting Connection.
- Page 12 Begin Print ● Click “Print” ● The hot end will begin to raise to “Printing temperature” (208C) ● Once temperature has been reached, the print will begin. ○ X Axis home ○ Y Axis home ○ 3-point probe ○ Begin print. ●...
- Page 13 Z Offset Too High ● Your first print will likely look “stringy”. This is because the Z offset (M212) needs to be adjusted. ● Cancel the print job and remove the filament from the print bed. ● The next slide will explain how to adjust the Z offset in order for the first layer to lay down better.
- Page 14 Adjust M212 Z (and X) Values ● Enter the following code in the command line of your Pronterface UI..Click “Send” after each of these lines. ○ M212 X0 Z-0.2 ○ M500 ○ M501 ● After entering M501, you will see the settings that you just entered in the readout.
- Page 15 Z Offset Too Low ● If you adjust the M212 too dramatically, the first layer will appear “choppy”. You may also notice the filament almost looks transparent because such a small amount was allowed out of the nozzle. ● If your extruder is clicking, that is another sign that the Z offset is too low.
- Page 16 Test Again ...and M212 Z0.0 - TOO HIGH Again ...and Again. ● Send the following commands. Press “Send” after each one. ○ M212 Z-0.2 M212 Z-0.4 - PERFECT ○ M500 ○ M501 ● After adjusting your M212 value, click “Print” again. ●...
- Page 17 The Perfect “Bead ● You’re looking for the perfect bead. If the value is too high, you will not achieve first layer adhesion. If the value is too low, you will hear the extruder click as the filament backs up in the hot end.
- Page 18 One year of Fusion 360 FREE with the offer code: printrbotoffer ● No luck? Don’t be discouraged. 3D printing is hard. ● Visit our forum at support.printrbot.com. We have section specifically for Smalls Kit builders!
- Page 19 ● Print Speed (mm/s): 40 is an optimum value for Printrbot, in terms of print quality vs print time. If you are having trouble with print quality, slowing the print speed is an effective way to improve this.
Need help?
Do you have a question about the Smalls and is the answer not in the manual?
Questions and answers