Advertisement
Quick Links
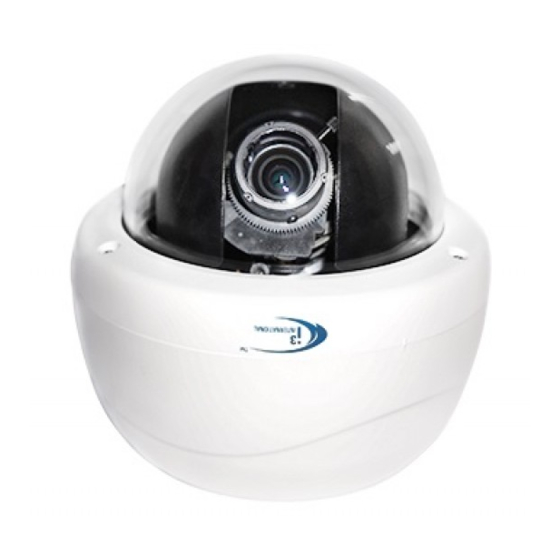
QUICK START GUIDE
Do721-series Outdoor Vandal Camera
SAFETY
1. This quick start guide is designed for users who have an adequate
knowledge of CCTV cameras.
2. For maximum optical clarity, the camera or lens must remain clean.
Use a soft, dry cloth to remove finger prints and dust from the
dome cover
3. Ensure the supplied voltage meets the power consumption
requirements of this camera before powering the camera on.
4. To avoid electrical shock and to preserve the product warranty,
DO NOT disassembles the camera. Refer servicing to qualified
personnel only.
5. For more details on installation and operation, please refer to the
CD provided.
PACKAGE CONTENTS
Flat Head Screw (Tapping Type) x4
•
Plastic Anchor x4
•
Security Tort wrench x1
•
O-rings x4
•
2nd video monitor output cable x1
•
Rubber gasket x1
•
Guide Pattern sticker x1
•
Flush Mount template (the box lining) x1
•
Fully Assembled Camera x1
•
INSTALLATION
The dome camera is a fully integrated enclosure with camera and lens.
1. Conduit holes used for surface run power/video
connector
a. Side conduit hole (1/2").
When using outdoors, sealant must be
used to maintain the IP67 status.
b. Top conduit hole (3/4") (can also be used
for pendant mount).
When using outdoors, sealant must be
used to maintain the IP67 status.
2. Bottom case
3. Camera Base
4. Dome cover
5. Focus lever
6. Zoom lever
7. Video output connector
8. 24 VAC / 12 VDC power input connector (red
+, black -)
a
b
i3-TRNG-CAMS-Do721-series-QuickGuide.indd
MOUNTING THE CAMERA (SURFACE MOUNT)
1. Attach the Guide Pattern Sticker to the wall or ceiling.
2. Drill two holes on the mounting surface and insert the plastic anchors (#1) into the
3. Complete drilling 2 holes on the base of the camera to match the 2 holes drilled
4. Remove the protective film from the black rubber gasket and adhere to the base
5. Secure the bottom case to the wall or ceiling with the Flat Head Screws (tapping
Note: Depending on the material of your mounting surface, you may require different
screws and anchors than those supplied.
Figure 1. Camera Parts
Figure 2. Disassembling the camera
holes.
on the mounting surface.
(Recommendation: Surface conduit should point down to create a drip-loop.)
of the outdoor model cameras.
type) (#2).
For your convenience, the holes on the outdoor housing are started but not drilled
all the way through for moisture control.
8
Applicable to the following models:
Do721, Do721R, Do721P, Do721RP
1. Bottom case
2. Camera base
3. Tilt adjustment
bracket
4. Inner liner
(Not present on
Do721R model
series)
5. Dome cover
6. Anti drop hook
Figure 3. Camera Surface Mounting
1. Plastic Anchors
2. Flat Hand Screws
(Tapping Type)
Note: outdoor
screws come with
O-rings included.
Note: The Do-series
cameras come with
a large rubber gasket
to provide the seal
between the mounting
surface and the camera
base.
Rev.
130130
Advertisement

Related Manuals for i3 International Do721 Series

Summary of Contents for i3 International Do721 Series
- Page 1 Applicable to the following models: Do721, Do721R, Do721P, Do721RP Figure 2. Disassembling the camera QUICK START GUIDE Do721-series Outdoor Vandal Camera SAFETY 1. Bottom case 1. This quick start guide is designed for users who have an adequate 2. Camera base 3.
- Page 2 QUICK START GUIDE Do721-series Outdoor Vandal Camera Features/Model Do721 Do721R ADJUST THE CAMERA POSITION ATR/D-WDR Digital Wide Dynamic Range On/Off (Selectable) The dome camera has three axis for positioning the camera. While live viewing English, French, Spanish, Portuguese, German, Russian, Simpli- Multi language sup- on the monitor, adjust the camera position as follows: port...
Need help?
Do you have a question about the Do721 Series and is the answer not in the manual?
Questions and answers