Table of Contents
Advertisement
Quick Links
Advertisement
Table of Contents

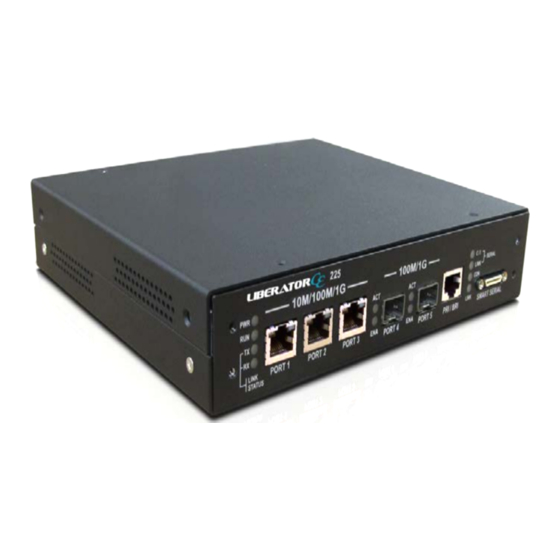
Summary of Contents for Net2Edge Liberator CE
- Page 1 Quick Start Guide: LIB-225 Quick Start guide for Liberator™ CE...
-
Page 2: Trademarks
No part of this work may be reproduced or used in any form or by any means (graphic, elec- tronic or mechanical) without written permission from Net2Edge. The information contained herein is confidential property of Net2Edge Limited. The use, copy- ing, transfer or disclosure of such information is prohibited except by express written agree- ment with Net2Edge Limited. -
Page 3: Table Of Contents
VLAN Settings ....................8 4.3. Setting up a logical link ..................9 4.4. Setting up the port and allocating channels ............11 4.5. Clocking Configuration ..................12 Cable Pinouts ......................14 Contacts ........................17 Net2Edge | Liberator™ CE Quick Start Guide... -
Page 4: Introduction
1 x TDM port (front panel) • 1 x Smart serial port (front panel) • 1 x console port (rear panel) • 1 x management USB port (rear panel) • 1 x alarm port (rear panel) Net2Edge | Liberator™ CE Quick Start Guide... -
Page 5: Initial Configuration / Setup
Once you have the IP, you can use a web browser to access the Web User Interface. If there is no IP set then an IP address can be assigned, as follows: Firstly you must put the unit into configuration mode by typing the following: Configure Terminal Interface Vlan 1 Net2Edge | Liberator™ CE Quick Start Guide... -
Page 6: Web Ui Connection
– otherwise these changes will be lost once the unit has been powered down. To save the config you must go to the following submenu: Maintenance > Configuration > Save startup-config Net2Edge | Liberator™ CE Quick Start Guide... -
Page 7: Single Ip Vs Dual Ip Addressing
Allow Management on CES IP can be set to either ‘No’ or ‘Yes’ – if set to Yes then the unit GUI can be accessed by either the management IP or the CES IP. Net2Edge | Liberator™ CE Quick Start Guide... -
Page 8: Vlan Settings
IP in- Add Interface terface. Please note: • You can only have one Interface per subnet • You can’t use the same VLAN ID twice Net2Edge | Liberator™ CE Quick Start Guide... -
Page 9: Setting Up A Logical Link
PacketBand units – this link will carry the TDM data across a packet switching network. To do this you must go to the logical link sub menu which is located here Configuration > CES > Link > Settings Net2Edge | Liberator™ CE Quick Start Guide... - Page 10 3, then you must do the same on the destination box. PLEASE NOTE: As mentioned above, please ensure you save your running configuration otherwise your changes will be lost once the unit has been powered down. Net2Edge | Liberator™ CE Quick Start Guide...
-
Page 11: Setting Up The Port And Allocating Channels
Depending on the network presentation required, you can allocate a maximum of 31 channels (E1) or 24 (T1) under the Fractional configuration. If you require the Full Configuration then you can just enter a tick under the Port column. Net2Edge | Liberator™ CE Quick Start Guide... -
Page 12: Clocking Configuration
(making it the Master) and the set the second unit to clock from the logical link (making it the slave). You can verify the clock connection by going to: Monitor > CES > Clocking > Summary Net2Edge | Liberator™ CE Quick Start Guide... - Page 13 Acquiring: Clock source has been identified and is in the process of synchronising • Acquired: Clock source has been synchronised and locked • Holdover: Clock data is using the last known value as insufficient data is being received from the source/destination. Net2Edge | Liberator™ CE Quick Start Guide...
-
Page 14: Cable Pinouts
5. Cable Pinouts RS-232 FM RS-232 M Net2Edge | Liberator™ CE Quick Start Guide... - Page 15 V35 M V35 FM Net2Edge | Liberator™ CE Quick Start Guide...
- Page 16 X21 FM X21 M Net2Edge | Liberator™ CE Quick Start Guide...
-
Page 17: Contacts
6. Contacts Corporate Headquarters Net2Edge Limited Passfield Oak LIPHOOK Hampshire GU30 7RL United Kingdom tel: +44 345 013 0030 support@net2edge.com sales@net2edge.com liberator@net2edge.com.com www.net2edge.com Net2Edge | Liberator™ CE Quick Start Guide...
Need help?
Do you have a question about the Liberator CE and is the answer not in the manual?
Questions and answers