Advertisement
Advertisement
Table of Contents

Summary of Contents for arbnco arbnwell
- Page 1 GATEWAY ASSEMBLY GUIDE Version 1.5 Issued: 13 March 2020 well Page 1 of 7...
- Page 2 TABLE OF CONTENTS How to Read This Document Before Starting – Necessities Checklist Assembly Steps well Page 2 of 7...
- Page 3 The mounting instructions should be followed as closely as practical. Following these guidelines is not a guarantee of certification by any certifying body or standards, nor the achievement of points. While arbnco maintains these documents with care and regularly updates them with the newest scientific guidelines, errors and misunderstandings can occur.
- Page 4 The steps below describe how to set up your gateway. They include instructions to fill out a ‘deployment spreadsheet’ or ‘deployment form’. If that has already been done for you by an arbnco engineer or partner, you can ignore these instructions.
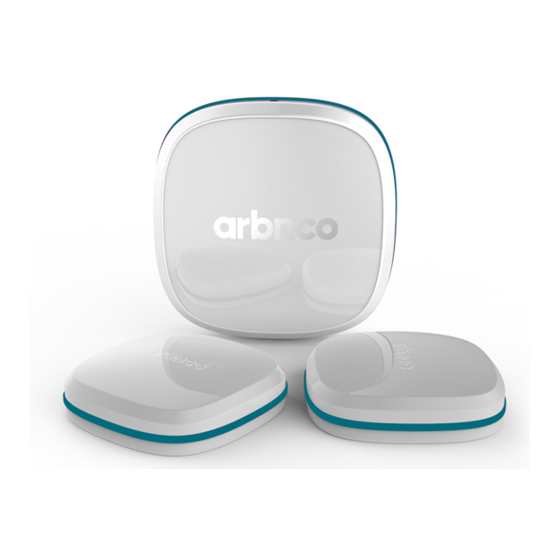
- Page 5 3. Make note of the ‘MacAddr’ on the sticker on the side of the gateway. This is the gateway key (which should match the hand-written gateway key on the outside of the gateway box) and should be noted on the deployment spreadsheet.
- Page 6 7. Remove the covers from: a. the gateway’s PoE ethernet port b. LoRa and WiFi ports, c. bottom of the LoRa antenna. Connect the LoRa and WiFi antennas to the gateway by pushing and then screwing them into place, ensuring they are screwed on firmly and straight. well Page 6 of 7...
- Page 7 8. Remove the PoE adaptor from its box. Connect the ethernet cable from the gateway’s PoE ethernet port to the ‘DATA&PWR OUT’ port on the PoE adaptor. 9. Remove the kettle lead from the box and connect it from the PoE adaptor to a wall outlet.
Need help?
Do you have a question about the arbnwell and is the answer not in the manual?
Questions and answers