Table of Contents
Advertisement
Quick Links
Advertisement
Table of Contents

Subscribe to Our Youtube Channel
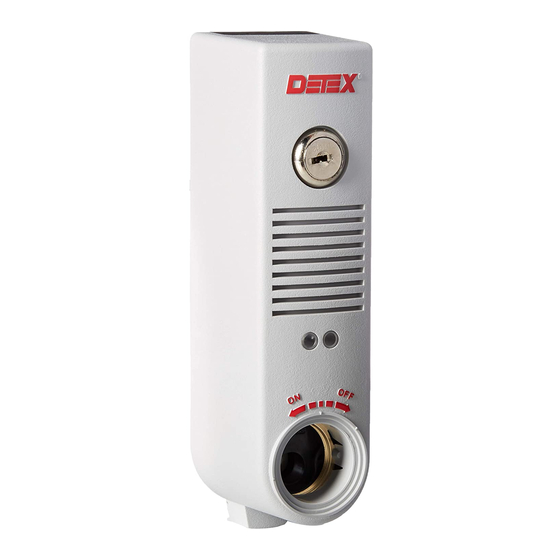
Summary of Contents for Detex EAX-300
- Page 2 Collar required if distance Cam orientation as shown is greater than 5/16". Optional collar can be ordered with key removed from Detex (p/n: ECL-1595) Connect 9-volt battery Re-install Set selector switch functions (See Table A) and install as shown cam assembly...
- Page 3 STEP 6: For all models except SK DOOR PREP & BACKPLATE / MAGNET MOUNTING Mark/drill backplate and magnet holes Install magnet, backplate and cover on door and frame/mullion NOTE: Remove locator and backplate prior to drilling mounting holes Install magnet with (2) Backplate #4-40 or #4 screws FRAME/MULLION...
- Page 4 STEP 7: Multi-door & SK function wiring connection (if required) (Recommended installation) Flex walls outward to remove guard Reassembly: & board Recommended hole size Fitting or nut NOT included Drill 7/8 dia P/N: PP-5107 (1) place 1" 1-1/2 Screw wires to (P1) terminal block Diagram shown typical for two door magnetic switches: (18ga Max wire dia) MS-1039S &...
- Page 5 STEP 8: INSTALL DEVICE Install device onto backplate Turn key CW to lock cover Hook at bottom, then tilt cover over backplate Front View STEP 9: KEY STOP INSTALLATION (Key stop included in hardware kit) KEY STOP POSITIONS Top surface of Key Stop should "ON"...
- Page 6 (under SWITCH A) TROUBLESHOOTING: If the unit does not arm, the magnet may need to be re-aligned or shimmed closer to the EAX-300. If the unit fails to operate correctly, restart the device by removing the battery for approximately five seconds.
- Page 8 3) Requires standard Yale cam. 4) Cylinder microswitch lever broken. 4) Microswitch needs to be replaced. Remove PCB and return to Detex Repair. 5) Cylinder installed incorrectly. 5) Check cylinder installation. Make sure key is turned counter-clockwise all the way to ON.
Need help?
Do you have a question about the EAX-300 and is the answer not in the manual?
Questions and answers