Table of Contents
Advertisement
Quick Links
Advertisement
Table of Contents

Related Manuals for ASTRO-PHYSICS GTO Series


Summary of Contents for ASTRO-PHYSICS GTO Series
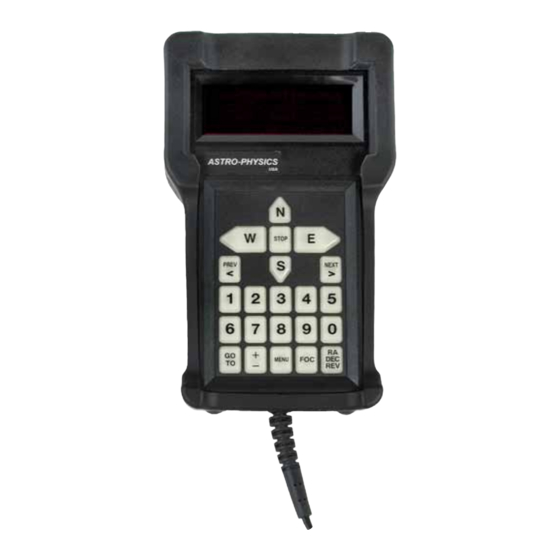
- Page 1 ASTRO-PHYSICS GTO KEYPAD Maintenance Instructions July 03, 2017...
-
Page 2: Table Of Contents
Contents Removing and installing the KeYPRo KeYPRo Removal KeYPRo installation oPening and closing YouR gto KeYPad opening the Keypad closing the Keypad RePlacing YouR gto KeYPad cable Procedure gto KeYPad batteRY sYmPtoms foR RePlacement gto KeYPad batteRY identification RePlacing YouR gto KeYPad batteRY (keypads 1565gto and earlier) RePlacing YouR gto KeYPad batteRY (keypads 1568gto and later) -
Page 3: Removing And Installing The Keypro
Removing and installing the KeYPRo the KeYPRo keypad protector is a heavy-duty molded silicone-rubber casing with a full 1/4” thickness on all impact surfaces. if you accidentally drop your keypad, the rubber casing will absorb much of the blow. Your display, keypad, electronics and the hard-plastic keypad case itself will be protected from damage. -
Page 4: Keypro Installation
KeYPRo installation Caution: the KeYPRo fits closely around the keypad controller. You must work it gently into place. if you force the rubber casing while it is being installed on your keypad, you may tear the rubber. Procedure: 1. if you are installing a new KeYPRo, or if your old KeYPRo was removed completely from the keypad and cable, start by insert- ing the plug end of the cable into the KeYPRo as shown at right. -
Page 5: Opening And Closing Your Gto Keypad
Warranty considerations: the manufacturer warrants the astro-Physics gto Keypad for three years. if your keypad is still within the warranty period, you may void the warranty by opening the keypad. if you are unsure of the keypad’s purchase date, jot down the serial number and call astro-Physics. -
Page 6: Closing The Keypad
Closing the Keypad When placing the back onto the unit, make sure the screws are aligned with the proper holes. start by aligning the two screws on one side of the display. the four screws on the display end must pass through the display circuit board before engaging in their posts. -
Page 7: Replacing Your Gto Keypad Cable
Warranty considerations the manufacturer warrants the astro-Physics gto Keypad for three years. if your keypad is still within the warranty period, you may void the warranty by opening the keypad to make this repair. note, damage to the cable itself is typically caused by wear and tear and is not covered by the warranty. -
Page 8: Gto Keypad Battery Symptoms For Replacement
Newer Keypad with Dual Connectors Newer Keypad with Dual Connectors (blue AMP connector shown inserted) Blue AMP Connector White Molex Connector Newer Keypad with Dual Connectors (white Molex connector shown inserted) wires to be sure that they are not twisted excessively or pinched. -
Page 9: Gto Keypad Battery Identification
Clock note: The CR2430 batteries (both the E0334 & the Renata CR2430 Battery with 6” Pigtail E0338) must be purchased from Astro-Physics. They are (AP # E0338) custom made with a “pigtail” and are not available at your local battery supplier. -
Page 10: Replacing Your Gto Keypad Battery
RePlaCing YouR gto KeYPad batteRY (keypads 1565GTO and earlier) see identifying Your Keypad battery in previous section. Keypads with this battery are past warranty since the last of this generation shipped in mid 2003. these instructions are onlY for keypads that use the Renata cR1632 - 3 volt lithium battery. Your keypad may have a different battery if it has had major repair work done. - Page 11 (at astro-Physics, we generally do remove all the cables during a bat- tery replacement in order to clean and Screwdrivers de-oxidize the plug contact surfaces.) note that the cable will plug into the pins with shifted away from the battery with 2 pins left exposed (extra pins).
-
Page 12: Replacing Your Gto Keypad Battery
Your Keypad battery in previous section. Warranty considerations: the manufacturer warrants the astro-Physics gto Keypad for three years. if your keypad is still within the warranty period, you may void the warranty by opening the keypad to make this repair. - Page 13 1. be sure that you are installing the correct battery! the astro-Physics part number is e0334. the battery is a cR2430 and will have a 2.5” pigtail spot-welded to it. this battery must be purchased from astro- Physics.
-
Page 14: Red Filter Screen Replacement For Keypad
Red filteR sCReen RePlaCement foR KeYPad We recommend that the clear plastic protective window be kept in place to prolong the life of the red filter. nevertheless, there may come a time when the red filter becomes scratched or fogged and prevents the display from being easily read. it is possible to acquire a replacement filter (e0190filteR). - Page 15 Remove the 3mvhb label and put the filter in place. Push it under the black bar at the top of the Pc board and square it up before setting it down. the adhesive is strong and will not allow you a second chance. once down run your fingertip over the framed surface of the filter to form a tight seal completely around the frame.
-
Page 16: Keypad Resetting Solutions
KeYPad Resetting solutions if your keypad makes a clicking sound as it turns off for a second, then starts up again, it is resetting. Resets are due to an interruption of power to the keypad and can occur for a variety of reasons. if your keypad is displaying this behavior, please try the following suggested remedies. -
Page 17: If All Else Fails
We will ask about the results of these procedures before issuing a return authorization (Ra) number. Please be prepared to discuss your results.
Need help?
Do you have a question about the GTO Series and is the answer not in the manual?
Questions and answers