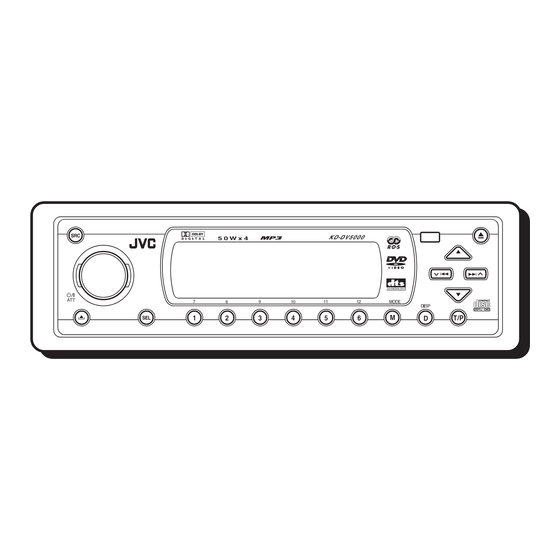
JVC KD-DV5000 Installation & Connection Manual
Hide thumbs
Also See for KD-DV5000:
- Instructions manual (94 pages) ,
- Service manual (30 pages) ,
- Schematic diagrams (14 pages)
Table of Contents
Advertisement
Quick Links
KD-DV5000
Installation/Connection Manual
LVT1055-004A
[A]
• This unit is designed to operate on 12 V DC, NEGATIVE ground electrical systems.
WARNINGS
• DO NOT install any unit in locations where;
– it may obstruct the steering wheel and gearshift lever operations, as this may result in a traffic
accident.
– it may obstruct the operation of safety devices such as air bags, as this may result in a fatal
accident.
– it may obstruct visibility.
• DO NOT operate any unit while manipulating the steering wheel, as this may result in a traffic
accident.
• The driver must not watch the monitor while driving.
If the driver watches the monitor while driving, it may lead to carelessness and cause an accident.
• The driver must not put on the headphones while driving. It is dangerous to shut off the outside
sounds while driving.
• If you need to operate the unit while driving, be sure to look ahead carefully or you may be
involved in a traffic accident.
• If the parking brake is not engaged, "DRIVER MUST NOT WATCH THE MONITOR WHILE
DRIVING." appears on the monitor, and no playback picture will be shown.
– This warning appears only when the parking brake wire is connected to the parking brake
system built in the car.
INSTALLATION
(IN-DASH MOUNTING)
• The following illustration shows a typical installation. However, you should make adjustments
corresponding to your specific car. If you have any questions or require information regarding
installation kits, consult your JVC car audio dealer or a company supplying kits.
1
Before mounting: Press
(control panel release button) to detach the control panel if
already attached.
* When shipped from the factory, the control panel is packed in the hard case.
2
Remove the trim plate.
3
Remove the sleeve after disengaging the sleeve locks.
1 Stand the unit.
Note: When you stand the unit, be careful not to damage the fuse on the rear.
2 Insert the 2 handles between the unit and the sleeve, as illustrated, to disengage the
sleeve locks.
3 Remove the sleeve.
Note: Be sure to keep the handles for future use after installing the unit.
4
Install the sleeve into the dashboard.
* After the sleeve is correctly installed into the dashboard, bend the appropriate tabs to hold
the sleeve firmly in place, as illustrated.
5
Fix the mounting bolt to the rear of the unit's body and place the rubber cushion over the end
of the bolt.
6
Do the required electrical connections.
7
Slide the unit into the sleeve until it is locked.
8
Attach the trim plate.
9
Attach the control panel.
3
1
Handle
Control panel
Slot
2
Trim plate
Sleeve
7
8
9
Trim plate
Control panel
0503MNMMDWJEIN
V
EN
J
C
Sleeve
Fuse
Lock Plate
Rubber cushion
Dashboard
1 8
4
m
m
4
5 3
m
m
5
Mounting bolt
6
See "ELECTRICAL CONNECTIONS."
*
4
• When using the optional stay
Fire wall
Washer
Dashboard
Mounting bolt
Sleeve
Less than 30˚
Install the unit at an angle of less than 30˚.
Removing the unit
• Before removing the unit, release the rear section.
1
Remove the control panel.
2
Remove the trim plate.
3
Insert the 2 handles into the slots, as shown. Then, while gently pulling the handles away
from each other, slide out the unit. (Be sure to keep the handles after installing it.)
2
1
Control panel
Trim plate
Connecting the leads
Twist the core wires
Solder the core wires to
when connecting.
connect them securely.
PRECAUTIONS on power supply and speaker connections:
• DO NOT connect the speaker leads of the power cord to the car
battery; otherwise, the unit will be seriously damaged.
• Connect the black lead (ground), yellow lead (to car battery, constant
12 V), and red lead (to an accessory terminal) correctly.
• BEFORE connecting the speaker leads of the power cord to the
speakers, check the speaker wiring in your car.
– If the speaker wiring in your car is as illustrated in Fig. 1 and Fig.
2 below, DO NOT connect the unit using that original speaker wiring.
If you do, the unit will be seriously damaged.
Redo the speaker wiring so that you can connect the unit to the
speakers as illustrated in Fig. 3.
– If the speaker wiring in your car is as illustrated in Fig. 3, you can
connect the unit using the original speaker wiring in your car.
– If you are not sure of the speaker wiring of your car, consult your car
dealer.
Parts list for installation and connection
The following parts are provided with this unit.
After checking them, please set them correctly.
Hard case/Control panel
Sleeve
Washer (ø5)
Mounting bolt
Crimp connector
(M5 x 20 mm)
Rubber cushion
Lock nut (M5)
TROUBLESHOOTING
• The fuse blows.
* Are the red and black leads connected correctly?
• Power cannot be turned on.
* Is the yellow lead connected?
• No sound from the speakers.
* Is the speaker output lead short-circuited?
• Sound is distorted.
* Is the speaker output lead grounded?
* Are the "–" terminals of L and R speakers grounded in common?
• Unit becomes hot.
* Is the speaker output lead grounded?
* Are the "–" terminals of L and R speakers grounded in common?
1
• When installing the unit without
using the sleeve
In a Toyota for example, first remove the car
radio and install the unit in its place.
Stay
(option)
Flat type screws
* Not included with this unit.
(M5 x 8 mm) *
Lock nut
Screw
(option)
Bracket*
Pocket
Bracket*
Note : When installing the unit on the
mounting bracket, make sure to use
the 8 mm long screws. If longer
screws are used, they could damage
the unit.
3
Handle
CAUTION
• To prevent short-circuit, cover the
terminals of the UNUSED leads with
insulating tape.
Fig. 1
Fig. 2
Fig. 3
Trim plate
Power cord
Remote controller
Handles
Flat type screws
(M5 x 8 mm) *
+
+
L
-
-
+
+
R
-
-
+
+
L
-
-
+
+
R
-
-
+
+
L
-
-
+
+
R
-
-
Battery
CR2025
Advertisement
Table of Contents

Related Manuals for JVC KD-DV5000


Summary of Contents for JVC KD-DV5000
- Page 1 • The following illustration shows a typical installation. However, you should make adjustments corresponding to your specific car. If you have any questions or require information regarding Connecting the leads installation kits, consult your JVC car audio dealer or a company supplying kits. CAUTION • To prevent short-circuit, cover the...
- Page 2 JVC car audio dealers. • Replace the fuse with one of the specified rating. If the fuse blows frequently, consult your JVC Parking brake switch car audio dealer.
Need help?
Do you have a question about the KD-DV5000 and is the answer not in the manual?
Questions and answers