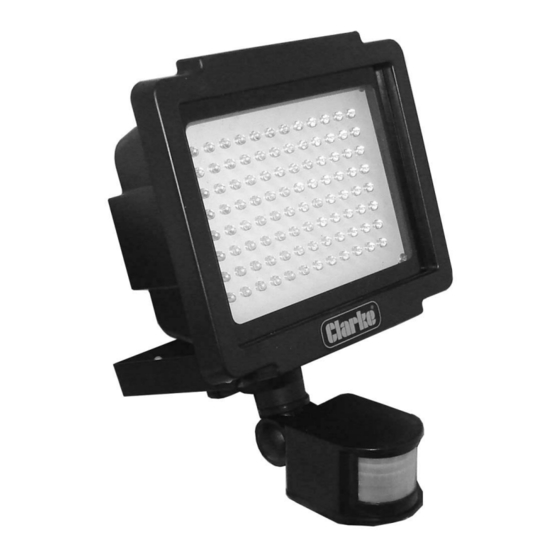
Summary of Contents for Clarke CL6PIR
- Page 1 SECURITY LIGHT MODEL NO: CL6PIR PART NO: 4003535 INSTALLATION & OPERATING INSTRUCTIONS GC0715...
- Page 2 INTRODUCTION Thank you for purchasing this CLARKE Security Light with motion sensor. The motion sensor is a small electronic eye that detects infrared waves - heat waves that radiate from moving objects. When the sensor senses an object moving across its field of view, especially warmer objects such as people, animals and cars, it electronically turns on the light.
-
Page 3: Environmental Recycling Policy
In effect, this means that this product must not be disposed of with general household waste. It must be disposed of according to the laws governing Waste Electrical and Electronic Equipment (WEEE) at a recognised disposal facility. SPECIFICATIONS CL6PIR Voltage 230V -50Hz Wattage Weighted Energy Consumption... -
Page 4: Safety Precautions
SAFETY PRECAUTIONS 1. This unit must be installed to the requirements/wiring regulations of BS6761. 2. Before moving your security light or replacing a broken part, always ensure that the power supply is disconnected. 3. This unit must not be immersed in water. 4. -
Page 5: Mounting The Light
POSITIONING THE SECURITY LIGHT ON SITE For best effect, the light should be positioned so that the motion sensor covers the approach to your doors and/or driveway and the light will come on when you come home at night. It can also be used to illuminate a patio or any potentially hazardous area such as stairways and swimming pools. -
Page 6: Connecting The Power Cable
CONNECTING THE POWER CABLE This security light is not supplied with an electric cable. It must be connected to a 220V - 240 VAC, 50 Hz power supply in accordance with the IEE Wiring Regulations BS7671. In case of doubt during the installation, contact a qualified electrician. The power cable should exit the building or other supporting structure in such a way as to line up with the... - Page 7 8. Replace the cable clamp, ensuring it firmly clamps the OUTER insulation, or sheathing, and NOT the conductors. 9. Push the rubber washer into the cable inlet and screw in the cable gland firmly. Do not overtighten as this could strip the plastic threads. 10.
-
Page 8: Time Adjustment
SETTING THE ADJUSTMENTS The activation light level, time and sensitivity can each be adjusted by twisting the control knobs below the motion sensor unit. TESTING The light can be adjusted to illuminate for any duration between 7 seconds to 8 minutes. 1. -
Page 9: Sensor Adjustment
2. At dusk when you find the LUX level desired for operation, set the LUX control knob to the position that the motion sensor will become active as daylight declines. SENSOR ADJUSTMENT The sensitivity adjustment may be adjusted to compensate for seasonal variations in temperature and to reduce unwanted activation. -
Page 10: Parts Replacement
PARTS REPLACEMENT Immediately replace a cracked or broken protective glass. Always use original parts for this which can be purchased on request from your Clarke spares department. There are no other user serviceable parts inside the light. DO NOT disassemble the unit. -
Page 11: Declaration Of Conformity
DECLARATION OF CONFORMITY Parts & Service: 020 8988 7400 / E-mail: Parts@clarkeinternational.com or Service@clarkeinternational.com...


Need help?
Do you have a question about the CL6PIR and is the answer not in the manual?
Questions and answers