Advertisement
Quick Links
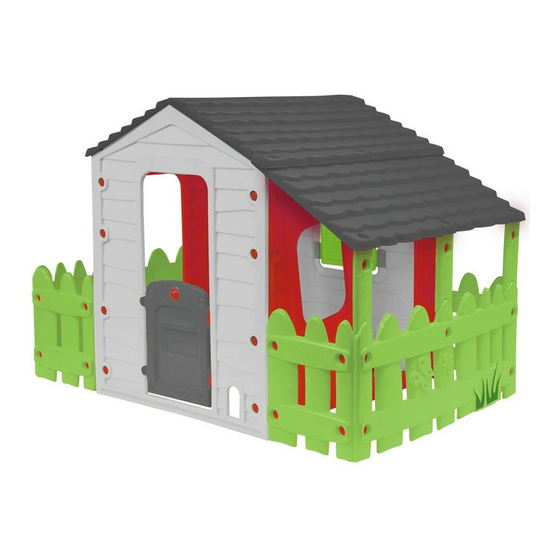
Farm Wendy House
Assembly & User Instructions -
3678680
Please keep for future reference
Important
Age: 2+ years
Important -
Please read these instructions fully before assembly or use
These instructions contain important information which will help you get the best from your
product and ensure safe and correct assembly, use and maintenance.
If you need help or have damaged or missing parts, call the Customer Helpline: 01291 650581
Advertisement

Related Manuals for Chad Valley Farm Wendy House


Summary of Contents for Chad Valley Farm Wendy House
- Page 1 Farm Wendy House Assembly & User Instructions - 3678680 Please keep for future reference Important Age: 2+ years Important - Please read these instructions fully before assembly or use These instructions contain important information which will help you get the best from your product and ensure safe and correct assembly, use and maintenance.
-
Page 2: Table Of Contents
Contents Parts Assembly Instructions Step 1-2 Step 3 Step 4-5 Step 6 Step 7 Step 8-9 Step 10-11 Step 12... -
Page 3: Parts
Parts If you have damaged or missing parts, call the Customer Helpline: 01291 650581 Back wall x1 Roof x3 Front wall x1 3-79-560 1-79-560 4-69-560 Small Fence x4 Large Fence x1 7-78-560 1-93-560 Side wall x2 2-91-560 Fence Pillars x3 Window box x1 Large Fence with Central Hole x1 5-69-560... -
Page 4: Step 1
Step 1 Assemble wall connectors (M) on both side walls (C), with screws (O) and nuts (N). Step 2 Assemble Front wall (A), one side wall (C), back wall (B) and fence connectors (K) with screws (O) and nuts (N). -
Page 5: Step 3
Step 3 Assemble the other side wall (C) and fence connectors (K) with screws (O) and nuts (N). -
Page 6: Step 4
Step 4 Connect small fence (G) to 4 sides of the house with screws (O) and nuts (N). Mount 2 wall connectors (M) to the outer side of each smal fence (G) with screws (O) and nuts (N) Step 5 Assemble fence pillars (I) and pillar connectors (J) -
Page 7: Step 6
Step 6 Connect 3 pillars (I) and large fence with middle hole (F) to the assembly with screws (O) and nuts (N). -
Page 8: Step 7
Step 7 Connect large fence (E) with assembly with screws (O) and nuts (N). -
Page 9: Step 8
Step 8 Place one of the roof parts (D) above the porch with pillars and fix it to the pillar connectors (J) with screws (O) and nuts (N). Step 9 Attach roof connectors (L) to the underside of one of the other roof parts (D) mount roof connectors with screws (O) and nuts (N). - Page 10 Step 10 Connect the third roof part (D) to the second roof part (D) (step 5) with screws (O) and nuts (N). Mind connecting direction to roof lips direction. Step 11 Place the roof on the assembly and fix it with screws (O) and nuts (N).
- Page 11 Step 12 Place the window box (H) on the window sill back wall.
- Page 12 • Take down the item if adverse weather conditions are forecast: i.e. strong winds. If you need help or have damaged or missing parts, call the Customer Helpline: 01291 650581 Produced for Chad Valley Toys. Country of origin: Israel. Argos LTD Address: 488 - 499 Avebury Boulevard, Central Milton Keynes, MK9 2NW.
Need help?
Do you have a question about the Farm Wendy House and is the answer not in the manual?
Questions and answers