Table of Contents
Advertisement
Quick Links
Advertisement
Table of Contents

Summary of Contents for Yates Y-Q5
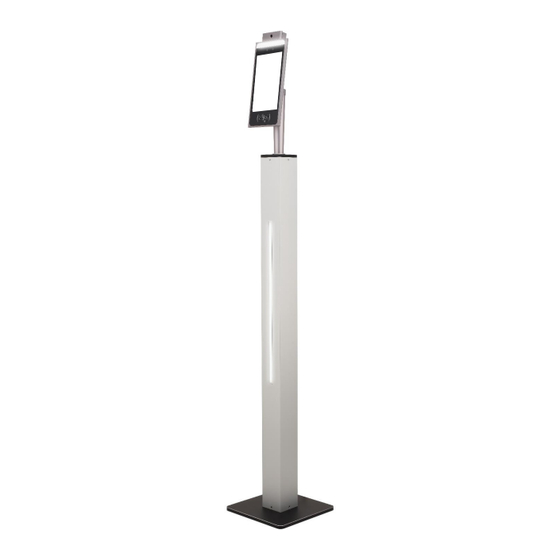
- Page 1 Y-Q5 CONTACTLESS TEMPERATURE SCANNING KIOSK Yates Protect Y-Q5 User Manual...
-
Page 2: Table Of Contents
Y-Q5 CONTACTLESS TEMPERATURE SCANNING KIOSK Contents Quickstart Guide ........................... 3 Configuration Login ..........................4 Property Settings ..........................5 Face Parameter Settings ........................6 Temperature Measuring Settings ......................7 Personnel Information .......................... 8 Access Records ............................ 9 Visitor Information ..........................10 Software Settings .......................... -
Page 3: Quickstart Guide
Y-Q5 CONTACTLESS TEMPERATURE SCANNING KIOSK Quickstart Guide Included Components 1) Select a location for your Yates Protect Q5 facial recognition and thermal scanner Display A good location will be near an entrance and an electrical outlet, with enough space for a socially-distanced line to form. -
Page 4: Configuration Login
Y-Q5 CONTACTLESS TEMPERATURE SCANNING KIOSK Configuration Login Attach the mouse, right-click to change the settings or click the settings icon to verify the password. The initial password is 123456... -
Page 5: Property Settings
Y-Q5 CONTACTLESS TEMPERATURE SCANNING KIOSK Property Settings The attribute setting menu has seven different functions: Server connection, face setting, temperature measurement setting, personnel information, passage record, attendance record, voice setting, visitor information. (attendance record: you need to open the attendance of general settings in software settings to enable this function) -
Page 6: Face Parameter Settings
Y-Q5 CONTACTLESS TEMPERATURE SCANNING KIOSK Face Parameter Settings Modify these configuration properties according to how you would like the Y-Q5 to operate. 1) Monocular Live: After opening, it can filter out the recognition of photos and videos 2) Binocular living: Infrared camera is required for living body detection. This feature is... -
Page 7: Temperature Measuring Settings
Y-Q5 CONTACTLESS TEMPERATURE SCANNING KIOSK 3) Detection mode: When the detection mode is turned on, only face detection will be performed, not recognition. 4) Face frame mirroring: When the face frame is on the main interface does not match the face mirroring problem, you can adjust this here. -
Page 8: Personnel Information
Y-Q5 CONTACTLESS TEMPERATURE SCANNING KIOSK Personnel Information Click the Add button to register personnel information locally... -
Page 9: Access Records
Y-Q5 CONTACTLESS TEMPERATURE SCANNING KIOSK Access Records The access record can view the access record, mode, temperature, time, and other information of all personnel Click "export" to export relevant information tracking record... -
Page 10: Visitor Information
Y-Q5 CONTACTLESS TEMPERATURE SCANNING KIOSK Visitor Information Basic information of visitors can be viewed Software Settings The property setting interface has 9 different functions, including general setting, switching mode, timing switch on/off, screen brightness, volume setting, password modification, test setting, device information and exit software... -
Page 11: General Settings
Y-Q5 CONTACTLESS TEMPERATURE SCANNING KIOSK General Settings You can turn on card swiping, attendance, door opening, human body induction, stranger mode and save local information related settings according to your own needs 1: Sleep time: The terminal will automatically enter the sleep screen saver interface if it does not... - Page 12 Y-Q5 CONTACTLESS TEMPERATURE SCANNING KIOSK Timing Switch On/Off Click the regular on/off icon and click the Add button to add the daily or weekly regular on/off time. Click Clear to clear the previously set timing on/off time. Screen Brightness Drag the small circle and click OK to adjust the screen brightness...
Need help?
Do you have a question about the Y-Q5 and is the answer not in the manual?
Questions and answers