Advertisement
2 ZONE KIT
SERVICE MANUAL
[Model Name]
PAC-TZ02-E
2 ZONE KIT
[Service Ref.]
PAC-TZ02-E
CONTENTS
1. REFERENCE MANUAL ........................... 2
2. SAFETY PRECAUTION .......................... 3
3. SPECIFICATIONS.................................... 4
4. PARTS NAMES AND FUNCTIONS ......... 5
5. OUTLINES AND DIMENSIONS ............... 6
6. WIRING DIAGRAM .................................. 7
7. TROUBLESHOOTING ............................. 8
8. DISASSEMBLY PROCEDURE ................ 10
PARTS CATALOG (OCB729)
November 2019
No. OCH729
Notes:
• This manual describes ser-
vice data of 2 zone kit only.
Advertisement

Related Manuals for Mitsubishi Electric PAC-TZ02-E


Summary of Contents for Mitsubishi Electric PAC-TZ02-E
-
Page 1: Table Of Contents
2 ZONE KIT November 2019 No. OCH729 SERVICE MANUAL [Model Name] [Service Ref.] Notes: PAC-TZ02-E • This manual describes ser- PAC-TZ02-E vice data of 2 zone kit only. CONTENTS 1. REFERENCE MANUAL ......2 2. SAFETY PRECAUTION ......3 3. SPECIFICATIONS........4 4. -
Page 2: Reference Manual
REFERENCE MANUAL Model Name Service Ref. Service Manual No. EHSD-MED EHSD-MED.UK EHSD-VM2D EHSD-VM2D.UK EHSD-VM6D EHSD-VM6D.UK EHSD-YM9D EHSD-YM9D.UK EHSD-YM9ED EHSD-YM9ED.UK EHSD-TM9D EHSD-TM9D.UK ERSD-MED ERSD-MED.UK ERSD-VM2D ERSD-VM2D.UK EHSC-MED EHSC-MED.UK EHSC-VM2D EHSC-VM2D.UK OCH712 EHSC-VM6D EHSC-VM6D.UK OCB712 EHSC-YM9D EHSC-YM9D.UK EHSC-YM9ED EHSC-YM9ED.UK EHSC-TM9D EHSC-TM9D.UK ERSC-MED ERSC-MED.UK ERSC-VM2D ERSC-VM2D.UK... -
Page 3: Safety Precaution
SAFETY PRECAUTION INSTALLATION MANUAL ● This 2 zone kit MUST be used with the cylinder unit (hydrobox) except for E * SE models. ● Before starting installation, read the following description together with the installation manual included with the cylinder unit (hydrobox) and 2 zone kit. -
Page 4: Specifications
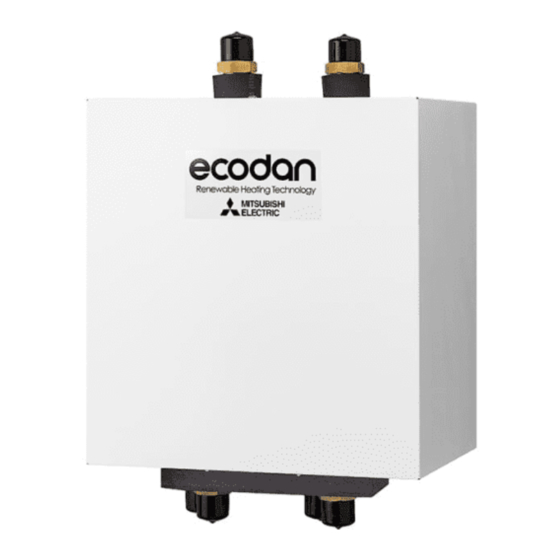
SPECIFICATIONS Model name PAC-TZ02-E Dimension (W × H × D) 265 × 383 × 383 Weight Power supply 230 V/single phase/50Hz from Cylinder unit (Hydrobox) Sound pressure level dB(A) Sound power level dB(A) Max. 52 W/0.52 A Pump2, 3 Max. head 7.0 m... -
Page 5: Parts Names And Functions
PARTS NAMES AND FUNCTIONS PAC-TZ02-E 4-1. Component parts Pump3 Pump2 Mixing valve Thermistor Manual air vent Reactor box Earth terminal Thermistor 4-2. Water circuit and system figure Water flow direction 2 zone kit <Zone2> Cylinder unit Mixing Pump3 Floor heating... -
Page 6: Outlines And Dimensions
OUTLINES AND DIMENSIONS PAC-TZ02-E Unit: mm G1 connection Drain socket (Size: Φ18.5) Legend A From Cylinder unit (Hydrobox) B To Cylinder unit (Hydrobox) C From Zone1 D To Zone1 E From Zone2 F To Zone2 OCH729... -
Page 7: Wiring Diagram
WIRING DIAGRAM PAC-TZ02-E DIP Switch settings of the cylinder unit (hydrobox) Setting the following DIP switches are necessary for 2 zone control. (See the installation manual of the cylinder unit (hydrobox) for more information.) DIP switch Function Setting when using 2 zone kit... -
Page 8: Troubleshooting
TROUBLESHOOTING 7-1. Troubleshooting <Summary of self diagnosis based on error codes and service procedures> Present and past error codes are logged and displayed on the main remote controller or control board of the outdoor unit. If error codes are displayed, refer to the service manual of the cylinder unit (hydrobox) to solve the problem. 7-2. - Page 9 7- 4 . Checking component parts' function Part Name Check Points Water circulation pump 2/3 <CC: Constant curve> The circulator runs on a constant curve. CC max. Flow rate [L/min] Mixing valve (1) Check if wirings are correct. TBO.2-1: Brown TBO.2-2: Blue CCW (Open) TBO.2-3: Black...
-
Page 10: Disassembly Procedure
14.) When draining the 2 zone kit, keep water from splashing on the internal parts (mainly electric parts and insulations). : Indicates the visible parts in the photos/figures. PAC-TZ02-E : Indicates the invisible parts in the photos/figures. DISASSEMBLY PROCEDURE PHOTOS/ FIGURES 1. - Page 11 DISASSEMBLY PROCEDURE PHOTOS/ FIGURES 3. How to remove the water pump 2/pump 3 Photo 3-1 Bottom panel (1) Remove the front panel (Refer to Procedure 1). Pump connectors (3 pin) (2) Remove the mixing valve motor (Refer to Procedure 2). (3) Disconnect the connector between the pump lead wire and the relay connector (Photo 3-1).
- Page 12 DISASSEMBLY PROCEDURE PHOTOS/ FIGURES 5. How to remove the flow water temp. & return water Photo 5-1 temp. thermistor (THW6, THW7, THW8, THW9) (1) Remove the front panel (Refer to Procedure 1). (2) Disconnect the removing thermistor connector from the controller board of the cylinder unit (hydrobox) (Photo 5-1).
- Page 13 DISASSEMBLY PROCEDURE PHOTOS/ FIGURES 7. How to detach and attach the quick connection Photo 7-1 Refer to the following steps when detaching and attaching the quick connection. (1) Remove the clip (Photos 7-1 and 7-2). (2) Separate the connected parts to remove the O-ring (Photo 7-3).
- Page 14 Notes on replacing the parts When reinstalling the parts that are listed below, observe the tightening torques in accordance with Table 8-1. Always use a new O-ring or gasket. Table 8-1 Size Recommended tightening torque [inch] [Nm] Gasket 42 ± 2 Attached packing Air vent (manual) 0.25 ±...
- Page 15 OCH729...
- Page 16 HEAD OFFICE: TOKYO BUILDING, 2-7-3, MARUNOUCHI, CHIYODA-KU, TOKYO 100-8310, JAPAN Copyright 2019 MITSUBISHI ELECTRIC CORPORATION Published: Nov. 2019 No. OCH729 Made in Japan Specifications are subject to change without notice.
Need help?
Do you have a question about the PAC-TZ02-E and is the answer not in the manual?
Questions and answers