Table of Contents
Advertisement
Quick Links
DCM
Installation Instructions
Инструкция по установке
Instrucciones de Instalación
הוראות התקנה
English, Русский, Español, עברית
1
1 Magnet
2 DCM Detector
3 LED
4 DIP Switch
1
5 Tamper
6 External Input
7 Batteries
8 Mounting Holes
(Back Side)
9 Wiring Inlet
10 Magnet Location
Notch
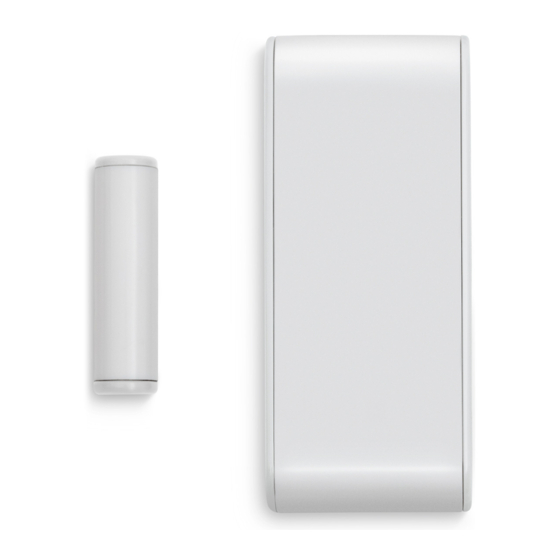
DCM Wireless Magnetic Contact and Transmitter
The DCM is a FastLink technology wireless magnetic contact and universal transmitter with external hardwired input, designed for the
FORCE Series and VISION intruder alarm systems. Using the DCM in FORCE requires the installation of a wireless receiver.
The DCM has a modern design and is battery operated. It is mounted on doors and windows, and wirelessly transmits an event to the
control panel when they are opened. The DCM's universal transmitter, combined with the external hardwired input, can be used to
transmit events from normally close contact devices, such as wired PIR detectors. The devices connect to the DCM's terminal block and
are reported to the control panel as a separate zone. The magnetic contact can be bypassed, so the DCM will only be used as a universal
transmitter.
The DCM alerts on low battery, and has a tamper switch that alerts when its enclosure is opened or removed from the wall. It transmits
a test event every 15 min. Its LED indicates on any alarm transmission, and when the battery is low.
Cautions: the DCM is based on wireless (RF) transmissions. Any wireless transmission can be
subject to RF interference and, although unlikely, this interference may cause the DCM to not
operate as intended. RF transmissions will be attenuated by tinted glass, in wall isolation with
metal foils, metal objects, etc.
Technical specifications
Frequency
Models
(MHz)
One-Way
433.92
DCM143
868.95
DCM187
1
DCM143/187 only
2
Только в DCM143/187
3
Solo en modelos DCM143/187
2
3
ON
4
1
2
5
6
1 Магнит
2 Датчик
3 Светодиод
4 DIP-переключатель
2
5 Тампер
6 Вход для подключения внешних
устройств
7 Батареи
8 Монтажные отверстия «нокауты»
(вид снизу)
9 Отверстие для подвода проводов
10 Метка (прорезь) для
позиционирования магнита
Battery: 2X 1.5V, AAA, Alkaline
Sizes: 8.5 X 3.5 X 1.4 cm,
Two-Way
Magnet: 4 X 1 X 1.5 cm
DCM243
Weight: 60gr
DCM287
8
7
9
1 Magneto
2 Detector DCM
3 LED
4 Interruptor DIP
5 Interruptor contra sabotaje
(Tamper)
6 Contacto para entrada externa
7 Baterías
8 Orificios de montaje (parte
posterior)
9 Orificio para cableado
10 Marca para ubicación correcta
del magneto
CE Compliance
Battery Life Cycle: Up to 5 Years (Normal Usage)
Operating Temperature: -10 to +50 °C
Humidity (Max.): 93% R.H., Non-condensing
-1-
3
מפסק הגנה
ת
חיצוני
)(בגב הגלאי
מעבר חיווט
מיקום
בלבד
מגנט
1
DCM
גלאי
2
נורית
3
4
DIP
מתג
4
5
)
(טמפר
כניסה
6
סוללות
7
חורי תליה
8
9
חריץ
10
המגנט
DCM143
בדגם
4
Advertisement
Table of Contents

Subscribe to Our Youtube Channel
Related Manuals for Pima DCM Series

Summary of Contents for Pima DCM Series
- Page 1 Installation Instructions Инструкция по установке Instrucciones de Instalación הוראות התקנה English, Русский, Español, עברית 1 Magnet 1 Магнит 1 Magneto מגנט 2 DCM Detector 2 Датчик 2 Detector DCM גלאי 3 LED 3 Светодиод 3 LED נורית 4 DIP Switch 4 DIP-переключатель...
- Page 2 Content of the product package DCM magnetic contact + magnet Two batteries Screws, mounting tapes This guide How to replace the batteries 1. Insert a slotted screwdriver to the slot at the bottom of the device and open the enclosure. 2.
- Page 3 DCM Беспроводной магнитоконтактный датчик и передатчик DCM - беспроводной магнитоконтактный датчик с универсальным передатчиком, работающий по технологии FastLink, предназначен для работы с контрольными панелями серии FORCE и VISION. В приборах серии FORCE требуется наличие беспроводного расширителя. Датчик DCM имеет современный дизайн и работает от батарей. Он устанавливается на двери (окна) и передает сигнал во время их...
- Page 4 Положения DIP-переключателя DIP-переключатель имеет два переключателя и предназначен для выбора режимов работы магнит/передатчик, а также включения/выключения светодиода индикации, согласно описанию ниже. Переключатель ON (Вкл.) OFF (Выкл.) 1 - Магнит/ Совместный режим магнит + передатчик Магнит отключен. Устройство работает Передатчик только как передатчик 2 - Светодиод...
- Page 5 Especificaciones técnicas Duración de la batería: Hasta 5 años (en uso típico) Batería: 2X 1.5V, AAA, Alcalina Frecuencia Modelos Dimensiones: 8.5 X 3.5 X 1.4cm Peso: 60gr (MHz) Una-Vía Dos-Vías o Magneto: 4 X 1 X 1.5cm ...
- Page 6 Cómo registrar (enrolar) el DCM Periféricos inalámbricos En el menú en el sistema de alarma, puede ingresar manualmente el número de serie del DCM (impreso en su Enrolar Todo Evento Enrolar Automático etiqueta), o automáticamente: seleccione , seleccione y abra/cierre el imán. Cómo probar el DCM Al insertar las baterías, el detector entrará...
- Page 7 איך להתקין את ה ניתן להתקין את הגלאי באמצעות הברגים או המדבקות המסופקים. בשתי האפשרויות, מומלץ להתקין את הגלאי על המשקוף ואת המגנט .על הדלת/חלון .באמצעות ברגים, ראה את ההוראות הבאות להתקנת הגלאי .ופתח אותה גלאי קופסת ה החדר מברג שטוח לחריץ בתחתית בתחילת...
- Page 8 Garantía Limitada PIMA Electronic Systems Ltd. no garantiza que su Producto no haya sido o sea puesto en riesgo o que no sea evadido o que no sea o haya sido saboteado o alterado de alguna forma o que no haya sufrido o sufra alguna forma de manejo malintencionado así como tampoco garantiza que el Producto vaya o pueda prevenir cualquier muerte y/o daños corporales y/o daños a la propiedad o cualquier otra pérdida resultado directo o indirecto de vandalismo,...
Need help?
Do you have a question about the DCM Series and is the answer not in the manual?
Questions and answers