Advertisement
Advertisement

Subscribe to Our Youtube Channel
Related Manuals for Draytek Vigor 2862 Series


Summary of Contents for Draytek Vigor 2862 Series
- Page 2 Intellectual Property Rights (IPR) Information © All rights reserved. This publication contains information that is protected Copyrights by copyright. No part may be reproduced, transmitted, transcribed, stored in a retrieval system, or translated into any language without written permission from the copyright holders. Trademarks The following trademarks are used in this document: Microsoft is a registered trademark of Microsoft Corp.
-
Page 3: Table Of Contents
Vigor 2862 series VDSL2 Security Firewall Quick Start Guide t ....................1 n ....................2 n ................... 8 n ........................8 n ......................9 “ ” ) .............. 10 “ ” n ..................12 e ....................15... -
Page 4: P A C K A G E C O N T E N T
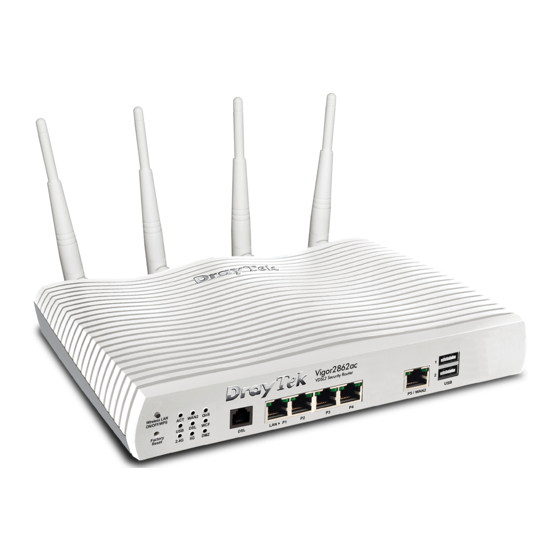
Take a look at the package content. If there is anything missed or damaged, please contact DrayTek or dealer immediately. Vigor Router Quick Start Guide RJ-45 Ethernet Cable RJ-11 Cable 4x WiFi antenna (“ac” models) 2x LTE antenna with socket (“L” models) - Page 5 Status Explanation ACT (Activity) The router is powered off. Blinking The router is powered on and running normally. WAN2 Internet connection is ready. Internet connection is not ready. Blinking The data is transmitting. The QoS function is active. The QoS function is inactive. USB1 USB device is connected and ready for use.
- Page 6 Interface Description Factory Reset Restore the default settings. Usage: Turn on the router (ACT LED is blinking). Press the hole and keep for more than 5 seconds. When you see the ACT LED begins to blink rapidly than usual, release the button.
- Page 7 Status Explanation ACT (Activity) The router is powered off. Blinking The router is powered on and running normally. WAN2 Internet connection is ready. Internet connection is not ready. Blinking The data is transmitting. The QoS function is active. The QoS function is inactive. The router is ready to access Internet through DSL link.
- Page 8 Interface Description Wireless LAN Wireless band will be switched /changed according to the button ON/OFF/WPS pressed and released. For example, 2.4G (On) and 5G (On) – in default. 2.4G (Off) and 5G (On) – pressed and released the button once. ...
- Page 9 Status Explanation ACT (Activity) The router is powered off. Blinking The router is powered on and running normally. WAN2 Internet connection is ready. Internet connection is not ready. Blinking The data is transmitting. The QoS function is active. The QoS function is inactive. LTE device is connected and ready for use.
- Page 10 Interface Description Wireless LAN Wireless band will be switched /changed according to the button ON/OFF/WPS pressed and released. For example, 2.4G (On) and 5G (On) – in default. 2.4G (Off) and 5G (On) – pressed and released the button once. ...
-
Page 11: H A R D W A R E I N S T A L A T I O N
This section will guide you to install the router through hardware connection. Connect the DSL interface to the land line jack with a DSL line cable, or Connect the cable Modem/DSL Modem/Media Converter to the WAN port of router with Ethernet cable (RJ-45). Connect one end of an Ethernet cable (RJ-45) to one of the LAN ports of the router and the other end of the cable (RJ-45) into the Ethernet port on your computer. -
Page 12: W A L - M O U N T E D I N S T A L A T I O N
Vigor router has keyhole type mounting slots on the underside. Drill two holes on the wall. The distance between the holes shall be 168mm. Fit screws into the wall using the appropriate type of wall plug. Note The recommended drill diameter shall be 6.5mm (1/4”). When you finished about procedure, the router has been mounted on the wall firmly. -
Page 13: N O T I F I C A T I O N S F O R A N T E N N A I N S T A L A T I O N ( F O R " L " M O D E L S )
“ ” “ ” Magnetic antenna must be installed on the extension base before connecting to Vigor router. Extension Base There are two mounting holes for installing antennas with extension base on Vigor router. Please install them as shown below. Major Signal Transmitted Hole SIM Card... - Page 14 While installing the SIM card into the card slot, note that back plate of the SIM card slot must be removed first and the direction of card notch must be on the left side. There are two types of antennas provided for Vigor2862Ln/Vigor2862Lac, which must be installed in different locations carefully and correctly.
-
Page 15: S O F T W A R E C O N F I G U R A T I O N
To access Internet, please finish basic configuration after completing the hardware installation. The Quick Start Wizard is designed for you to easily set up your router for Internet access. You can directly access the Quick Start Wizard via Web Configurator. Make sure your PC connects to the router correctly. - Page 16 Now, the Main Screen will pop up. Click Wizards>>Quick Start Wizard. Enter the login password on the field of New Password and retype it on the field of Confirm Password. Then click Next to continue.
- Page 17 On the next page as shown below, please select the WAN interface that you use. Here, we take WAN1 (ADSL/VDSL2) as an example. Click Next to go to the following page. You have to select the appropriate Internet access type according to the information from your ISP. For example, you should select PPPoE mode if the ISP provides you PPPoE interface.
-
Page 18: C U S T O M E R S E R V I C E
Afterward, you will enjoy surfing on the Internet. If the router cannot work correctly after trying many efforts, please contact your dealer/DrayTek for further help right away. For any questions, please feel free to send e-mail to support@draytek.com.
Need help?
Do you have a question about the Vigor 2862 Series and is the answer not in the manual?
Questions and answers