Advertisement
Quick Links
Advertisement

Summary of Contents for Bravo Bravo Tamper
- Page 1 INSTRUCTION MANUAL...
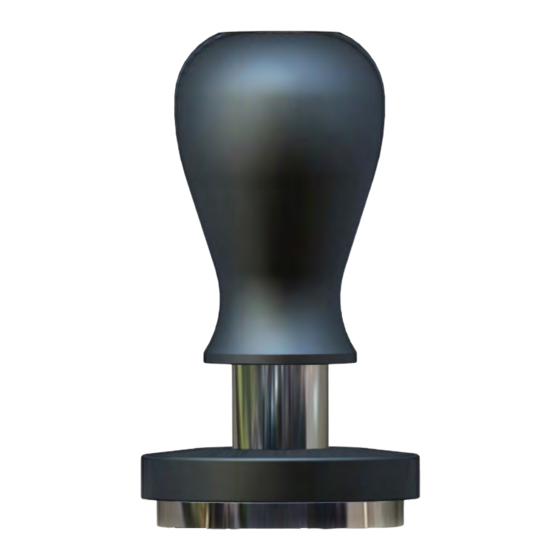
- Page 2 Another very important feature of the tamper is its aligning base. As the base rests on the basket from the very beginning of the process, the tamper moves 100% aligned, so the Bravo Tamper creates a cake that is perfectly aligned. For these reasons, it guarantees repeatability during...
-
Page 3: How It Works
How it works When you start tamping, the aligning base rests on the filter basket. At this time, the lower spring acts as a guide, so that the tamper travels 100% aligned. By the time the coffee starts to be tamped the upper spring comes into action and limits the amount of pressure applied onto the coffee, allowing the coffee to be tamped at exactly the same pressure every time. - Page 4 1. Place the desired amount of coffee into the filter basket, prepare for tamping (here you might want to use the Bravo Distributor & Leveler), after that, place the Bravo Tamper onto the filter basket and start pushing it down in a slow fashion.
- Page 5 2. Continue pressing the Bravo Tamper you will feel when the second spring comes into action, as tamping demands more pressure. Continue pressing it down till you feel it hits the bottom.
- Page 6 3. Once the Bravo Tamper hits the bottom, (that indicates you’ve reached the correct pressure) you feel the upper part of the axis touch the screw cap. Tamping has reached its objective.
- Page 7 4. Now, simply let go the pressure from the Bravo Tamper and slowly, as not to create vacuum, bring it to its original position. You are done tamping.
- Page 8 5. At this time if you wish to polish the cake, simply apply small pressure to push down the Bravo Tamper till it hits the compacted coffee puck and turn the handle clockwise and counterclockwise in a quick motion. At this time you will push only against the lower spring. It’s a very light push.
- Page 9 Firstly, remove the screw cap using a coin, in the inner part of the screw cap, you will find a small black Allen bolt. In order to minimize the pressure, simply unscrew the black Allen bolt little by little till you get the pressure you desire (within the range of 34lbs to 26lbs).
- Page 10 Disassembling the Bravo tamper With the help of a coin, remove the screw cap located on the top of the Bravo Tamper, by turning it anticlockwise. Once the screw cap has been removed, hold the base firmly, and using an (2.5mm) Allen wrench loose the internal Allen bolt to take apart the handle and the upper spring.
- Page 11 Remove only the base to clean the Bravo Tamper easily Hold the Bravo Tamper by the handle and using the index finger and the thumb pull the aligning base, with the other hand unscrew the base of the tamper turning it counterclockwise. The base of the tamper and the lower spring will come lose.
Need help?
Do you have a question about the Bravo Tamper and is the answer not in the manual?
Questions and answers