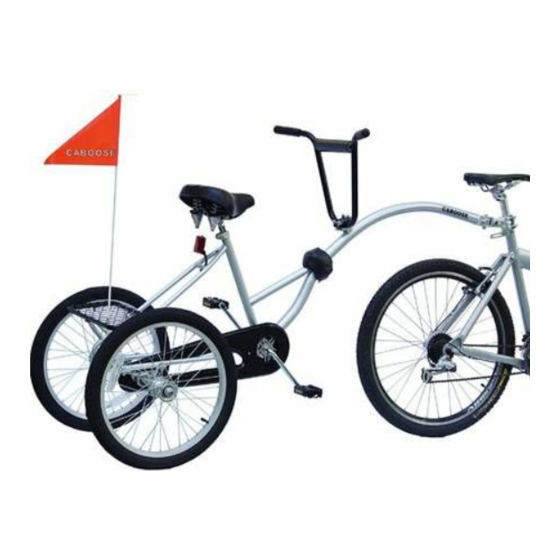
Summary of Contents for Morgan Cycle Caboose
- Page 1 001 Orient the Rear Axle Plate so that the rear sprocket sets into large oval slot. Be sure to avoid twisting the chain. 002 - Orient the Rear Axle Plate so that the rear sprocket sets into large oval slot. Be sure to avoid twisting the chain.
- Page 2 003 - Mount chain onto front pedal sprocket...
- Page 3 005 - Mount chain onto rear sprocket...
- Page 4 007 - Adjust the Rear Axle Plate forward/rear to fine-tune Chain tension (neither tight nor too slack). Proper tension is just enough slack for chain to wobble up/down 1/4 inch.
- Page 5 008 - Line up the 4 holes (Axle Plate to Frame Plate) Also thread the Supporting Bolts to lock-in the Chain's tension. The Supporting Bolts also ensure Axle Plate remains properly aligned to trailer frame.
- Page 6 009 - Step 1: Thread Bolt to set proper depth. Step 2: Thread Nut to lock the bolt in place. 010 - Insert 1st bolt to attach Axle Plate to Frame Plate. Make sure black Axle Plate is parallel lined to Frame Plate...
- Page 7 011 - Insert remaining 3 bolts, hand tighten the 4 bolts, then use wrenches to securely tighten 4 bolts. 012 - Axle Set secured to Frame with Chain properly tensioned.
- Page 8 Mount Free Wheel to axle for Free Wheel 013 - Identify axle for Free Wheel 014 - Identify the Free Wheel...
- Page 9 Mount Drive Wheel to axle for Drive Wheel 015 - Identify axle for Drive Wheel (key locks into Drive Wheel slot) 016 - Identify the Drive Wheel...
- Page 10 017 - Use wrench to secure Nut to Axle...
- Page 11 019 - How to unfold and lock the collapsible frame. Caution: do not insert finger into hinge! 020 - Twist nut to tighten/lock latch...
- Page 12 021 - Cover the hinge with protective wrap 022 - Secure Extension Stem to Frame Clamp...
- Page 13 023 - Extension Stem stands vertical - not angled rearward. 024 - Threaded end is up.
- Page 14 025 - Secure Handlebar to top of Extension Stem. Make sure all the Clamp is level before tightening all 4 bolts. 025A...
- Page 15 026 - Secure Seat Post to frame 027 - Adjust Seat angle position and tighten Nuts on BOTH sides...
- Page 16 028 - Left pedal: left side of bike (rider facing forward) 029 - Thread Counter-clockwise direction...
- Page 17 030 - Tighten with wrench 031 - Right Pedal: right side of bike (rider facing forward)
- Page 18 032 - Thread Clockwise direction 033 - Rear Sprocket Cover Plate...
- Page 19 034 - Secure with 2 bolts 035- Attach Rear Platform to frame (secure 2 front bolts first, then rear bolt with Reflector sandwiched between)
- Page 20 036 –...


Need help?
Do you have a question about the Caboose and is the answer not in the manual?
Questions and answers